
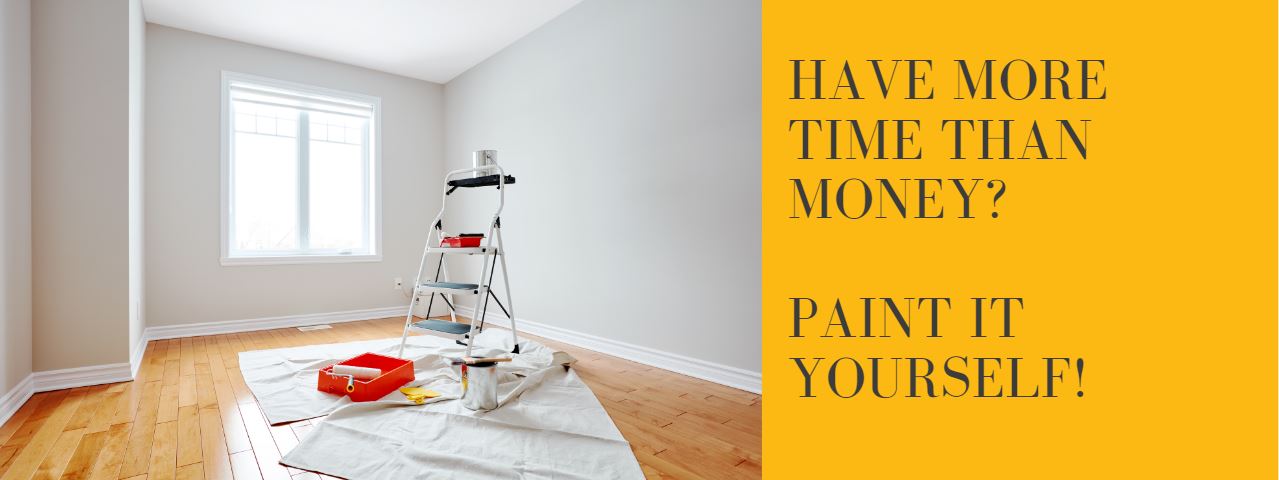
Have more time than money? Paint it yourself!
Posted on March 27, 2020


Step-by-step instructions for painting a standard interior room:
Here’s what you’ll need:
- A babysitter for the kids
- 120-grit sandpaper
- Painter’s tape – we like Frog Tape, but if you only have the blue stuff, use that.
- Drop cloths and/or painter’s plastic (use a king-sized sheet in a pinch)
- Good paintbrushes – you can borrow them from a neighbor – you won’t need them for long.
- ¼” nap disposable roller – be careful to get the ¼” nap to give you the smoothest coverage.
- 9” Roller handle for ceilings.
- 4” Roller handle for doors and trim.
- Diluted soap solution, or if walls/ceilings are really stained use TSP (Trisodium Phosphate)
- Disposable paint tray (you can line it with a paint tray liner or aluminum foil)
- Some patching compound (pre-mixed is fine)
- A quality interior paint like Cashmere from Sherwin Williams or Regal Select from Benjamin Moore
- If you are painting a bathroom, laundry or other high-humidity room, look for “Bath Paint.”
- Choose a ceiling paint for ceilings.
- Choose no-VOC paint if you are concerned with off-gassing and the smell of paint fumes as it dries.
- If you choose a color that’s dramatically different than the current color, you may need 3 coats of paint to get even coverage. Otherwise, if the colors are not drastically different, two coats of paint should do it.
- For dark colors use compatible primer (often called a tinted primer -ask for it at the paint store).
- If you need help with colors, email us – we’re happy to weigh in (for free!) with what we know has worked in the thousands of homes we’ve painted in the Boston and South Shore area – [email protected].
Start Here:
Remove all small and fragile items from the room (anything that can be easily knocked over), take items off the walls and remove window treatments.
• Move all the furniture away from the walls and to the center of the room so you have enough room to work around it and with painters’ plastic
• Cover all floors with a clean drop cloth (or king-sized sheet).
• Remove all switch plates and outlet covers – it’s a good idea to tape them with painter’s tape to protect them from splatter.
• Remove nails and picture hangers – but leave the hooks in the wall if an item will be rehung in the same spot, it’s OK to get paint on the hooks and hangers if they’re not visible.
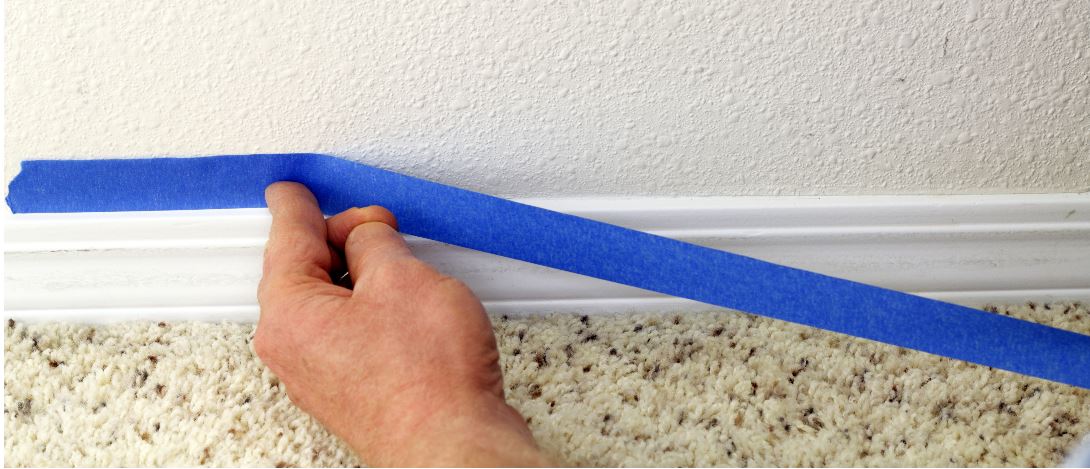
• Using your painter’s tape, tape off all baseboards, around window and door frames before beginning.

Next you need to prep the room. Don’t rush this part:
- First, inspect all the walls closely for cracks, holes, from picture hangers, large dings or damaged drywall, or any contaminants on the surface.
- Fill cracks or holes with patching compound (don’t use too much!) – check the container for how long it will need to dry.
- If there are any stains on the walls, they’ll need to be cleaned. Stains will need to be cleaned with soap and water, or deeper or greasy stains with a product like TSP (Trisodium Phosphate) if heavy cleaning is needed.
- Lightly sand the walls with 120-grit sandpaper. Work from the top down and side to side.
- Use a wet/dry vac to remove the dust from the walls, or wipe with a clean dry cloth.
Painting:
- Close the door to keep pets out of the room.
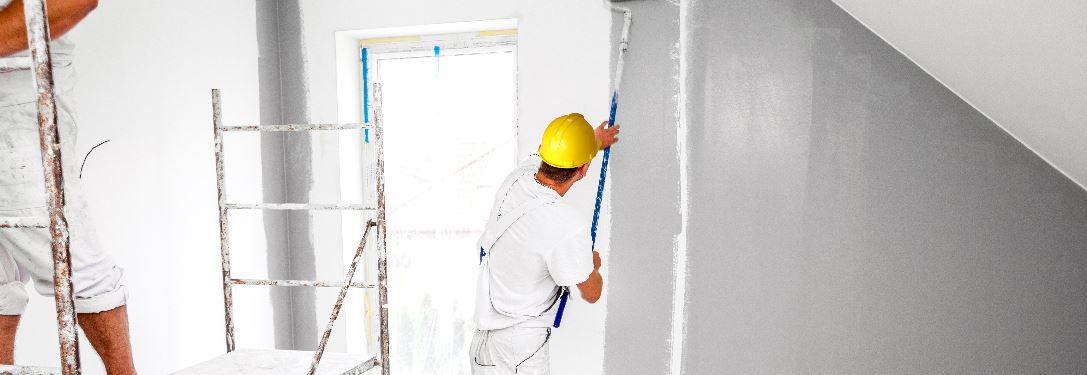
- First you need to “cut in.” This means using a brush to create a band of paint on the wall around the ceiling, windows, doors, and any molding. You’ll want to paint a 2-3 inch band of wall color so the roller doesn’t come too close to ceilings or trim.
- Put paint in the roller tray and pick up paint from the tray using the roller and the ramp in the tray. Apply slight pressure and roll it back and forth slowly to remove excess paint. Too much, or too little paint, is not your friend.
- Use the roller to apply an even and consistent coat across each wall, working from one side to the other – make sure not to press too hard or you’ll squeeze extra paint out of the roller that will make topcoats unsightly.
- Repeat the above process for the 2nd coat, ensuring to allow adequate time to dry between coats and before using the room – typically 4-6 hours after the last coat.
- 2 coats of paint should be fine on walls unless you are dramatically changing the color.

Choosing a paint color:
- Don’t rush your color choice because after all the time you invest in this painting, the color is what you will live with for the next 7-10 years.
- For nurseries, try to choose a muted version of a pastel so the color grows with the child. For example “muted rose” will have more shelf life than “bubblegum pink.”
- Get a few paint samples and brush them on the walls while you prep. Look at the colors at different times of the day. If you don’t like anything you’ve sampled, start over – it’s worth getting right.
- If you’d like large paint chips (8” x 8”) of any Sherwin Williams or Benjamin Moore Paint color delivered to your home (for free), just email [email protected] and order as many as you want! This is a free service we offer for to anyone who asks.
- Seek the advice of your most stylish friend, or post a picture of colors you’re considering on Facebook to take a vote on the color.
- Have a friend with a great color living room? Ask them what color it is. If they don’t know the color, have them use the ColorSnap app to find out.
- Paint sheen is important. In general, flat and matte sheens hide flaws on the wall better than shinier sheens.
- Here are our go-to interior sheens:
- Walls: Flat or Eggshell (Eggshell is shinier than Flat)
- Trim: Satin or semi-gloss (Semi-gloss is a bit shinier than Satin)
- Ceiling: Flat
- Here are our go-to interior sheens:
Cleanup:
- Clean brushes and roller cover with soap and water in the sink – make sure to clean the sink right away!
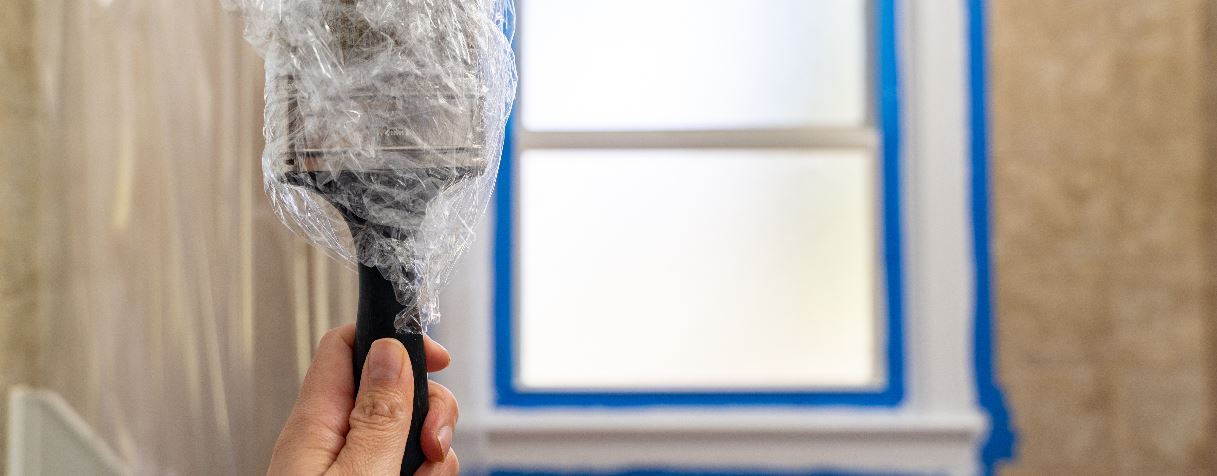
- If you aren’t finished painting, you can wrap your brush and roller in plastic wrap without cleaning them, to keep them ready until you’re ready for the next coat.
- Carefully pick up drop cloths and painters’ plastic – drop cloths can be reused (and are handy to have around for other messy projects).
Most importantly, don’t get frustrated and don’t rush the process. If you have any questions, just email me at [email protected]. I’m happy to help DIYers get a professional looking paint job.
