
How to Prepare Your Home for Exterior Painting: Our 4 Step DIY Guide
Posted on May 13, 2024
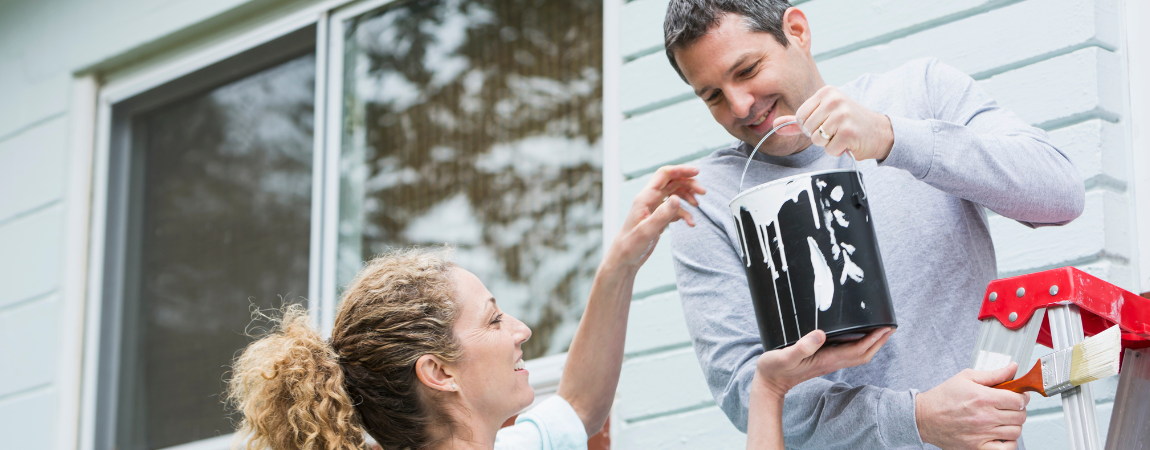
There is nothing that gives a transformation quite like a new coat of paint on your home exterior. Choosing to DIY such a project means taking on a big job, yes, but you know the work will have been worth it when you look up to your sparkling home that looks new again! And if there are signs that it is time for exterior painting, it is time to get the preparation stage started!
To help make your exterior painting DIY process as easy as possible, our team of experienced exterior painters created a simple, 4-step guide. By following these steps, your exterior painting job will look great AND ensure lasting coverage!
Step 1: Plan & Assess
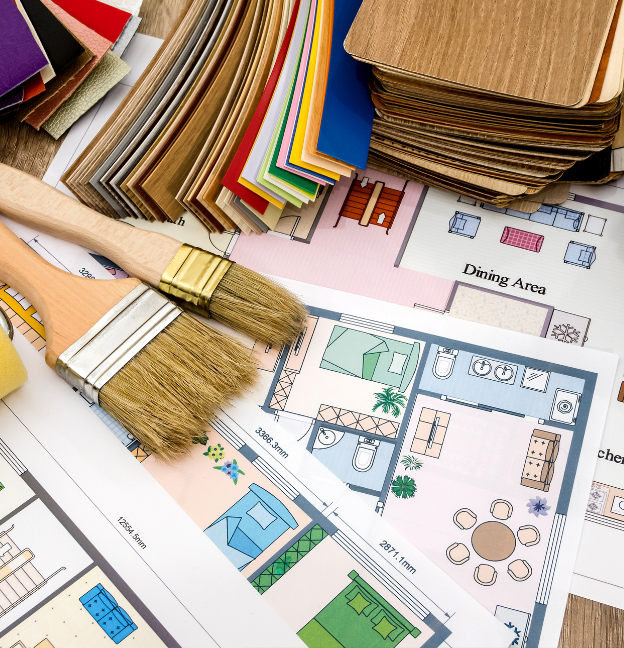
Your first step to prepare for exterior painting begins long before you touch a paint brush or roller. You’ll want to figure out the best time to paint your home and take a good look around your home exterior to see what you’ll be working with.
Weather: Ideally, you’ll want to complete an exterior painting job during mild and dry weather. Late spring or early fall is best for most areas. There are plenty of benefits for summer painting. Mainly, however, this time of the year should allow you to avoid rain complications or too much heat, which can cause the paint to not adhere to the walls as well and deteriorate at a faster rate.
Lead: If you’re unsure about the history of the paint currently on your home, it is a good idea to test for lead paint. This is especially important for homes built before 1978, when the EPA banned lead paint for residences. If your home does have lead, you may want to contact a EPA Lead Certified professional for their services.
Step 2: Clean & Power Wash

Once you’ve planned your process, it is time to start getting the surfaces ready. Properly cleaning your home’s exterior will make for a more uniform finish. If this step isn’t done correctly, you could finish painting and have patchy or peeling paint really soon afterward!
Cleaning: While you may be focusing on the walls and trim of your home, make sure you don’t forget to clean off any smaller surfaces. Elements such as lights, railings, window sills, could likely use a good cleaning. Then, while you’re at it, go ahead and cover them up so they don’t get paint on them later!
Power Washing: Use a fan-type nozzle to power wash your home. Run it over the main surfaces and pay special attention to areas where dirt tends to accumulate or stick. Make sure to give ample amount of time for your home to dry before applying any paint to the surface. The exact amount of time it will take for your home to dry will depend on humidity levels, but should be around a few days.
Step 3: Repair & Replace
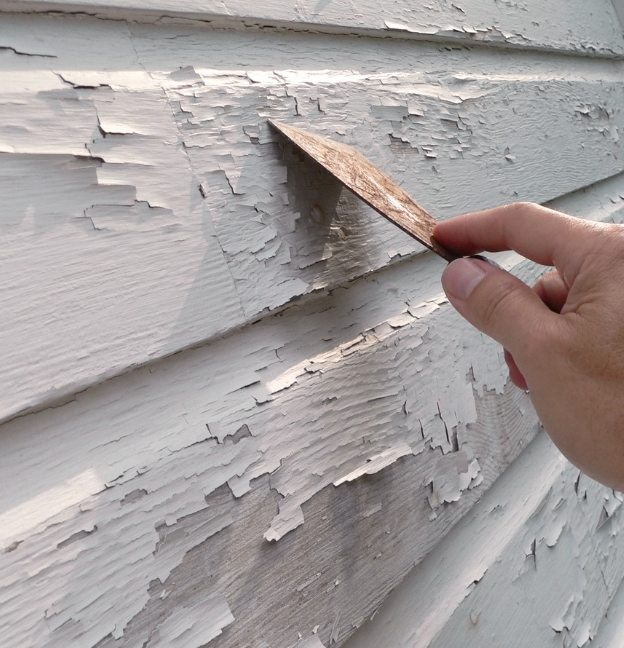
After your home is squeaky clean, it’s time for some hands-on work. Most of the time, our homes will have issues outside of cleanliness that need to be addressed. Peeling paint, cracked caulk, and wood rot are all common problems we encounter before exterior painting. These should be addressed before the paint is brought out. If you can’t repair it, it is likely time to replace it.
Step 4: Prime & Test
And now we’ve reached our final step. In this step, you’ll be applying paint and primer to your home exterior. This step is important to ensure that the paint you choose is perfect in every condition. You can also use our paint color visualizer to get a sense of what your house would look like with different colors applied. CertaPro Painters® also have color consultation services because we know just how big of a deal the color of your home is.
Primer: Select a primer that’s specifically formulated for exterior use and compatible with the type of material on your home. Apply it meticulously, covering every nook and cranny. A good primer will seal the surface, block stains, and create a uniform base that will make your color coat look smoother and more vibrant.
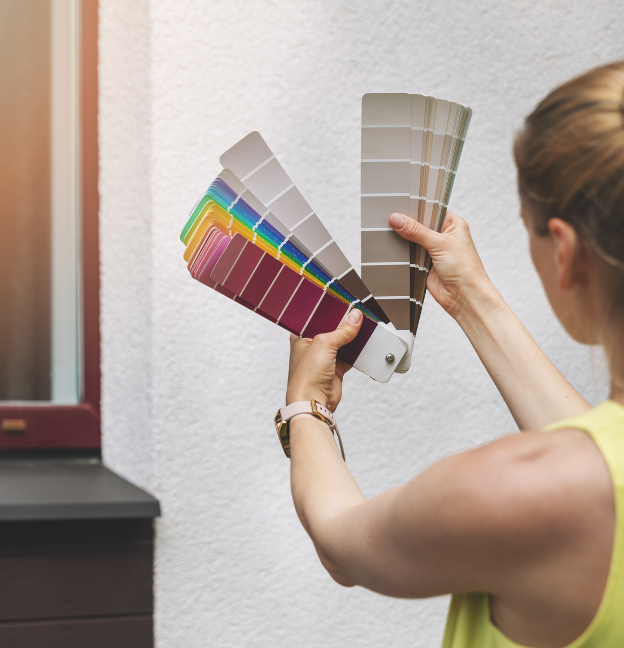
Testing Colors: Now comes the moment of truth—testing your color choices. Paint swatches on different areas of your home’s exterior. Live with them for a few days, observing how they look as the light changes from dawn to dusk. This isn’t just about picking a color you like; it’s about seeing how the color works with your home’s surroundings. It’s a small step that makes a big difference, helping you avoid surprises and ensuring you’re absolutely delighted with the final result.
Questions about Exterior Painting? Ask our Painters!
Now your home is prepared for exterior painting, it is time to make sure you know all you need to about applying the paint! And if you run into problems or questions along the way, don’t worry. Our team of skilled painters is on standby to answer any questions you might have. Whether you’re curious about color selection, the best type of paint for your area, or how to handle tricky surfaces, we’ve got the expertise to guide you.
Don’t hesitate to reach out—no question is too small when it comes to ensuring your home looks its absolute best. Just give CertaPro Painters® a call, and we’ll help you paint your home like a pro!
