How to Paint Your Ceiling
Posted on December 25, 2022
Have you looked up at your ceilings recently and seen stains, chips, or an outdated color on your ceilings? If so, it’s likely time to paint your ceiling. Just thinking about doing this project on your own can give many homeowners a headache (and neck pain!). However, there are a few tips our professional ceiling painters have picked up over the years that make the job easier.
Find the Right Paint
There are a lot of paint options out there. How do you know what type of paint is best for your ceiling painting project? While every project is unique, there are a few guidelines the DIY painter can follow when it comes to choosing ceiling paint.
Choose Your Color: While most ceilings are painted a classic white color, you are by no means limited to this option. In fact, some colors can drastically change the feel of your space. Black paint, for example, can make a room feel taller. Brown, on the other hand, can make a space smaller and cozier.
Choose Your Finish: Once you’ve settled on a paint color, look at the details of the paint. You’ll likely want to choose a paint that is created specifically for ceilings. These paints tend to dry slower, is flat (instead of glossy), and splatters less.
Choose Your Amount: Make sure you get enough paint for your entire ceiling painting project. If you choose a brighter ceiling color, such as white, you will most likely want to plan to do two coats of paint.

Prepare the Room
There are a few steps you need to take before you take out your paint and paint brushes.Taking these steps before the paint job truly can save you time in the long run. Failing to take this step seriously can result in paint drops all over your furniture or floors, or worse!
Take It Out: Remove as much furniture from the room as you can. Not only will this make you more mobile around the room, but you won’t have to worry about paint splatter getting on anything valuable.
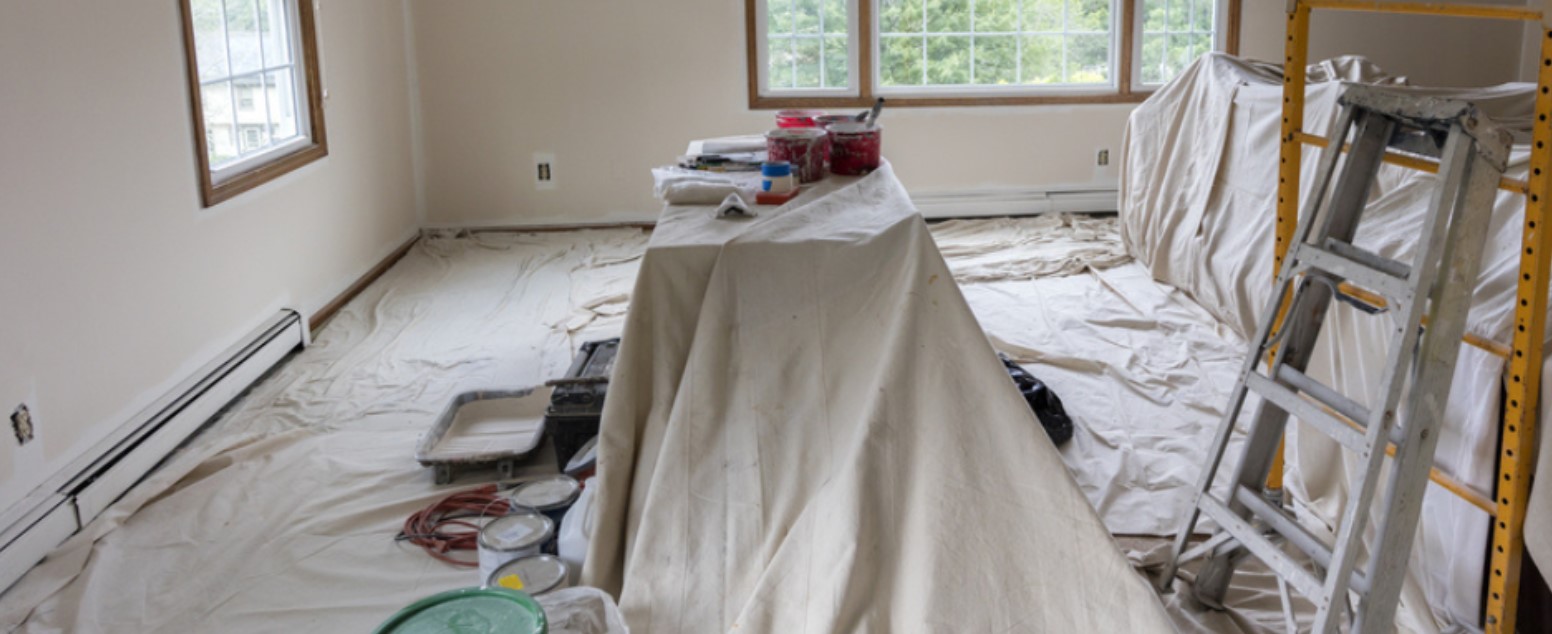
Cover It Up: Anything you can’t take out of the room should be covered up with a drop cloth. This way, if any paint does drip, it will land on a paint-safe surface. This includes any light fixtures you were not able to remove.
Wipe It Down: Don’t forget to go over your ceiling with a long-handled duster. A dusty surface will make it harder for your paint to adhere to. If you fill any areas with spackle, make sure you wait for it to dry completely.
Painter Tip: Canvas drop cloth makes it less likely for you, and your> step-ladder, to slip. We recommend using it on ceiling painting projects.
Gather Your Tools
Now that you have your paint and your room is prepared, you need to move it all into your workspace. This way, you’re not running out to the garage every five minutes because you forgot something. It is a good idea to keep your space organized throughout the project; it can be dangerous to have loose materials lying about when you’re looking up and on a step-ladder!
The Roller: Paint rollers are needed for ceiling painting jobs. We recommend using a low-nap roller for smooth ceilings and a 1/2-inch or 3/4-inch nap for textured ceilings.
The Extender: Worried about neck pain? An extension pole attached to the paint roller frame can help you reach the ceiling without staring straight up at the ceiling. It can also alleviate some fears of using a ladder.
The Tape: You’ll also want a good roll of painters’ tape if you’re not planning on painting your walls. Apply this tape across the edges of the ceiling to avoid painting your walls or trim. If you’re still worried about paint on your walls, you can use a paint brush to paint the tougher areas, such as corners.
Painter Tip: Unfortunately, ceiling painting requires you to be looking upward when wet paint will be dripping downward. Don’t let it drip into those eyes! Always cover up with protective eyewear.
Use Pro Painting Techniques
At last, it is time to apply the paint to the ceiling. If you’ve followed these pro steps so far, you should be fully prepared! While you’re rolling on your new color, there are a few things you can keep in mind to get the best results.
Paint on the Roller: The most common ceiling painting mistake is overloading your roller with too much paint. While you may think more paint will get the job done faster, it really will just cause a mess and make it hard to handle.
Work in Sections: Our professionals recommend starting in one corner and working across the ceiling in grids. Straight, overlapping rows seem to get the best results. Every few sections, go back over old sections with an unloaded roller to smooth things out.
Triple Check: Don’t think you’re done the second every inch has been covered in paint. Wait for your ceiling to dry, then look at it in different lighting to see if you need any touch-ups.
Paint Your Ceiling with Power of Pro
Now you’re equipped with tips from the pros, you’re ready to get started on your ceiling painting project. However, if you’re not quite sure you’re ready to take on the project yourself, CertaPro Painters® is here to help. Our local painters offer a variety of interior painting services that are guaranteed to give you the best ceiling finish possible. We take care of everything, every step of the way, from the estimate to the clean up! All you have to do to work with the power of pro is fill out our free, no-obligation form for a free estimate. We look forward to working with you!


