
How to Touch Up Dents and Scrapes on Painted Walls
Posted on February 2, 2023
Lives in our homes are busy. Whether you’re rearranging the furniture of your new home, sending your kids off to their first days of school, or welcoming a new pet into the family, you’ve got a lot going on! The walls of our home see a lot, so it’s no wonder that dents and scrapes show up from time to time. Fortunately, you don’t have to live with these imperfections, and you don’t have to wait for your entire interior to need a paint job before making your wall look as good as new again! But how, exactly, do you achieve a smooth and seamless look when your painted walls are in need of a touch up?
In this article, our experts are here to share with you all of their tips and tricks for touching up dents and scrapes on painted walls. The process can be easier than you think! So, if you’ve made a mark on your wall, don’t fret, just continue reading and your home will look as good as new in no time.
Materials needed:
- Wash cloths
- Soapy water
- Drop cloth
- Sanding material (sand paper, sanding block)
- Spackling paste
- Paint – Matched to sheen and color
- Paint brush or roller
Step 1: Determine the Damage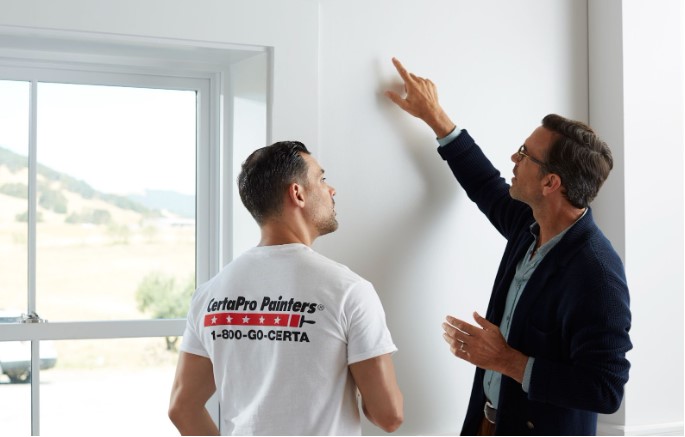
Not all marks are the same, and they definitely should not all receive the same treatment. Scuff marks and shallow scratches typically only require some minimal cleaning and a little bit of paint. You lucky folks can go ahead and skip to Step 4! However, for deeper damage, such as scrapes, dents, or holes, the process of repair becomes a bit more intricate. Don’t worry, our team is here to help you through each step of the process.
Painter’s Tip: We always recommend cleaning your walls before painting! Paint adheres best to a clean surface. If you want paint to last longer, wipe your wall down with a water and soap mixture before painting.
Step 2: Prepare the Area
Just as you would a regular paint job, create an efficient workspace that is easy to clean up. Move any furniture out of the way and gather all your tools together into one location so you aren’t taking trips out to the garage mid project. You can also lay down a drop cloth to protect your floors from any paint or filler. Once you have everything in place, you’re ready to begin preparing the area.
- Step 2A: Clean – Before you begin, lightly brush off the area with a wet washcloth to get rid of any loose powdery material left over from the initial dent or scrape creation.
- Step 2B: Sand – Next, take your sanding material and run over the surface to remove any sharp edges. You’ll do this again after you fill the affected area, so keep your sander nearby!
Step 3: Fill the Problem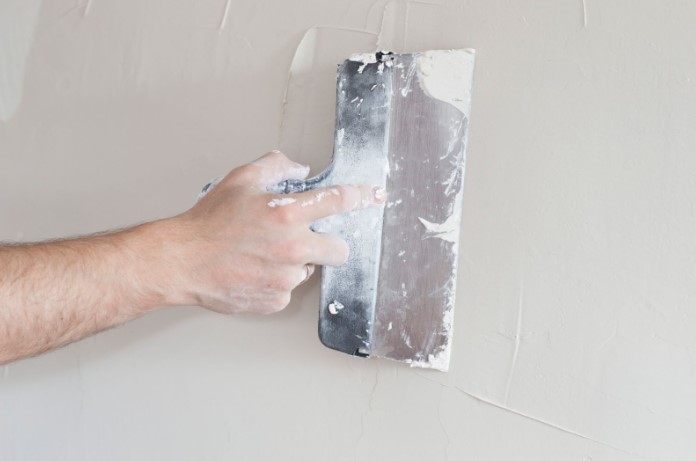
Now that the damaged area is cleaned and sanded, it is time to fill it in. You typically shouldn’t need too much filler for it all to fit firmly into the hole. Use your scraper to push the filler down slightly, but don’t overfill. Most materials have very little shrinkage upon drying. You’ll want to wait until your area is completely dry before moving onto the next step. Some fillers, such as DryDex, apply one color and dry another so you don’t have to worry about painting too early! Feathering the edges can help you achieve a smoother blend. It is okay if the area is protruding a bit. We’ll fix it soon.
Once your filler is completely dry, you’ll want to pull out that sander again and run it along the affected area. Don’t push too hard here. You’re aiming for a seamless texture from one area to the next. Once you’re satisfied with the surface, we can move onto the last (and our favorite) step: painting!
Step 4: Match the Paint
The last thing you want is an obvious spot on your wall with mismatching paint. Try to match both the sheen and the color as close as you can. This way, it’ll be impossible for anyone to tell a scrape or dent was ever there. If you don’t have the exact paint color for the wall you’re repairing, use a sharp knife to cut a shallow square and peel the paint sample off of the wall. We recommend this square is at least 2 inches by 2 inches. Take this piece into a store with a local color professional and they should be able to match the color and sheen exactly. The larger the piece, the better chances they’ll get a perfect match!
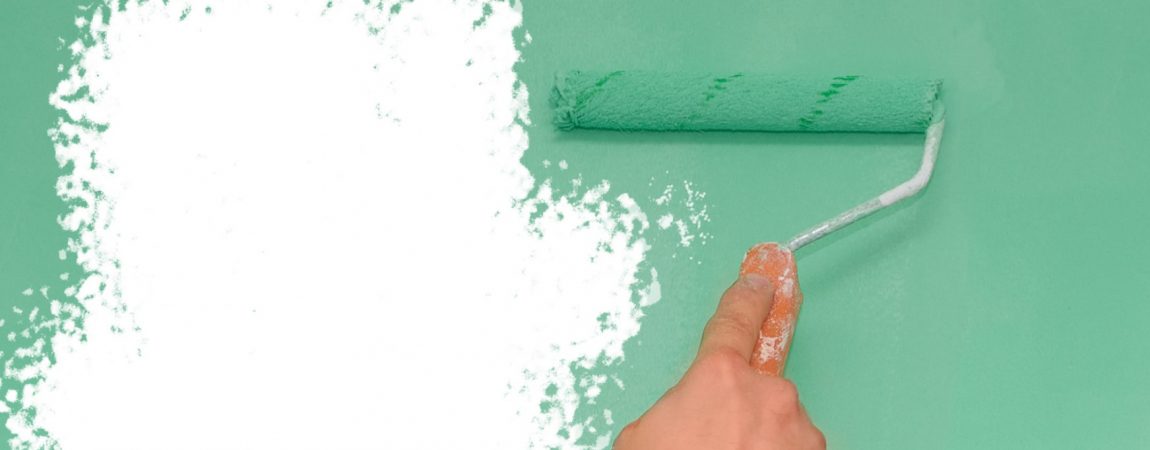
Once you have the right paint in hand, apply it to the wall with a quality brush. Be careful not to use too much paint here, as you could cause streaking. Instead, use a small brush to cover the affected area, let it dry, and apply as many coats as needed. And don’t forget your primer!
Need Help? Work with CertaPro Painters®
We understand that DIY repairs can be intimidating and time consuming. You don’t have to worry about a thing when you work with CertaPro Painters® and the Power of Pro! CertaPro Painters® is a nationwide painting company with local franchises across the country. Our crews can take care of every part of the repairing and repainting process. From color consultations, to drywall repair, to interior painting, our teams do it all. Get started with the paint company you can trust by filling out our online estimate form, or go ahead and give one of our team members a call!
