
Repairing Stubborn Ceiling Cracks
Posted on January 9, 2024


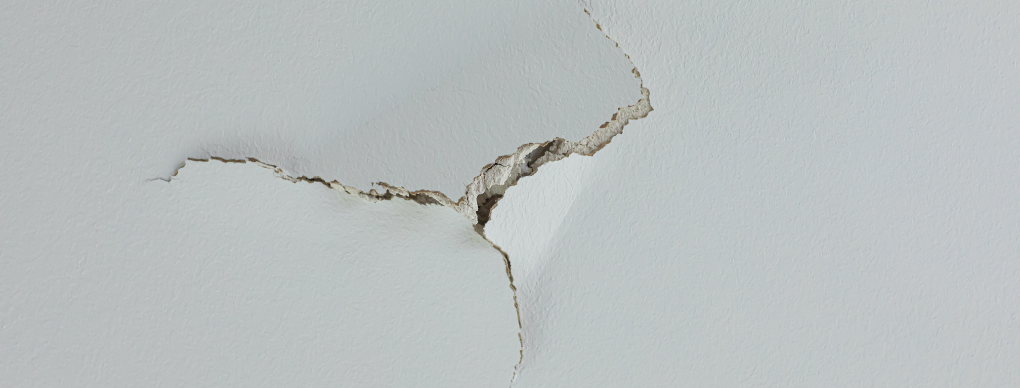
Pesky ceiling cracks seem to come out of nowhere, but once you notice them, the eyesore won’t leave you alone! Beyond just looking unsightly, ceiling cracks can get worse if they go unrepaired – and worse, let moisture in that causes even more damage in the long run. They can also be an indicator of larger issues in your home, so it’s best to tackle them right away.
In most cases, a DIY approach to repairing ceiling cracks should be just fine with the right tools and a little know-how. Let’s dive right into why these stubborn ceiling cracks happen, and how to fix them with ease.
Why Does My Ceiling Crack?
 Before looking at the repair process, let’s explore why these cracks happen in the first place. There are several contributing factors, and the causes of your cracks could be one or more of them. Every situation is a bit different, but these are the most common reasons for cracking ceilings:
1. Structural Settling: Buildings naturally settle over time, which causes materials to shift and creates stress on ceilings, leading to cracks.
2. Temperature and Humidity Changes: Fluctuations in temperature and humidity levels can expand or contract building materials, creating cracks and splits over time.
3. Poor Installation or Materials: Incorrectly installed drywall or the use of low-quality materials during construction can eventually lead to cracking, especially if the drywall is improperly fixed or insufficient painting lets in moisture.
Repairing Cracked Ceilings
Now that we’ve identified the most common causes for cracking ceilings, let’s review how to repair them.
You’ll need a few basic materials and tools:
● Putty knife
● Sandpaper (fine grit)
● Spackle or joint compound
● Mesh drywall tape
● Primer
● Paint
Ceiling Crack Repair Steps
Step 1: Prep Work – Begin by clearing the area around the crack and gently scraping off any loose debris or old paint using a putty knife. Sand the area lightly to create a smooth surface. You may want to lay down a drop cloth to catch any loose debris (especially if the crack is above a carpeted area).
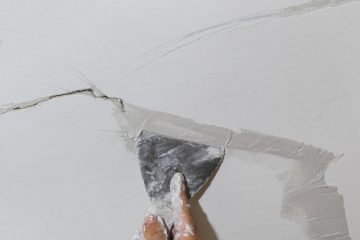
Step 2: Fill the Gap – Apply a thin layer of spackle or joint compound directly into the crack using your putty knife. For larger cracks, place a strip of mesh drywall tape over the crack to reinforce the repair before applying the compound.
Step 3: Sanding – Once the compound is dry, sand the patched area until it’s flush with the ceiling. Be patient and take your time – this step is critical for achieving a smooth, seamless finish that will be easy to paint (and look its best).
Step 4: Prime and Paint – First, apply a coat of primer over the patched spot to make sure your paint properly adheres (and prevents moisture from getting in). Once the primer is dry, it’s time to pain! For the best results, it’s likely best to paint the entire ceiling for uniform coverage and color.
Tackling ceiling cracks might seem daunting, but with a bit of patience and the right tools, you can fix those unsightly cracks and get your ceiling back to looking great.
Seeking Professional Help
While fixing minor ceiling cracks with the steps above can be a DIY task, sometimes these cracks can indicate more significant structural issues. If cracks reappear after multiple repairs or are accompanied by other concerning signs like sagging ceilings or water damage, it’s likely time to consult a professional to assess and address any underlying problems.
In these more serious situations, fixing the crack is only a temporary solution, and you’ll continue to have problems until you address their root causes.
Now you know what to do about stubborn ceiling cracks – why they happen and how to fix them. If you don’t feel confident taking on the repairs yourself, or you suspect a larger problem at play, a professional painting company can help!
For questions about repairing your ceiling cracks, updating your home’s interior paint, or anything else, contact CertaPro today!
