How to Seal A Wooden Fence
Posted on February 1, 2022
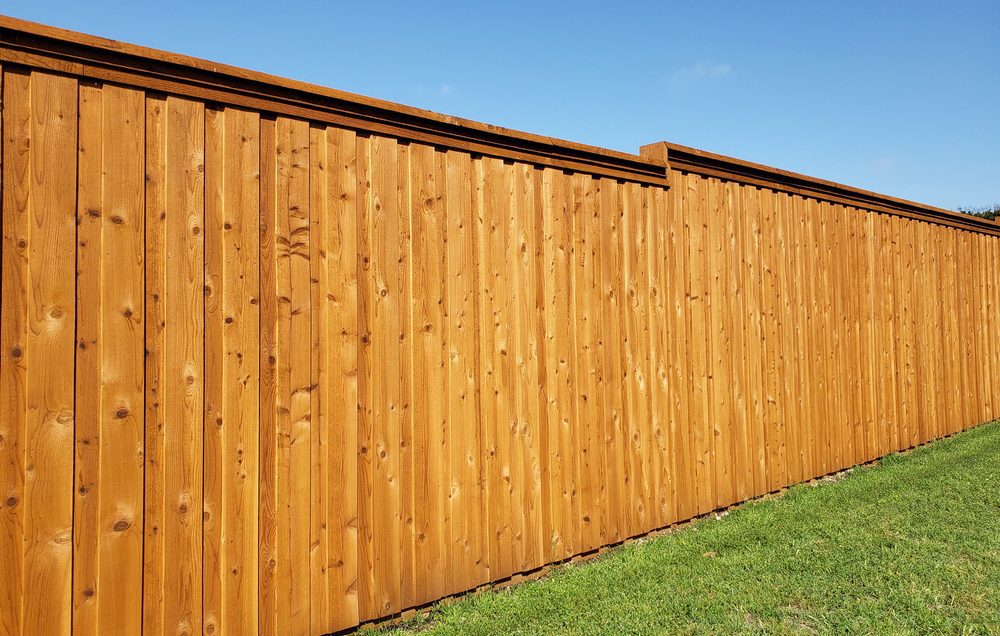
Sealing a wooden fence not only looks great but protects the wood as well. Unfortunately, we tend to postpone outdoor projects we don’t interact with every day, so maintenance projects can pile up. Fencing defines our space, keeps our pets safe, and can add elegance to an otherwise simple backyard. Today we will discuss how to seal a wooden fence and offer a few tips the pros use to do the job correctly.
Why Would I Seal My Wooden Fence?
In some instances, wooden fences are designed to be natural-looking, like red cedar or farm-grown redwood. However, the vast majority of wooden fences are built with pressure-treated lumber, so that is our focus today. Pressure-treated fence pickets are usually made from rough-hewn 5/8” x 6” lumber and can have any number of design features. The posts and rails that hold the pickets are also usually pressure-treated. This chemical treatment is very useful to prevent water and insects from damaging the fence over time.
However, these chemicals will leach out of the pressure-treated lumber over time, so the wood should be resealed periodically to protect it. When purchased, pressure-treated wood is usually still moist from these chemicals (although kiln-dried versions are also available), but will dry out after a year or so in the sun. When these boards dry out, they tend to split and crack, allowing additional moisture inside the board. Eventually, the boards will deteriorate, but sealing them adds significant life to the useful life of the fence.
How Do I Seal My Wooden Fence?
Pressure Wash
Pressure washing a wooden fence before sealing it is strongly recommended. This removes any loose debris or dirt and exposes the grain of the wood. Be careful using a pressure washer, however, as the pickets are quite thin. Especially if the pickets are bone dry, the enormous force created by a pressure washer can actually damage the pickets. Most pros use either a white or yellow tip to prevent accidents.
Allow the Fence to Dry Completely
Drying is critical, so allow plenty of drying time. Often the smartest strategy is to wait until the warmest, driest time of the year, as this ensures the wood is as dry as possible before applying sealer. This step is very important because as the wood dries, it makes room for the sealer
Apply the Sealer
In most instances, applying the sealer with a sprayer is the easiest, fastest method. However, sealer can be applied with a brush or roller as well. The pros will often apply the sealer in a thin coat and allow it to dry completely. The first coat will often require as much as 50% more sealer than the subsequent coats because the first coat does most of the sealing. The additional sealer will be absorbed into the wood, protecting it from the inside out. Additional sanding or scuffing is not usually required between coats as it may be with other projects. Once the first coat has dried, another thin coat is applied and so on until the desired thickness is reached.
CertaPro Painters® of Northeast Georgia offers staining and painting services for fences, porches, decks, and more! Each home is an individual when it comes to color contrasts, and you can trust your local team here at CertaPro Northeast GA to help you get the best results possible. Call today at 770-554-9275.


