Stained Trim Conversion for Milwaukee Homes
Posted on May 9, 2023
Milwaukee, Wisconsin homeowners looking to update their homes without spending much money may consider stained trim conversion. This is a great way to add color and personality to your home without a full renovation. In this article, we will discuss the benefits of stained trim conversion and provide some tips on how to get the most out of this type of transformation.
Understanding Stained Trim Conversion
Stained trim conversion is a great way to update the look of your home without spending a lot of money. The process involves taking existing white or natural wood trim and staining it with another color. This can be achieved easily in a number of different ways, such as painting, staining, or even using dye. Depending on the type of stain you use, this can drastically change the look of your home in just one day.
Benefits of Stained Trim Conversion
One of the main benefits of stained trim conversion is that it’s much more cost-effective than doing an entire renovation project. It also adds visual appeal to any room and gives the house a customized feel that significantly enhances its value.
Moreover, since the finish is often more durable than paint, you’ll enjoy the look of your stained trim conversion for many years. Additionally, this process requires very little maintenance and can easily be touched up if refinishing is necessary.
How to Choose a Stain for Trim Conversion
When it comes to choosing a stain for trim conversion, there are several options available. Each type has unique characteristics, so you must consider them carefully before deciding which one is right for your home. Some popular types include water-based stains, oil-based stains, and even synthetic dyes.
In addition, each type can come in different colors and levels of transparency, so consider this when selecting. Once you’ve chosen the type of stain you’d like to use, read up on how to apply it properly. Different methods may be necessary to achieve an even finish depending on the product.
Preparing the Trim for Staining
Suppose the wood trim hasn’t been treated with a protective coating; clean and sand it first. This will help to ensure that your stain adheres evenly and looks great when finished. Any loose paint or dirt should be removed before staining begins. After that, use medium-grit sandpaper to even out any rough spots on the trim’s surface.
Once everything is smooth and clean, remove the sawdust with a damp cloth before applying the stain.
Applying Stain Properly
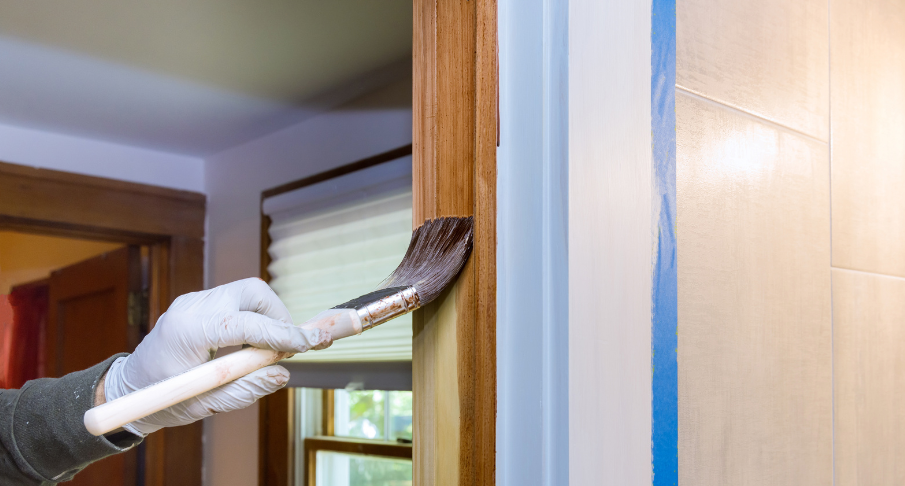
When applying stain, make sure not to let it puddle in any areas since this could cause discoloration or an uneven finish later on. Start using a brush with soft bristles and carefully apply one coat of stain. To ensure the stain is spread evenly, brush in a lengthwise direction on each trim piece.
Once done, let the stain soak into the wood for about 10 minutes before wiping away any excess with a clean cloth. Additional coats may need to be applied depending on how dark you want your finish to be. Allow ample drying time between each coat and lightly sand between coats if necessary.
Finishing Up
When satisfied with the color of your stained trim, seal it with two thin layers of polyurethane for extra protection against wear and tear. Let each coat dry before applying another, and use long strokes when brushing on the polyurethane for an even finish.
Maintaining Stained Trim
Regular cleaning is key to keeping your stained trim looking its best. Dust and dirt can be easily wiped away with a damp cloth, but more serious scuffs or scratches may require sanding and restaining to maintain the original look. Polyurethane can help protect against wear and tear in areas particularly susceptible to damage. Re-application of polyurethane every few years will keep your stained trim looking great.
Common Stained Trim Issues
Stained trim can be susceptible to warping, cracking, and fading over time. Achieving a uniform color throughout the space is often difficult because the wood may not absorb the stain in certain areas for various reasons. Additionally, dust, dirt and other debris can accumulate on stained surfaces making it more difficult to keep them clean. Regular cleaning may not be enough if your stained trim appears faded or has accumulated too much dust or dirt. In this case, you should sand down the surface and reapply the new stain to refresh its appearance.
Tips For Successful Staining
When staining your trim, it’s important to take your time and use multiple coats of stain for an even look. Be sure to test any new stains on a scrap of wood first to confirm that you like the color. Also, use a high-quality brush and make sure to feather out your strokes for an even finish. Finally, let each coat of stain dry completely before applying the next one. This will help ensure a consistent look throughout the entire space.
Conclusion
Stained trim conversion is a great way to update the look of your home without spending a lot of money. It adds color and personality to any space and can be done with minimal effort. With just a few supplies and knowledge, you can create beautiful stained trim that will last years.


