
Advice About DIY Interior Painting (and When to Call Us)
Posted on August 11, 2020


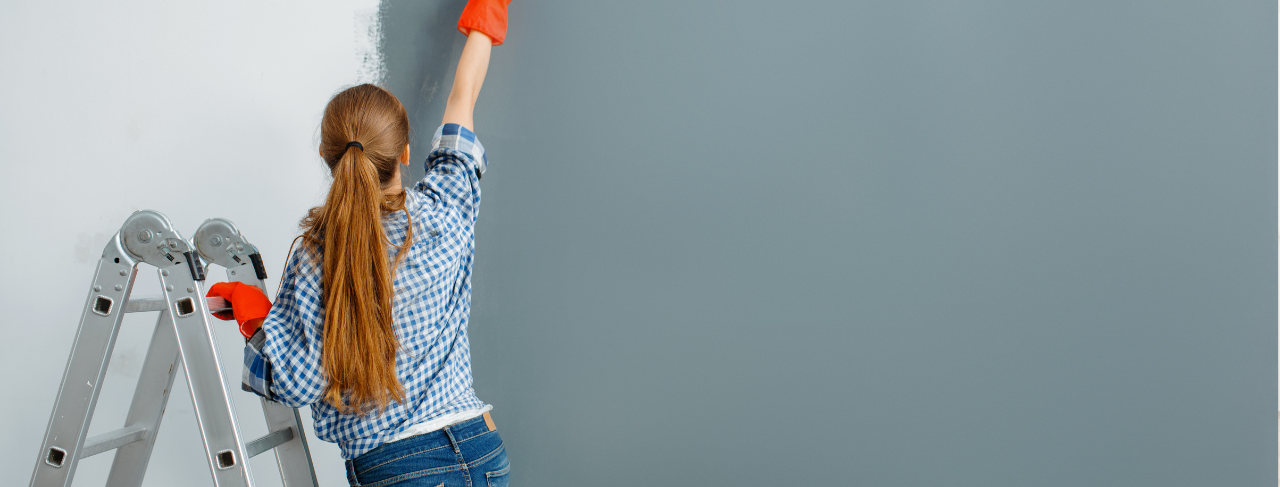
 Are you ready for a new lease on the interior of your home? Give it a makeover with a new coat of paint. Seems simple enough: a bucket, a brush and a bit of elbow grease. There is so much more to a great paint job. Here’s some professional advice about DIY interior painting and when to call us.
If you do need assistance with a painting project, book a free estimate appointment online.
Be patient
Painting professionals find that the one piece of advice they repeatedly give to DIY-ers is to have patience. Preparation takes up to two-thirds of the project time. It can be frustrating to be slowed down by taping and removing plates. In the end, the painting will take much less time and yield a better result.
Homeowners painting their own projects can take up to twice as long as professionals simply because they don’t have the same tools and training. When trying to save money on a painting job, consider the phrase time is money. Your painting could run as much as a professional when you factor in getting the tools, paint, and the hours you spend on it.
Move the furniture
Emptying out the room will make the rest of your project easier. Take all wall hangings, furniture and plates off of the walls. For best results move it all out of the room completely. This will reduce the time you spent shimmying around furniture while painting. By removing plates, you won’t need to spend time taping off the corners.
Be careful moving heavy, over sized pieces of furniture. You might need to call in some extra help to get items safely out of the way. If you don’t have room to move the items out of the room, put them in the center and tightly tape them with plastic coverings. It will help you avoid paint splatters on your nice sofa.
Protect you
You have made a big effort to protect your belongings, now it’s time to protect you. A rogue splatter can ruin your day if it lands in your eye. While doing your shopping, pick up goggles to protect your peepers. If you have old clothing that can be ruined, use those, or your paint store will have coveralls. If sanding is in order, consider a face mask to keep the dust out of your lungs.
Clean the walls
Before you begin the painting process, the walls need some preparation. Clean the walls with a mixture of three teaspoons of laundry detergent mixed in a gallon of water. Use an old towel or rag to wipe any dust and grime off the walls. Allow plenty of time to dry before moving on.
Fix issues
Use a halogen bulb to shine light on any imperfections. Correct dings, nailheads and other issues that could impede your finished product. Scrape off or sand any flaking or cracked paint. Taking extra time for this step will be worth it in the end.
Taping trim
Tape off anywhere you will have an edge on your paint. Look at ceiling joints, plates you haven’t removed, trim around windows or doors, etc. Professionals recommend using tin foil to cover things like door handles and sconces that are hard to tape off. Cover the whole surface of the object.
Floor coverage
Since paint can be a fickle medium, cover the floor with either cardboard or drop cloths. This will protect carpet or tile with the drop cloths to make clean up after your room is painted a snap.
Tools of the trade
Speak to a professional or representative at your local paint store about exactly what your project is. There are recommended brushes and rollers for every kind of paint and project. Getting the right supplies will ensure an easy and great-looking finished product. Some brands have created one-use brushes that are perfect for DIY interior painting projects. They are decent quality but not so costly that you need to keep and reuse them to get your money’s worth.
Preferred paints
There are aisles of paints and brands available for sale. How do you know what to choose? First narrow down the look and location of the paint. Each will make a difference. Do you need flat or glossy? Is it a trim or wall? Discuss all of the options with the paint salesperson. They will be knowledgeable and able to point you the right direction. When purchasing, get a bit extra but don’t overbuy. Typically a gallon of paint covers 450 square feet.
Prime time
Priming may be necessary if you are moving from a dark color to a lighter. For the most part, priming is generally not necessary when painting on top of neutrals or light colors. Bare drywall or dark colors require primer.
Directions
Start painting at the highest point in the room, the ceiling, if you are painting it. Work your way down the walls. Use a W shape on large open walls to paint. Repeat several times moving slightly to vary the pattern. This will ensure the best coverage. Give the walls four to six hours to dry between coats.
Caulk trim
Trim can pull away from walls in various areas. Before painting trim, use caulk to fill holes flat so the cracks will be hidden under paint.
Cleaning up oil-based paints
First, do not try to clean up oil-based paints in a sink. Thinner is required to clean these brushes and gear. Once you are done with the thinner, it cannot be disposed of in the garbage. It must be packaged and taken to a hazardous waste site.
