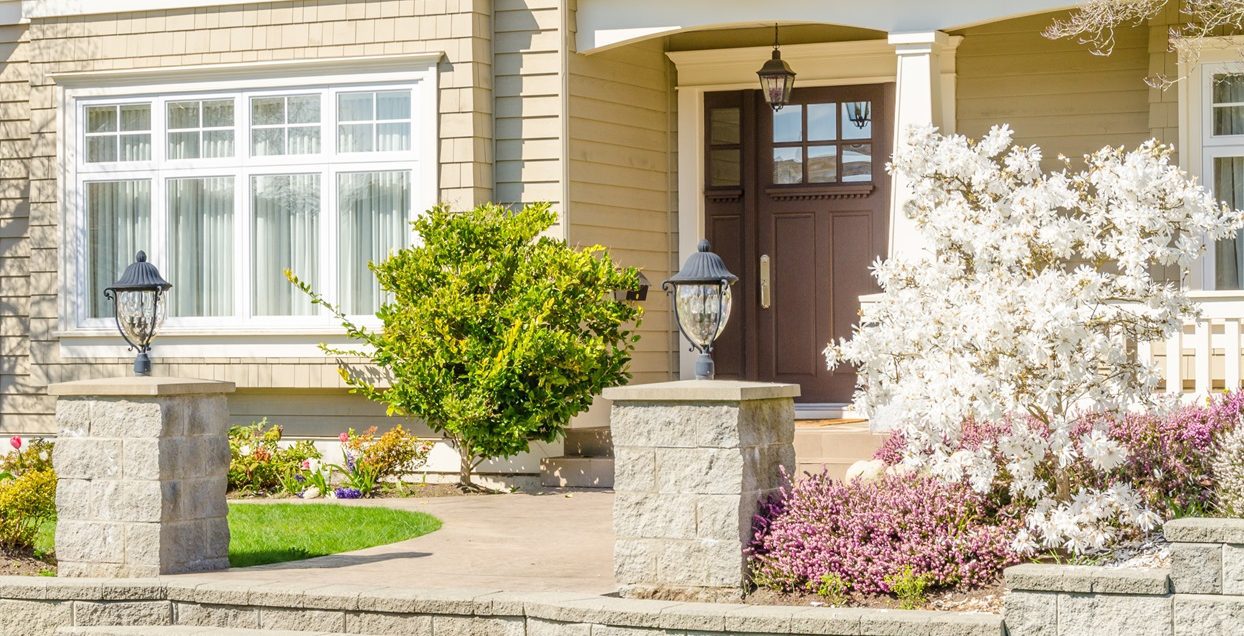
The Homeowner’s Guide to Wood Exteriors in Silicon Valley
Posted on April 1, 2025
In Silicon Valley, where cedar‑sided homes blend rustic charm with modern appeal, maintaining your wood exterior is key to preserving both beauty and durability. Painting a wood‑sided house, like those common in Northern California, requires careful preparation to ensure a lasting finish. Here’s how to approach it, tailored to Silicon Valley’s unique climate and aesthetic.
Why Wood Siding Thrives Here
Cedar siding and other wood sidings are popular in Silicon Valley for their durability, affordability, and natural texture, complementing the region’s mix of coastal and urban vibes. Wood’s porous nature makes it ideal for paint, which protects it from the area’s foggy mornings, intense sun, and occasional storms. Repainting before signs of failure—like peeling or cracking—keeps prep work manageable and extends your home’s life.
Assessing Your Home’s Needs
A professional painter starts with a walk‑around to evaluate your home’s exterior. In Silicon Valley, where salty coastal air and UV exposure can accelerate wear, look for fading, checkering, or peeling paint, especially on trim or south‑facing walls. Severe cases—such as rotten cedar boards or fascia damaged by tree sap or woodpeckers—may require carpentry to replace wood before painting begins.
Prep Work: The Key to Success
Preparation is critical for Silicon Valley’s wood‑sided homes. Start with power washing using a mild cleaner like trisodium phosphate to remove dirt and grease without saturating the wood. This step is gentler in the region’s mild climate, avoiding excessive water damage. Next, scrape and sand peeling areas to expose solid wood. For minor rot, apply wood filler and sand smooth. Corners, trim, and window frames—where water lingers in foggy weather—need extra attention. Replace failed caulking to seal seams tightly against moisture.
Priming and Painting
Once prepped, apply primer to exposed wood or replacement cedar siding to create a strong base for paint. In Silicon Valley’s climate, primer dries quickly, often within an hour. Then, apply high‑quality exterior paint suited for wood, ideally in colors that reflect the area’s earthy tones or bold modern hues. Professionals ensure even coverage, addressing problem areas to prevent future rot from coastal moisture or drainage issues.
Why Go Pro in Silicon Valley?
Prep work can take longer than painting, especially for intricate cedar‑sided homes in neighborhoods like Palo Alto or Los Gatos. Local pros, like CertaPro of Silicon Valley, understand the region’s weather challenges and aesthetic preferences. A thorough job ensures your paint lasts 10+ years, protecting your investment. DIY attempts often falter under the complexity of proper prep, making professional help a smart choice.
Get Started Today
For Silicon Valley homeowners, a well‑painted wood exterior enhances curb appeal and withstands the region’s unique conditions. Schedule a free estimate with local experts like CertaPro of Silicon Valley here. Your cedar‑sided home will stay stunning and protected for years to come.


