Deck Staining Guide: Repair, Revitalize and Maintain
Posted on June 17, 2019
A deck is the best place to wake up with a coffee, or relax after a long day with a glass of wine. As you sit on your deck, be sure it looks just as nice as you would like it, or your experience won’t be as pleasurable. This deck staining guide can help you beautify it to make it the most favorite part of your outdoor living space.
In this deck staining guide, you will learn what it takes to repair, revitalize and maintain. As you learn what goes into each of the projects, you may be interested in having a professional handle it. If that’s the case, know you can always reach out to CertaPro Painters® of Ottawa. We are a deck staining company committed to providing the very best in repairing, maintaining and revitalizing porches.
 How to Repair a Deck for Staining
It’s important to repair a deck before staining it, or it just won’t look as it good as it should. It should take you about 2 to 4 hours, and the difficulty of the tasks is intermediate.
You will need the following tools and materials:
- Chisels
- Awis
- Wood Fillers
- Claw Hammers
- Paint Brushes
- Wood & Deck Stain
- Deck Screws
- Box Nails
- Wood Sealers
Remove the Nails and Screws from the Damaged Deck Planks
Use a pry bar, screwdriver or drill to remove the nails or screws. If removing the screws/nails doesn’t allow you to removal the planks, use the chisel or saw to chop the board up to remove it.
Remove Rotted Wood
Inspect the joints for rotted wood, and remove any found. Put wood putty on the joists after removing the rotted portions.
Apply Wood Sealer
Damaged joists should have a thick coat of clear wood sealer applied on it. Allow it to dry and then apply another coat of it.
Reinforce the Joist
Use galvanized nails to reinforce the joist once the wood sealer is dry. The joist should be reinforced to the ledger.
Prepare the New Board
Cut the board you’re using to replace the damaged one.
Attach the Board
Use galvanized deck screws or nails to secure the new board to the joist. Be sure the new board is far enough from the its adjacent one to have the same space in between as the others.
Stain the Deck
Once the board is repaired, the deck is ready to be stained.
If you are only staining the board, do so before attaching it to the joist. Apply the stain on both side of the boards and on the edges. Allow to dry, and then attach it with the galvanized deck screws.
How to Stain a Deck
Deck staining can make a porch look brand new. The hardest part of staining a deck is the preparation. The good news is that while it takes a long time (often a day or more), it is at the beginner level for DIY projects.
What You Need
- Scrub Brushes
- Sandpaper
- Disc & Orbital Sanders
- Claw Hammers
- Cleaning Rags
- Drop Cloths
- Deck Screws
- Safety Glasses
- Paint Thinner
Clean the Wood
Remove dirt and pollen from the wood. A wood cleanser can be used, but follow the manufacturer’s instructions.
 Pressure Wash the Deck
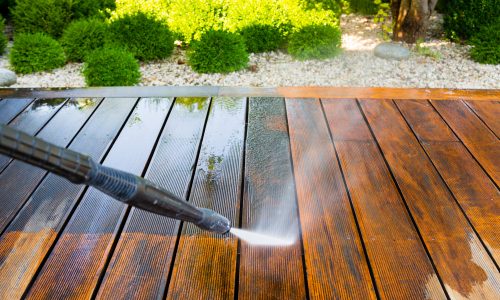
Remove the cleanser with a pressure washer setting the power to low or moderate.
Check for Mill Glaze
Mill glaze is when water beads on the wood. It means the wood isn’t porous. To correct this, sand lightly and scrub the area until the water absorbs into the wood.
Check for Mold or Mildew
Black spots when wood is wet can mean mold or mildew. Treat the area with a mildew or mold removal product.
Let the Deck Dry
Let the deck air dry completely.
Staining an Old Deck
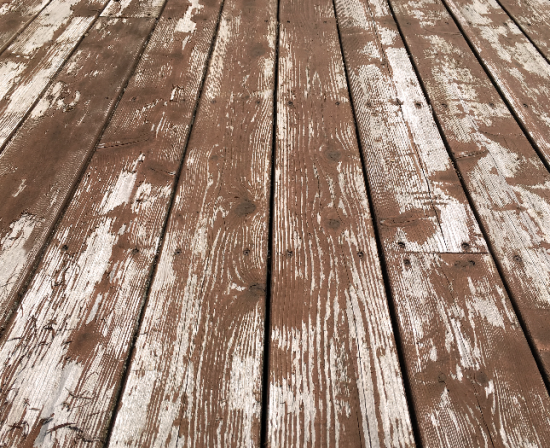
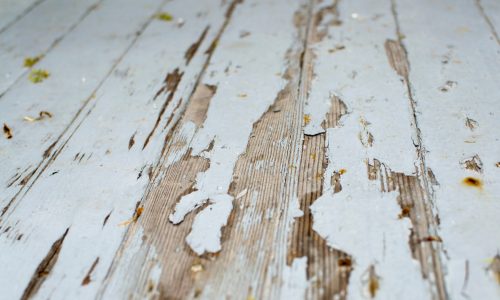
If your deck is old or already has paint or stain on it, you will need to remove the paint or stain with a stripper. Once all of the paint or stain is removed, you can follow the above process of cleaning, solving any mold/mildew problems, and allowing it to dry.
Staining the Deck
Test the deck to make sure it is ready for staining. All you have to do is pour a cup of water in a few small areas to see if it beads. If it does, you need to remove the previous stain or paint better.
Check the weather report. The deck needs to dry and cure for at least 24 hours, which means it can’t rain.
After you’ve performed the above checks, you’re ready to stain. Staining is simply using a paint brush to apply the stain on the deck. Take your time and brush the stain on slowly and evenly.
Maintaining a Stained Deck

Stain life depends on many factors, such as:
- Sun Exposure
- Wear
- Surface Prep
- Wood Condition
- Application Technique
All of the best circumstances, deck staining can last for as long as three years.
The best way to extend the life of the stain on your deck is:
Keep it free from debris.
Sweep the deck regularly to remove leaves, snow and debris.
Clean the deck annually.
Hose the deck at least once a year. Use a brush to get into the wood crevices. Avoid using high pressure washing on it, which could damage the stain.
Keep brushes, trees and vines from the deck.
Trim and cut any substrate away from the deck. It can degrade the stain and wood decreasing their longevity.
When to Turn to a Deck Staining Company
It may seem simple enough to repair, revitalize and maintain a deck, but most people find themselves wishing they called a deck staining company for the following reasons:
- The cost of the supplies and tools nearly makes it worth it to call a professional stainer because the cost of deck staining services are just as much.
- The work involved takes too long. It takes a lot of time to repair wood planks correctly.
- The work is too difficult. Many people start to repair their wood planks and quickly realize they don’t understand what to do.
- The stain doesn’t look even or dark enough.
If you’ve never stained a deck, it’s better to pay for a professional to do it because it really is a project that takes knowledge, experience and skill.
CertaPro Painters® of Ottawa has stained many decks and can make yours look brand new. Contact us today for an in-home estimate. We will come to your home, assess the deck’s condition, and then provide a fair estimate.


