3 Effective Tips for Removing a Textured Ceiling in The North Shore
Posted on October 11, 2024
Popcorn ceilings were once a popular choice, but like many home design trends, they have fallen out of favor. If you’re ready to say goodbye to the popcorn ceiling in your North Shore home, you might wonder how to tackle this messy project and what to do once it’s removed.
Popcorn ceilings, despite being hard to clean and prone to dust accumulation, were a go-to option for hiding imperfections and providing an easy finish. But if you’re looking to update, you have three main options for removal:
3 Tips for Popcorn Ceiling Removal
The answer depends on the condition of your ceiling. If it’s in relatively good shape, you have more options to choose from. Below, we break down each method to help you decide the best approach for your North Shore home.
1. Scraping
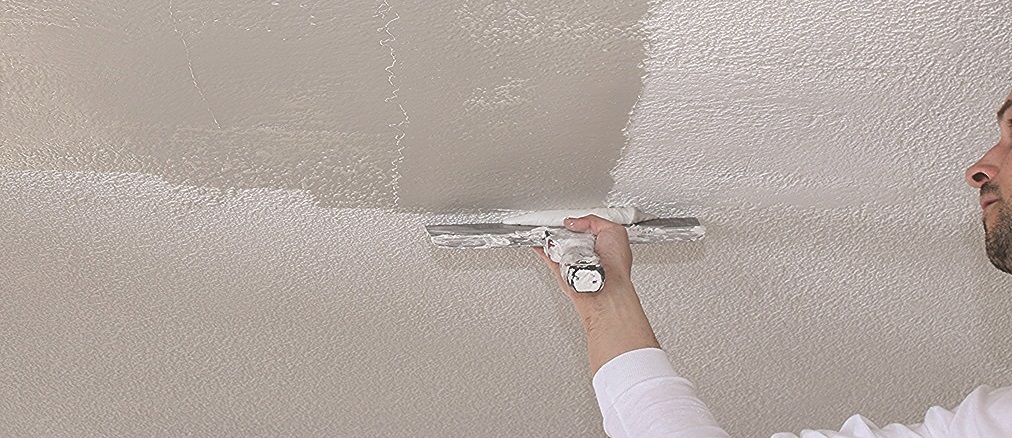
This is the most common and often the most challenging method. Using a 4-inch drywall knife, you’ll begin chipping away at the popcorn texture to reveal a smooth surface underneath. However, it’s messy, time-consuming, and may require applying a skim coat of joint compound to even out the surface before sanding and painting.
If your home in the North Shore was built before 1979, proceed with caution—many older popcorn ceilings may contain asbestos or lead, so it’s critical to have your ceiling tested before starting this process. CertaPro Painters of the North Shore always inspects for hazardous materials and follows strict safety procedures if they are present.
Pro tip: Some professionals recommend spraying the ceiling with water before scraping to loosen the popcorn texture. Others argue this just creates a sticky mess. Our team can determine the best approach for your ceiling.
2. Cover with Drywall
For North Shore homes where the popcorn ceiling has been painted over multiple times, scraping may be too labor-intensive. In these cases, covering the ceiling with gypsum board is a more practical option. This lightweight drywall is attached to the ceiling framing with screws and then mudded to create a seamless finish.
If you’re concerned about asbestos or lead in the ceiling, sealing the popcorn in with drywall is a safe, effective solution that prevents the release of harmful particles. It’s also a great way to achieve a perfectly smooth ceiling.
Pro tip: If you plan to DIY, rent a drywall lift. It will save you time, effort, and help keep you safe while handling large sheets of drywall.
3. Skim Coat on a New Design
For homeowners in the North Shore who appreciate historic charm, a textured ceiling may be more appropriate than a smooth one. Skim coating with drywall mud can give your ceiling a fresh texture that matches the aesthetic of older homes.
This process involves applying quick-set drywall mud with a trowel to create a textured finish. It’s commonly seen in homes aiming to recapture an original style or historic look. Make sure your ceiling can support the extra weight of the texture before proceeding.
Pro tip: Use quick-set drywall mud for skim coating, and follow up with ready-mixed joint compound for touch-ups. Be cautious about moisture in the compound, as it can cause shrinking and impact the final look.
Why Hire CertaPro Painters of the North Shore?
Removing popcorn ceilings is a labor-intensive process that requires special tools for scraping, sanding, and managing the dust and debris that accumulates. It can also be time-consuming, especially in larger homes or rooms with higher ceilings—both common in the North Shore. If your ceiling contains intricate popcorn patterns or if the space is furnished, the process becomes even more complicated.
CertaPro Painters of the North Shore has the expertise, equipment, and experience to remove popcorn ceilings quickly and efficiently, transforming your home with minimal disruption.


