
Helpful Professional Tips for Painting Trim
Posted on February 1, 2022


When we start a do-it-yourself painting project, many of us dread painting the trim. Often, we envision ourselves spending hours on a step ladder or flat on the floor. Professional painters have developed tips and tricks to help alleviate the effort required to successfully paint interior trim work. Today, we will share a few of these tips to help make your next trim painting project easier.
Pro Tips For Painting New Trim
When professionals are installing new trim, they often perform as much of the project as possible before they step onto a ladder. They have learned that the more comfortable you can be, the less exhausting the work becomes. For example, these pros will rarely install trim and then paint it. They have realized that trim like baseboards, crown molding, casing, and quarter-round usually come in long (often 12’ or longer) sticks. The pros will often avoid cutting the trim to length before painting in case an adjustment is needed later.
Next, they typically set up sawhorses and line the trim upon them so that several pieces can be painted simultaneously with a roller, but just as often a paint sprayer is used. Using this method is very fast and results in only minor touch-ups in most cases. This method is especially useful when the trim will require multiple coats because the painter can apply as many coats as needed, yet only set up the project one time. Reducing trips up and down a ladder often results in less fatigue and hassle.
Pro Tips For Painting Existing Trim
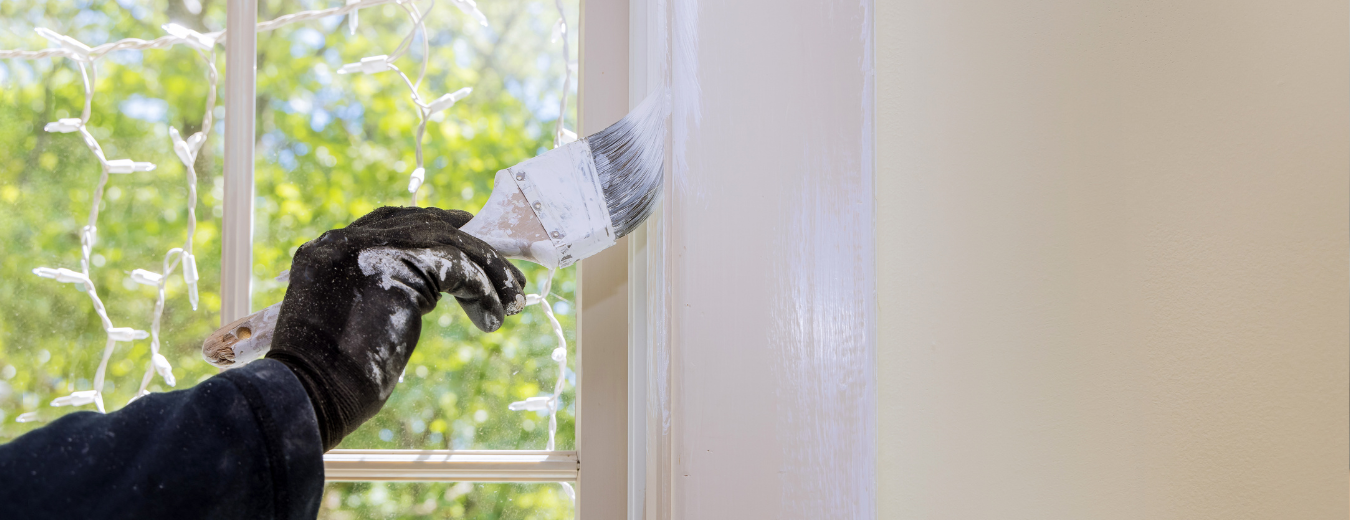
If the trim is already installed and in need of some TLC, there are still methods and tools available to reduce the workload. Most of these techniques involve special tools like edgers, detail brushes, and paint guards. Other tools like paint sprayers, walk boards and scaffolding also make the job easier, but today we will focus on tools most DIYers will have available.
Use Edgers When Possible
Edgers are special paint tools that apply the paint evenly but only in a straight line. Often made from molded plastic, edgers resemble trowels or other flat, handled tools and contain short fibers. These fibers are loaded with paint and the edger is simply pulled against the trim. The perfectly straight edger rides against the trim as it is pulled, distributing the paint evenly. This tool is great for keeping a straight line while preventing the paint from contacting the wall.
Using Painter’s Tape and Adhesive Film
Another common trim painting method used by the pros involves masking. Masking is the process of using these materials and others to prevent paint from contacting nearby surfaces. Most of us are familiar with using masking tape when painting, however, regular masking tape can be difficult to remove. A more modern option is painter’s tape, which is usually either green or blue, for this masking. Painter’s tape removes easily and is designed to keep edges crisp.
Another option the pros will use is adhesive film. The adhesive film is available in rolls and resembles food wrap. Just like food wrap, this film is self-adhesive and designed to be applied to areas adjacent to the painting to protect the wall. This film is often up to 12” wide, making it very effective in preventing overpainting and drips from contacting the wall. However, the pros will also keep a wet rag handy to wipe off any overpaint before it dries.
