Kitchen Cabinet Painting Process
by CertaPro Painters® of Greater Media, PA®
If your kitchen cabinets are high quality but with a finish that is worn or outdated, then painting the cabinets is a cost-effective alternative that yields excellent results. CertaPro of Greater Media are experts in Kitchen Cabinet painting. Our success is based on the process noted below.
Is Painting Kitchen Cabinets a worthwhile project?
To begin, looking at your project’s ROI is important. A good rule of thumb is to multiply each knob in your kitchen by $125 for an approximate price to repaint a cabinet or drawer. This total will be typically less than 1/3 the price of installing new cabinets. CertaPro only recommends painting kitchen cabinets they are high quality. In the case of cabinets with inexpensive wood or damaged veneers, it will be recommended that money would be better spent on new cabinets.
Paint
CertaPro will use an oil-based primer followed by 2 topcoats of Sherwin Williams premier enamel paint. The oil-based primer provides excellent adhesion to the prepped surface and prevents any tannin bleed through, eg. Wood knots. The enamel paint has a harder, gloss finish than latex paint and will stand up to scuff and wear.
Application
CertaPro uses a sprayed-on finish since it is the smoothest option. A special HDLV (High-Density Low Volume) sprayer is used. It takes experience since there is a learning curve for spraying properly.
Work Area
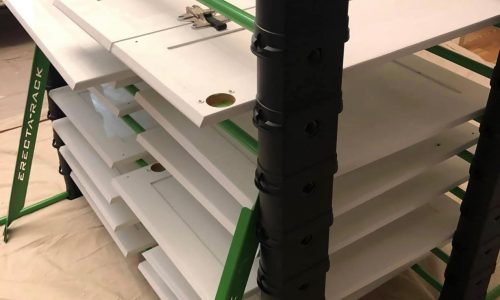
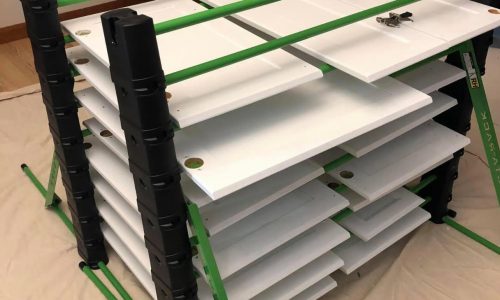
CertaPro will set up a protected workstation that minimizes disruption to family routine and eliminates any chance of overspray e.g. in the garage, on the deck for painting doors, drawers, and shelves. The workstation will use rack storage.
Preparation
Yes, it’s all about the prep. All the exterior surfaces of the cabinets will be thoroughly cleaned followed by sanding. All the areas in the kitchen that could accidentally get sprayed or dusted will get masked off, including countertops, cabinet interiors, and appliances. A Festool dustless sander with a HEPA filter will be used to increase productivity while minimizing dust.
The preparation consists of several steps:
Emptying the cabinets and clearing off the counters
Relocating furniture to another room.
Tape paper over the countertops and flooring
Tape plastic sheeting over the backsplash, windows, fixed appliances, and interior doorways.
Mask off the wall around the cabinets.
2. Remove the doors, drawers, and shelves
Each drawer will be marked, behind the hinges, to ensure they are returned to their original spot The best place for this mark is behind the hinge location. Working from left to right, top to bottom, each drawer will be marked with a numbered piece of tape. Also, CertaPro of Media will number the edges of cabinet shelves and the bottoms of drawers.
3. Clean all surfaces
Cabinets will be cleaned with a degreaser solution and/or TSP and wiped down with a rag. This removes all the oils and grease that could prevent a perfect finish.
4. Prepping the cabinet boxes
A Festool or hand sander will be utilized to scuff all exterior surfaces of the cabinet, drawers, and doors. This is a light sanding that gives the primer a surface to adhere to. This will be followed by vacuuming the cabinets inside and out to make certain no bits of dust will compromise the finish.
5. Priming the cabinet boxes
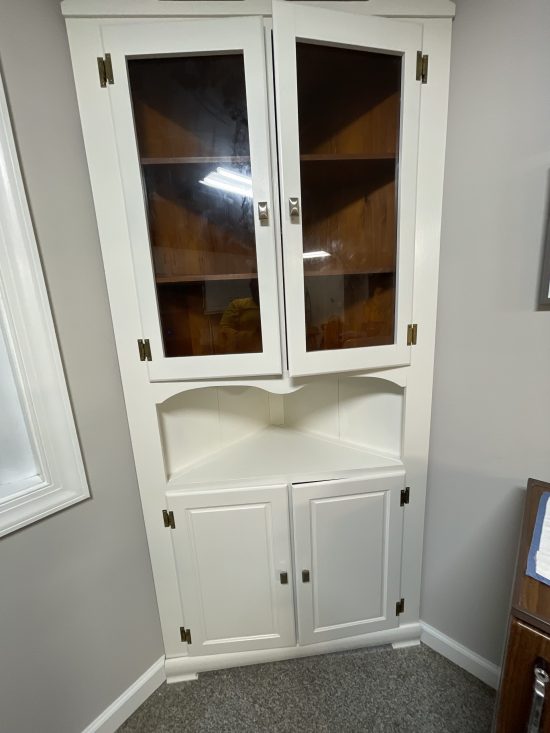
An oil-based stain-blocking primer will be used. This dries quickly and seals knots and other surface defects that might bleed through the topcoats. Starting at the top of the cabinet, the primer will be sprayed across the grain
6. Sand, caulk, and fill
Once the primer is dry, the flat surfaces will be sanded with 220-grit paper. The goal is that the wood
should end up feeling glass-smooth. A thin bead of latex caulk will be applied to open seams and spackle on rough spots. Once the spackle is dry (about 60 minutes), it will be sanded again with 220-grit paper, vacuum, and wiped.
7. Painting the cabinet boxes
Sherwin Williams premier cabinet enamel paint will be sprayed onto the surface using the HDLV sprayer. Between coats, the surfaces will be sanded lightly, making sure to clean up the debris afterward. A second coat will be applied to provide a perfect, consistent finish without any thin or light areas where wood might show through.
8. Prep, prime, and paint the doors, drawers, and shelves
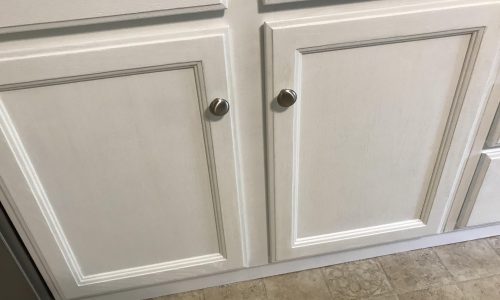
Painting paneled doors starts with spraying the area around the panel followed by the main field of the panel and finishes with the stiles and rails around the edges. Doors and drawers are suspended on the special portable rack until their dry.
9. Reassemble the drawers and cabinets
Once the second coat dries, the doors and drawer fronts will be reattached. The tape will be removed over each door’s number, hinges and knob installed, and drawer pulls added or reinstall for each drawer. Doors that did not close properly will be repaired for smooth operation. This includes hinge replacement if necessary.
Free In-Home Consultation
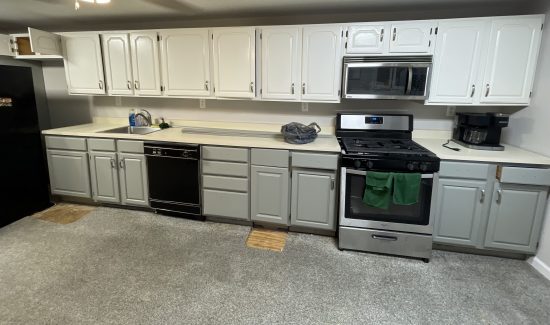
During your consultation, our professional color and cabinet painting specialist will go over samples and color choices. We will provide an action plan to get the project done in a timely manner that works best for your schedule.
Please call our office at 610-679-9629 for more information or schedule an estimate to get started on your beautiful new look!


