
10 Mistakes You Make in Kitchen Cabinet Painting
Posted on September 17, 2019


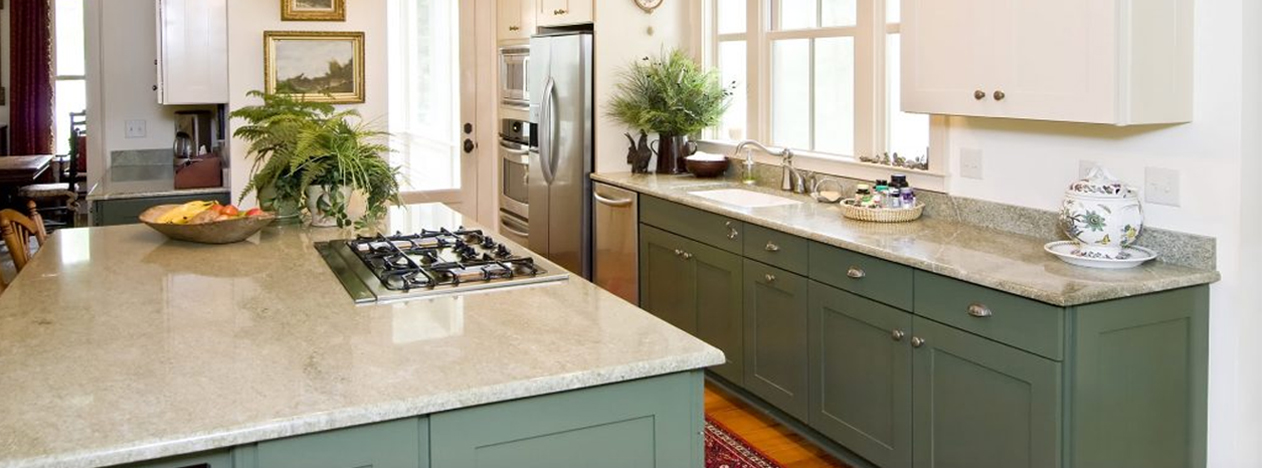
Painting kitchen cabinets can give you a new feeling kitchen, for far less money. So what’s the problem? It’s a surprisingly time consuming and difficult project to take on. May DIY experts have fallen to hopelessness mid-project. Here are 10 mistakes you make in kitchen cabinet painting.
1. Weekend project.
You can be the best painter and still have imperfections show through on your painting. Do not plan to complete this project in an afternoon. The outcome is directly correlated to the preparation and time you put in.
2. But I’m fast.
Websites and Pinterest can lead you astray with their suggestions that this is a quick and easy way to update your kitchen. A professional with the tools and know-how might be able to finish the project in a weekend. More than likely a novice will nee longer. Remember, pros don’t have interruptions for lunch breaks and family errands.
3. My cabinets are clean.
Even the cleanest of kitchens needs the cabinets wiped down before the project starts. It’s important to degrease the areas you are painting. Grease on the cabinets will cause the paint to slide off of the doors, rather than adhering properly.
4. I’ll just be careful around hardware.
Some painters choose to tape off hardware, while others think they can just carefully paint around it. Ideally, removing the hardware is for the best. It’s a step that takes time, but will be worth it in the long run. A paint film that continues under high-touch hardware will avoid cracking and peeling from fingers. The only way to get this full film is to take the hardware off.
5. I know where the doors go.
More than likely, after a week of moving doors around, you’ll have no idea where the doors go. It’s important to label the doors as you remove them and avoid this jigsaw puzzle at the end. Use a piece of masking tape on the inside of each door and a marker to label them.
6. I can skip the sanding.
Regardless of the shape of your cabinets, you’ll need to sand them. A new coat of paint cannot adhere to the slick finishes on them. Use a middle sandpaper, 150 grit, and give each door a scrape up. You do not need to sand down to bare wood, just get beyond the finish.
7. I cleaned the dust as I went.
Every cabinet has dust, especially after a sanding. Get the vacuum or tack cloth to wipe down all of the cabinets. Nothing ruins a job quicker than dust specks in a finished project. Cleaning the doors and cabinets down will avoid messes later.
8. Priming isn’t necessary.
Priming provides another layer of protection to hide imperfections and issues from showing through your new paint. It also gives the paint another layer to adhere to. This is important for cabinets which experience a lot of touch and use throughout a given day.
9. This color will be fine.
Before you start this project, you should make sure you are committing to a color you will like for quite some time. This isn’t the time to go with what’s on trend. Because the project is quite time-consuming, it’s not likely you’ll want to take it on again next season because the barn door red trend has passed. Use a big poster board to paint a sample. Place it around the room, in front of the cabinets to give you and idea how the light throughout the day and night will react with it. Check how the color works from other rooms within the line of sight. This will help you be confident in your color choice.
10. It’s dry enough.
If you have to say it, the doors are not dry enough to put back together. Moving to reassembly too quickly can cause doors to be fingerprinted, dinged and dried together. What good is a cabinet if the door is painted shut?
Questioning whether you are up to the challenge? We’re here for you. Get a free, in-home estimate to have our pros paint your cabinets.
