
How To Touch-Up Your Cabinets Like a Pro
by CertaPro Painters of Portland
Painting cabinets is a great way to freshen up your kitchen, bathroom, or built ins and it really brightens a space! Unfortunately, over time, even high quality coatings professionally applied show signs of wear and tear. The good news is that it doesn’t take a professional painter to touch up cabinets and dramatically improve their appearance!
Our family moved into our home 10 years ago. This bathroom was remodeled and a new vanity was installed and painted using Benjamin Moore’s Advance product, a great, durable option for the woodwork in your home. The painters used a spray application for the product, giving the cabinets a beautiful, smooth finish. If you’ve ever painted cabinets yourself, you may have wondered why they didn’t match your vision. The reason is likely the application method, as well as the extensive prep work that professionals like CertaPro Painters complete before applying paint.
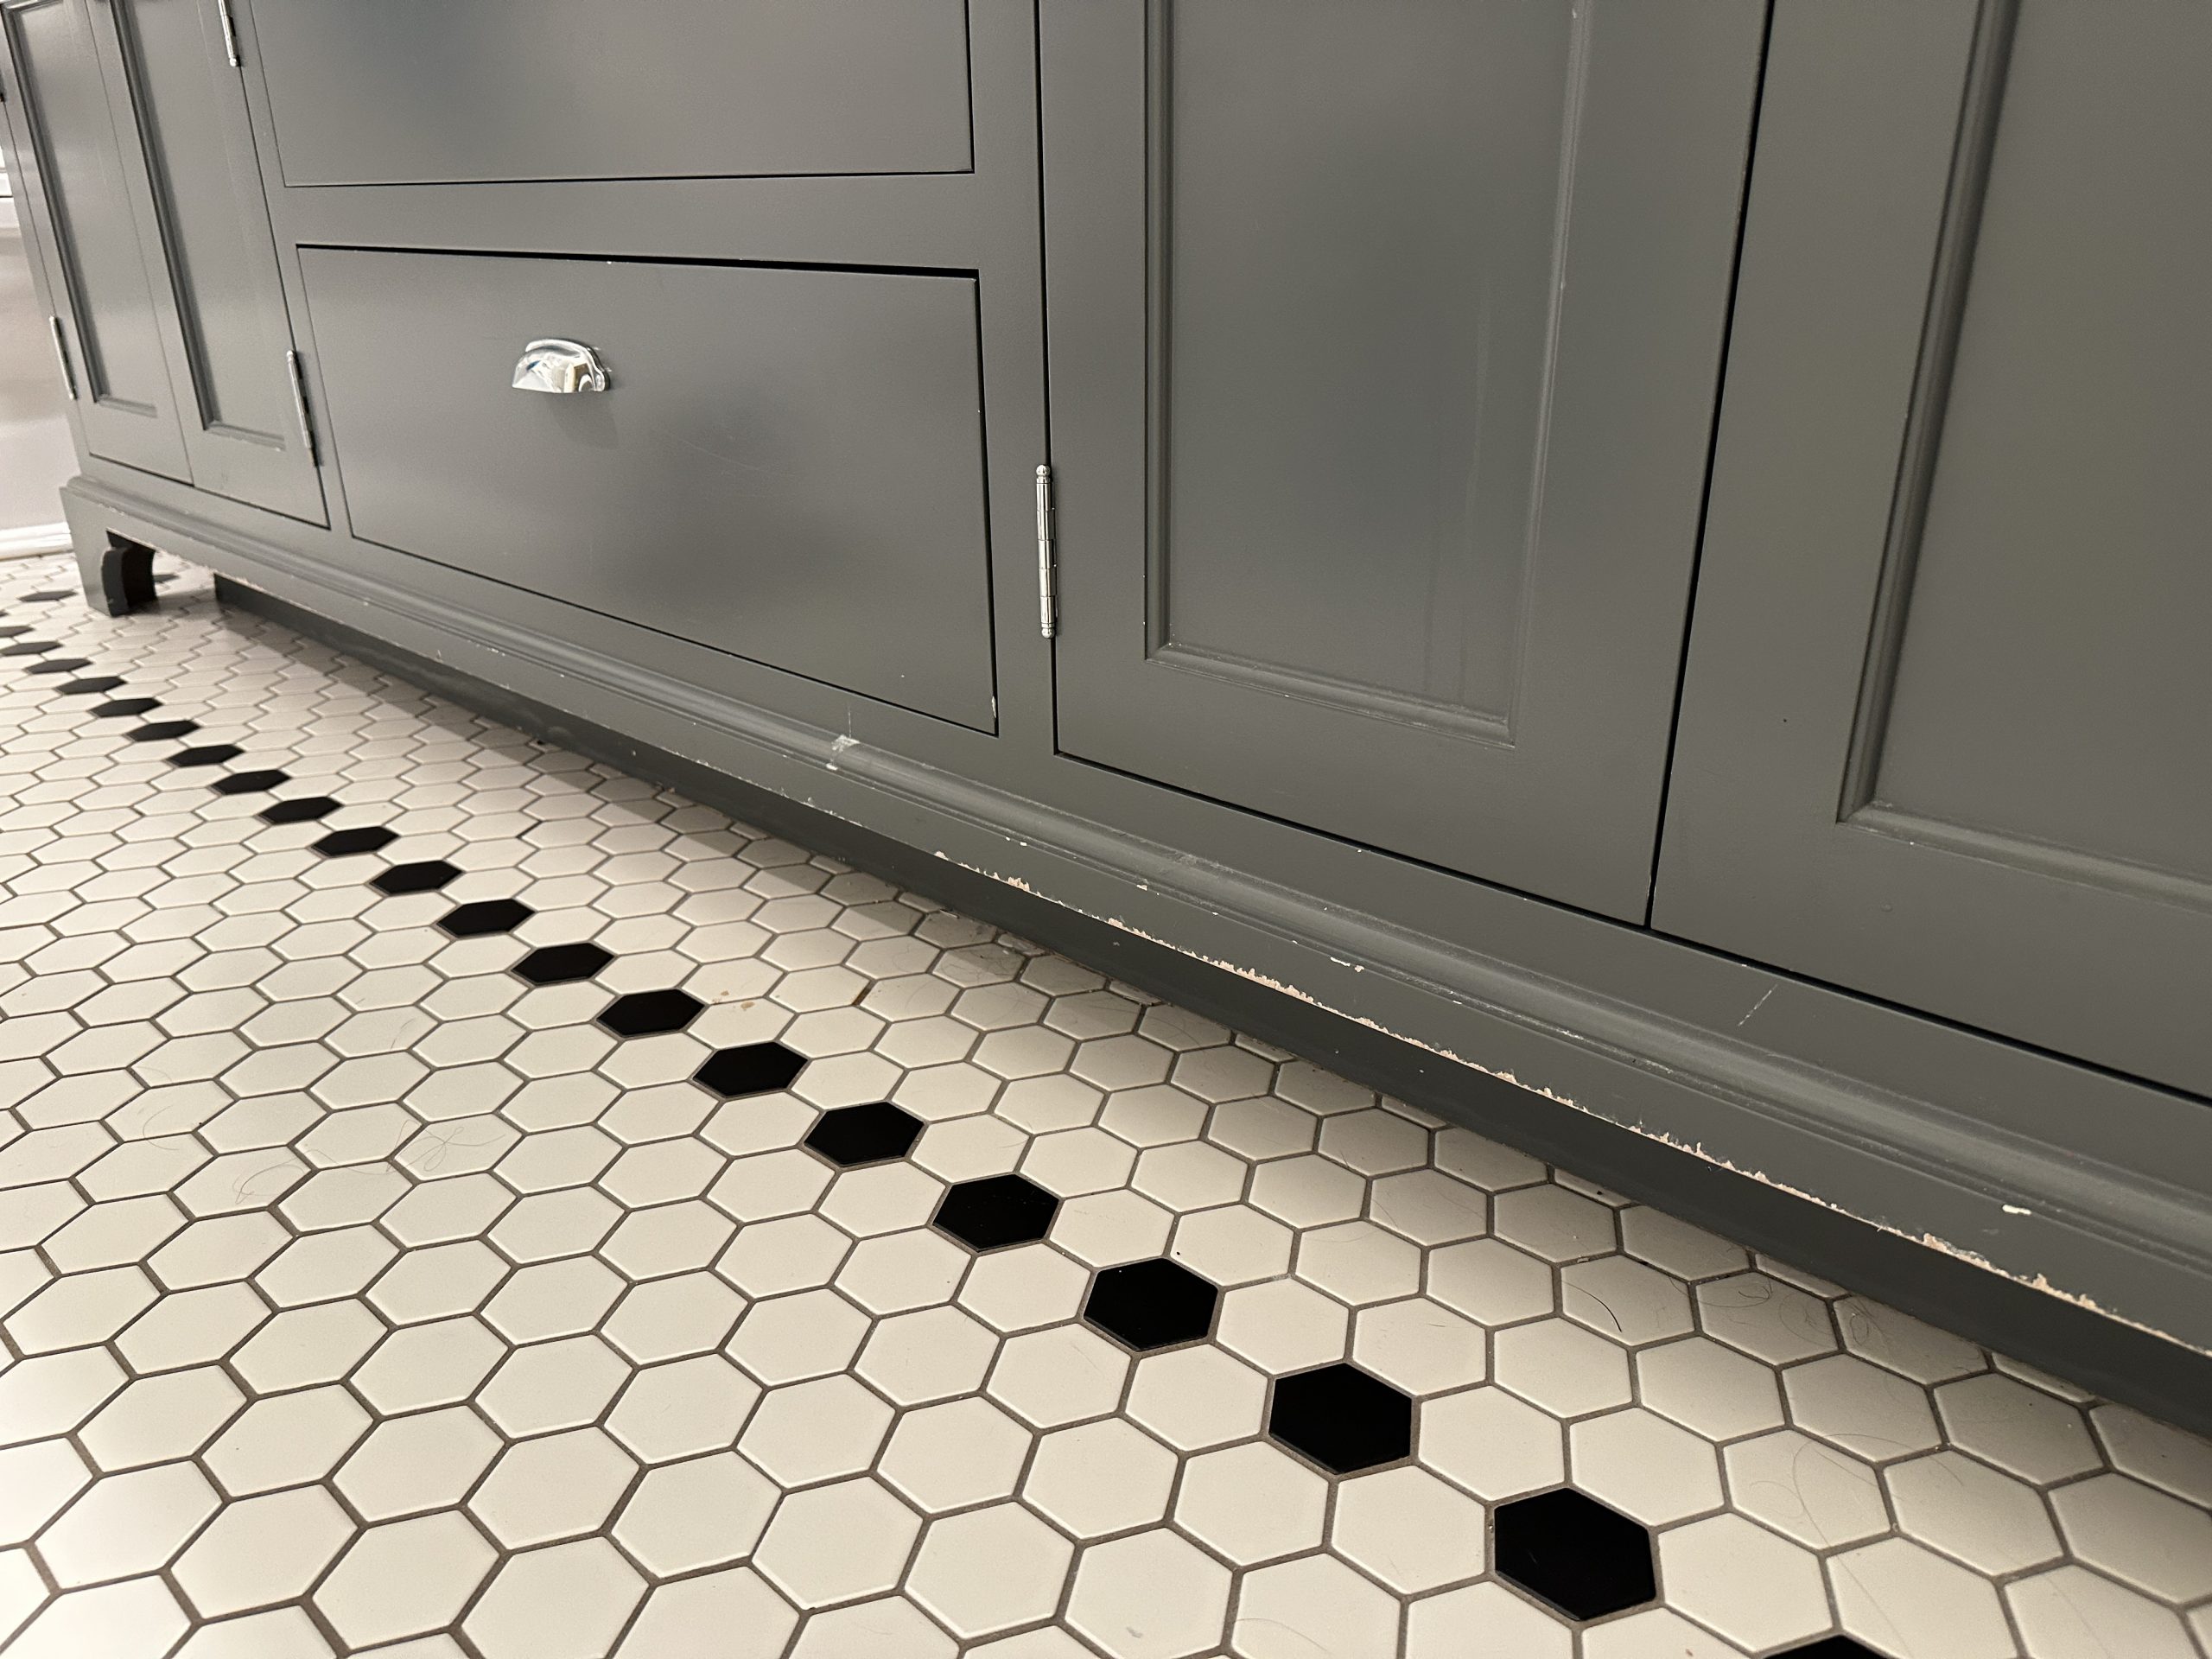
This bathroom was our kids’ bathroom, and they were 3 and 5 years old when we moved in. They needed stools to be able to reach the sink for a few years after we moved in! Those stools did a number on the bottom of the cabinets! If you have kids, you know you just can’t have nice things! The stools went away a few years ago now, but with those same kids also being responsible for cleaning the bathroom, it didn’t seem worth the time to touch up the cabinets only to have a couple rookie cleaners slam into them with the vacuum, broom, and mop. Now that we’re through the awkward stage of middle school, the time is right to get these cabinets looking fresh and clean again.
The first step for me in this project was managing my own expectations. When these cabinets were originally painted, the wood was new and the coatings were professionally applied in a spray booth. For touch ups, I’ll be using a small brush and I’m not using and wood filler, so if I look closely, I’ll most likely notice a difference in the finish on the touched up areas, and the wood will still have the dings that it had before I started. Keep an eye out for another post on filling those dings before painting.
Speaking of a brush, let’s get to it! Here’s a step by step guide with photos to help you touch up minor scrapes on your cabinets or woodwork with ease!
Step 1: Manage Expectations! See above.
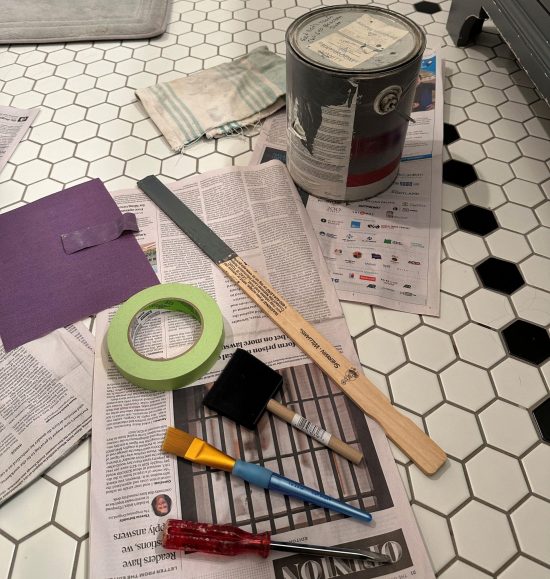
Step 2: Gather your supplies.
To complete minor touch ups, you’ll need:
- Newspaper or drop cloths to protect your floor. Don’t skip this! It takes so little time to put something on the floor, but cleaning spills can be a different story.
- A damp rag.
- Vacuum (optional). It seemed like a good idea since this is our daughters’ bathroom and their long hair is everywhere. I don’t want it in my paint!
- Stir stick
- Paint brush. I used a small paintbrush from a kids’ crafting set. For touch ups, generally a brush no bigger than an inch is plenty. A larger brush holds too much paint, and the key is to do thin coats in small areas.
- Paint, along with something to open and close it with. Of course there are paint opening tools, but I just used a flathead screwdriver, then closed the can with a small hammer in our basement.
For these small areas, I didn’t use primer or wood filler. We’ve got another “How To” post on larger touch up areas coming.
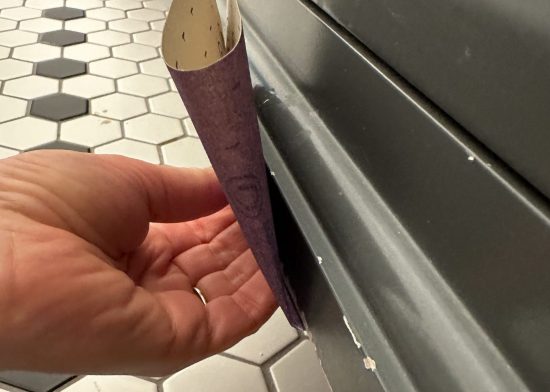
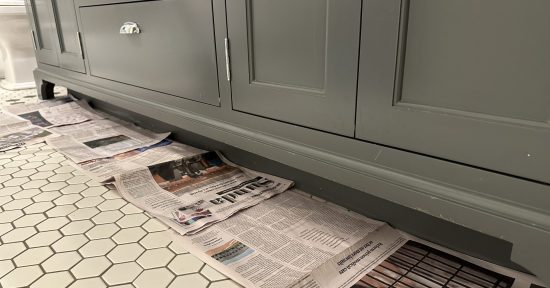
Step 3: Protect the area.
Get your newspaper or drops down below where you’re working. Make sure you also have something below your paint can and below the lid. I recommend keeping those items out of the way of where you’ll be moving. Bumping into your can and sloshing it is not any fun!
Step 4: Lightly sand the areas you’ll be touching up.
The goal of sanding here is to gently abrade the surface of the paint and also to smooth any rough edges where your paint may have been gouged. Abrading the surface helps give the new paint something to grab on to. That doesn’t require much elbow grease. Keep the area you’re abrading small, and just lightly scuff it up. For gouges, you might want to put more effort into sanding down the edge of the old paint so the level change between old and new is less noticeable.
Step 5: Clean.
We’ll need to get any dirt, debris, hair, toothpaste drips, and the dust from sanding off the surfaces we’ll be painting. We don’t want any of that in our new paint. First I vacuumed the area, then wiped it with my damp rag. I went over a few areas a second time to make sure I got everything. Paint won’t stick to dirt and dust.

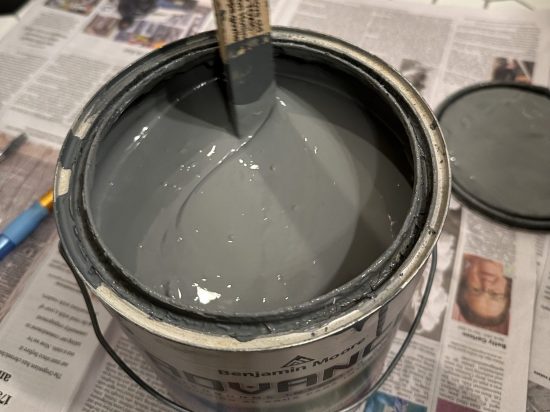
Step 6: Get your paint ready!
Make sure the lid is securely attached, and hold on to the lid while you shake the paint. Shake for longer than you think you need to. Our paint had been stored properly in a cool, dry place and not allowed to freeze (super important!) for 10 years. It had separated and needed a lot of shaking. After shaking, open your can, get your stir stick and stir. Keep stirring. You want to make sure the color is evenly distributed and the paint has a consistent texture.

 Step 7: Grab your brush and paint.
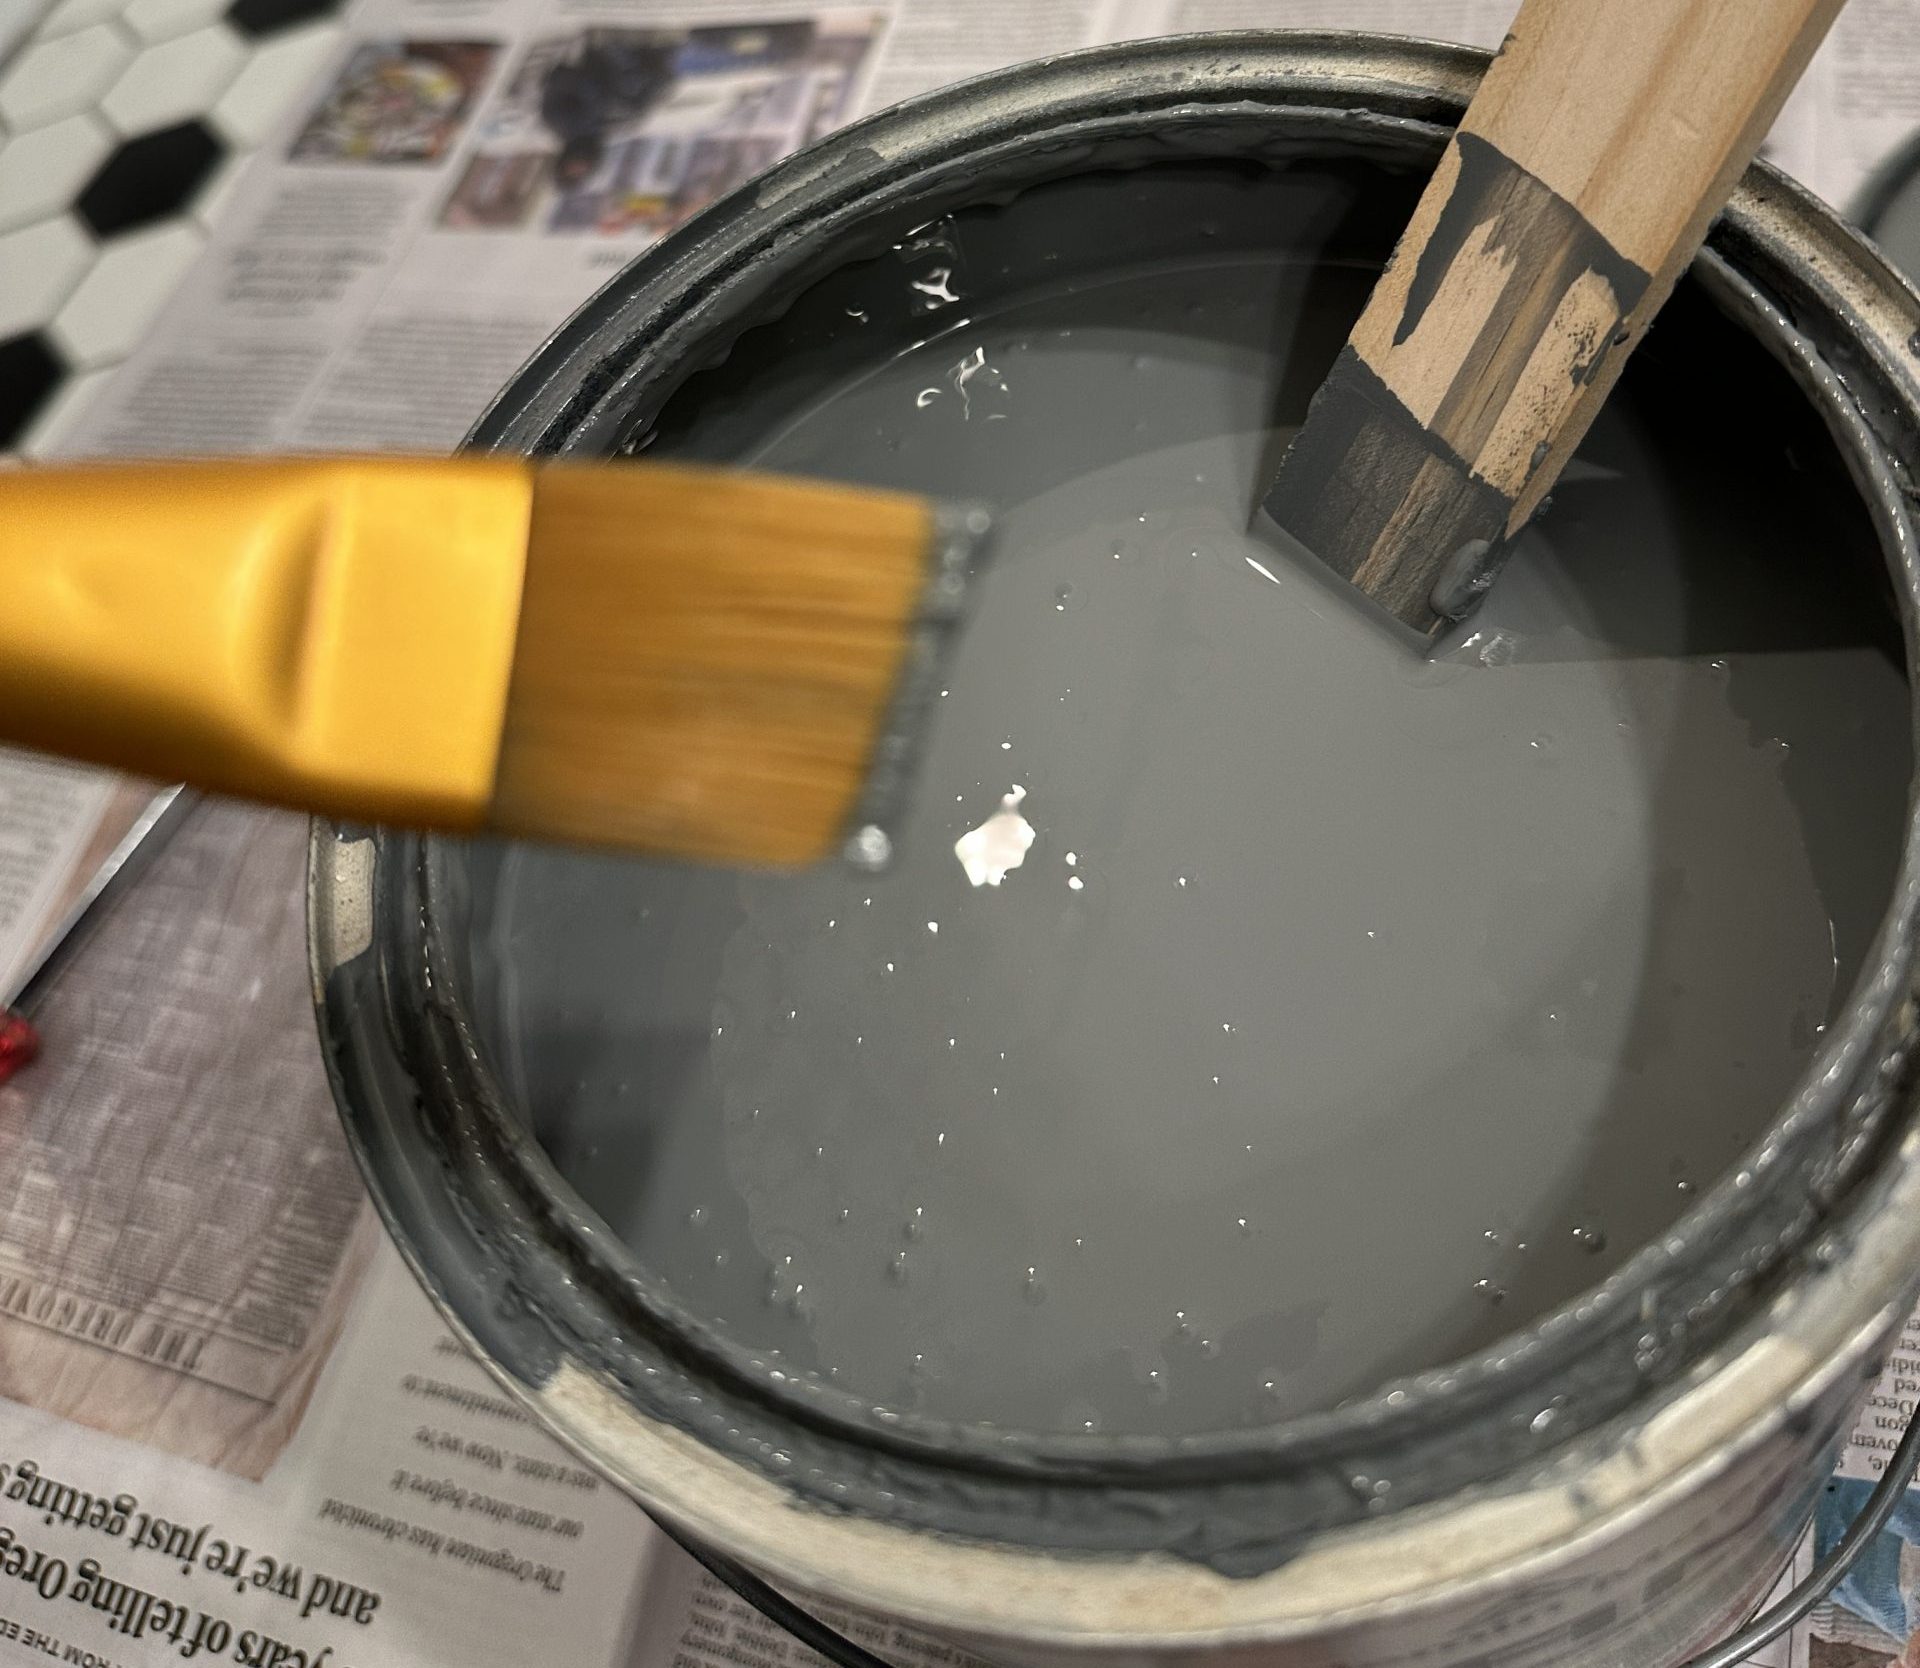
The moment has arrived! Put a tiny amount of paint on the end of your brush to start with. You need to get a feel for how far the paint goes, and I’m betting it will be farther than you think.
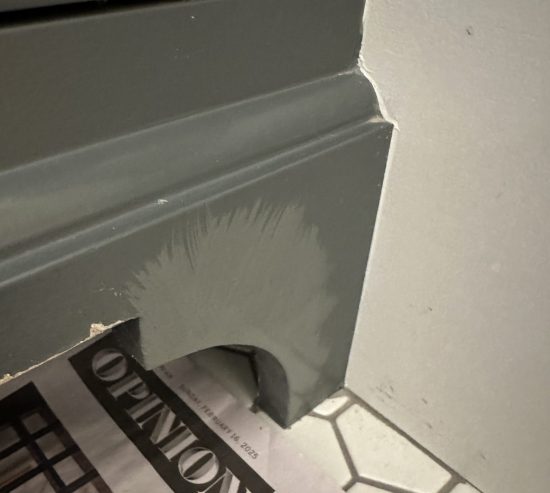
Apply a thin, light coat to the areas you are touching up, and feather the edges all around the area to make sure you have a smooth finish with minimal brush strokes visible.
Work your way along the area applying a thin coat. I recommend working in fairly small areas at a time. It’s easy to forget where the touch up was once the paint dries, and the more of them you’re dealing with, the more you’re likely to forget or miss a second or third coat in an area.
The paint will dry quickly and you should be able to apply additional coats within about 15 minutes of each other. If it’s taking longer than that to dry, you may have applied it too thickly.
Step 8: Check your work!
Once you get 2-3 coats on as needed, step back, stretch your back, and admire your work. Take a careful look at the area and make sure you got everything and there are no thin spots that may have only had one coat.
Step 9: Clean up!
You know what to do! Just be sure to get the lid on that paint can nice and tightly – a small hammer cushioned with a piece of wood, or a rubber mallet works great. Store that can safely so it’s ready for the next time.
Good job! Enjoy checking that off your to do list and give yourself a pat on the back!
See Our Kitchen Cabinet Transformations
You don’t have to take our word for it – check out some of the recent kitchen cabinet makeovers performed by CertaPro Painters of Portland.
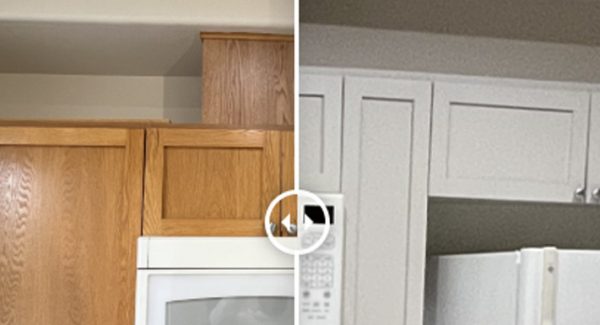
Cabinet Painting 1
See Before and After
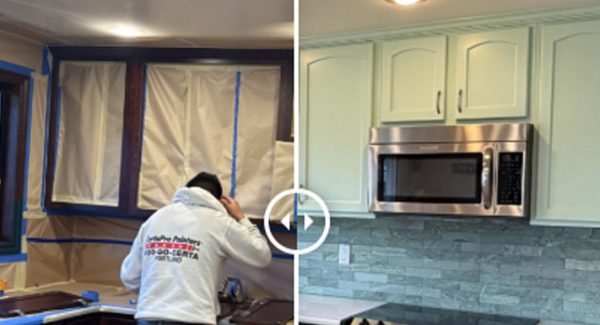
Cabinet Painting 2
See Before and After
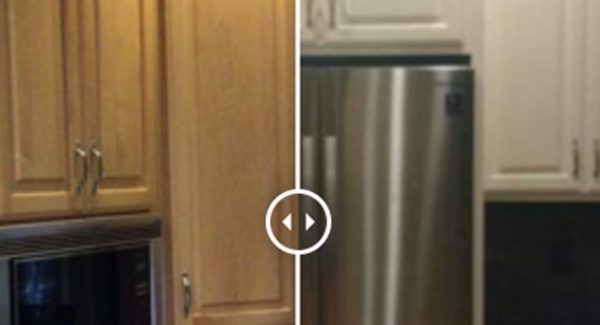
Cabinet Painting 3
See Before and After
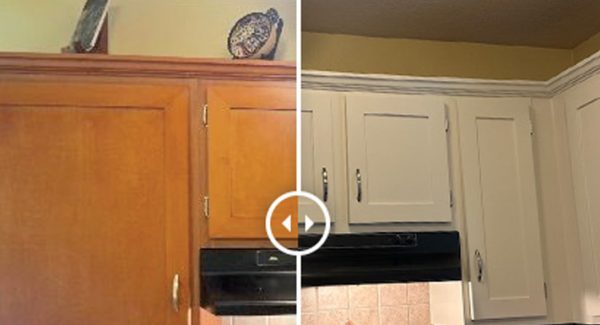
Cabinet Painting 4
See Before and After
Cabinet Refinishing
We Revitalize Your Existing Cabinets In Your Choice of Color
Painting is an easy, cost effective way to dramatically change the appearance of your home. Additionally, CertaPro Painters® of Portland can help you in choosing the right cabinet color for bathrooms, laundry rooms, bookcases, and entertainment centers to modernize your whole home! Contact us today to get your free, no-obligation estimate on your cabinetry painting project.
Areas We Serve:
Project Information

By clicking next or submit you agree to receive phone, email, or text communication from us per our Terms of Use and Privacy Policy. Message/data rates apply. We do not share information with third parties or marketing services. By submitting, you authorize Certa ProPainters to reach out via phone, email, or text for explicit information about project needs. We will never share your personal information with 3rd parties for marketing purposes or spam you. You can opt out at any time. Message/data rates apply. Consent is not a condition of purchase.