
3 Ways to Deal With a Popcorn Ceiling
Posted on December 20, 2019


Trends in Plano homes come and go, but there are few messier projects than popcorn ceiling removal. Restoring the ceiling to a pristine, flat surface can prove problematic for the average homeowner. How do you get the best results and what do you do with it once it’s removed? Here are 3 ways CertaPro Painters suggests dealing with a popcorn ceiling.
What are my options?
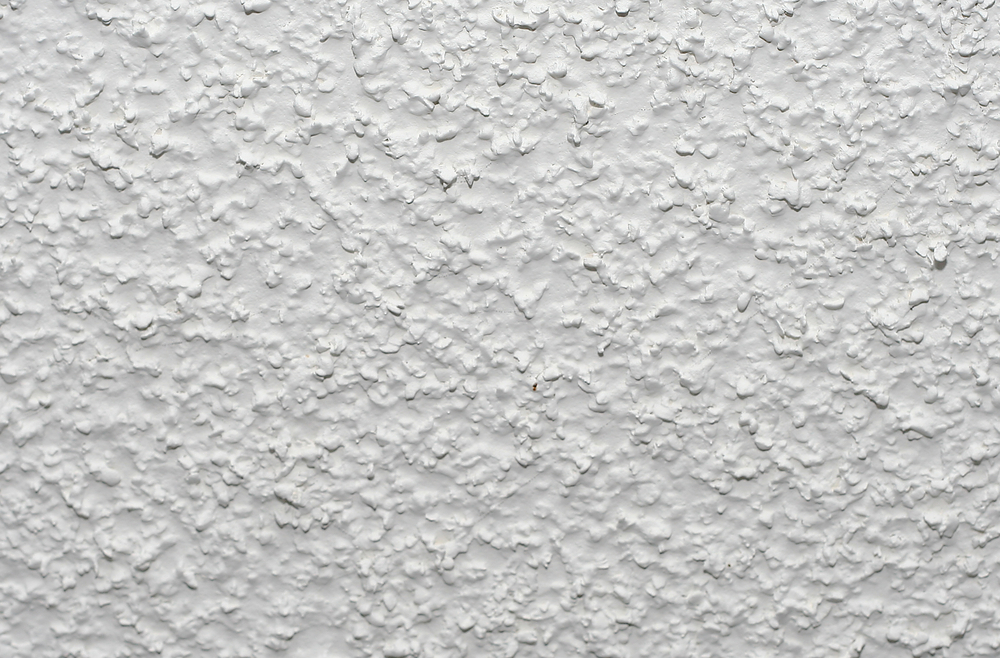
Popcorn ceilings are hard to clean, difficult to repair, and hold on to dust. Despite these drawbacks, they were hugely popular in the Plano area because they made ceilings easy to finish and hid imperfections. If you’re looking to get rid of yours, you’ll have three options: scrape and cover with drywall, skim coat with plaster, or create a new textured ceiling. Learn more about how CertaPro Painters handles popcorn ceiling removal.
Which should I choose?
This answer depends on the situation in your specific home. If your ceiling is relatively new and in decent condition, you will have more options. Make sure you go through the details of each option before deciding on your best course of action for your Plano property.
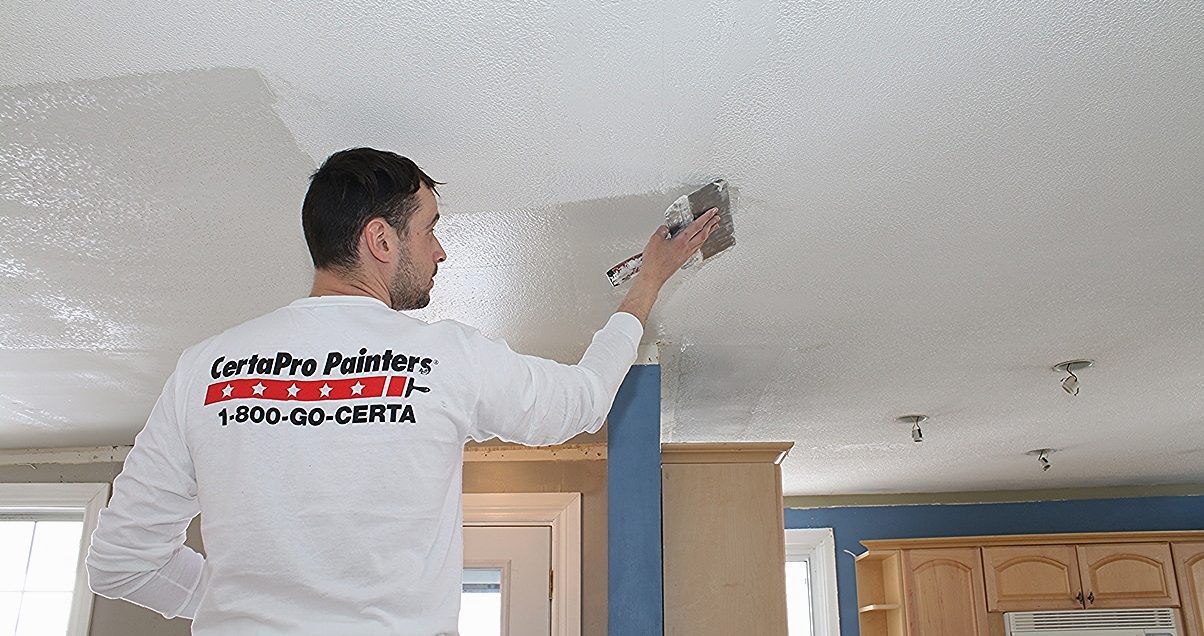
Scrape
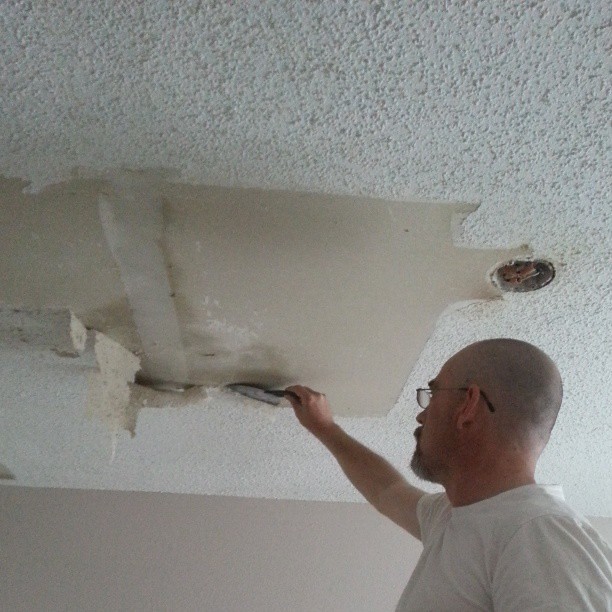
Using a 4-inch drywall knife, start chipping away at the popcorn to create a newly smooth surface. More than likely, you’ll need to use a thin skim coat of joint compound to hide knicks and damage before sanding and painting.
While this is the most common way to get rid of a popcorn ceiling, it’s by far the messiest and most difficult. That being said, it can be cost-effective and completed by one person. Be careful removing any popcorn that was placed before 1979. The products used in that time often contained lead and asbestos. Older Plano homes should be tested for these chemicals before any work starts.
Some popcorn ceilings have been repeatedly painted. The materials used to make the popcorn texture are porous and will soak up paint with each spray. If this is the case, it’s much easier to drywall over the popcorn.
Pro tip
Some pros swear spraying down a ceiling first will help loosen the popcorn ‘kernels’ up. Others insist this just turns the debris into a sticky mess.
Cover
Using gypsum board, cover the popcorn up. This board weighs far less than a standard wall board. Use screws to attach it to the framing and mud it in for a seamless ceiling.
When you are dealing with the aforementioned harsh chemicals, it’s best to seal them in and not disturb the dust. If it goes airborne, you and your family could be in danger. Plus, this method provides a perfectly smooth ceiling when you are done. Consider bringing in professional help from CertaPro Painters for issues in moving electrical items or HVAC vents.
Pro tip
If you are attempting to DIY this method, rent a drywall lift. It will be worth the rental fees to keep you safe and allow you to handle the materials more easily.
Skim
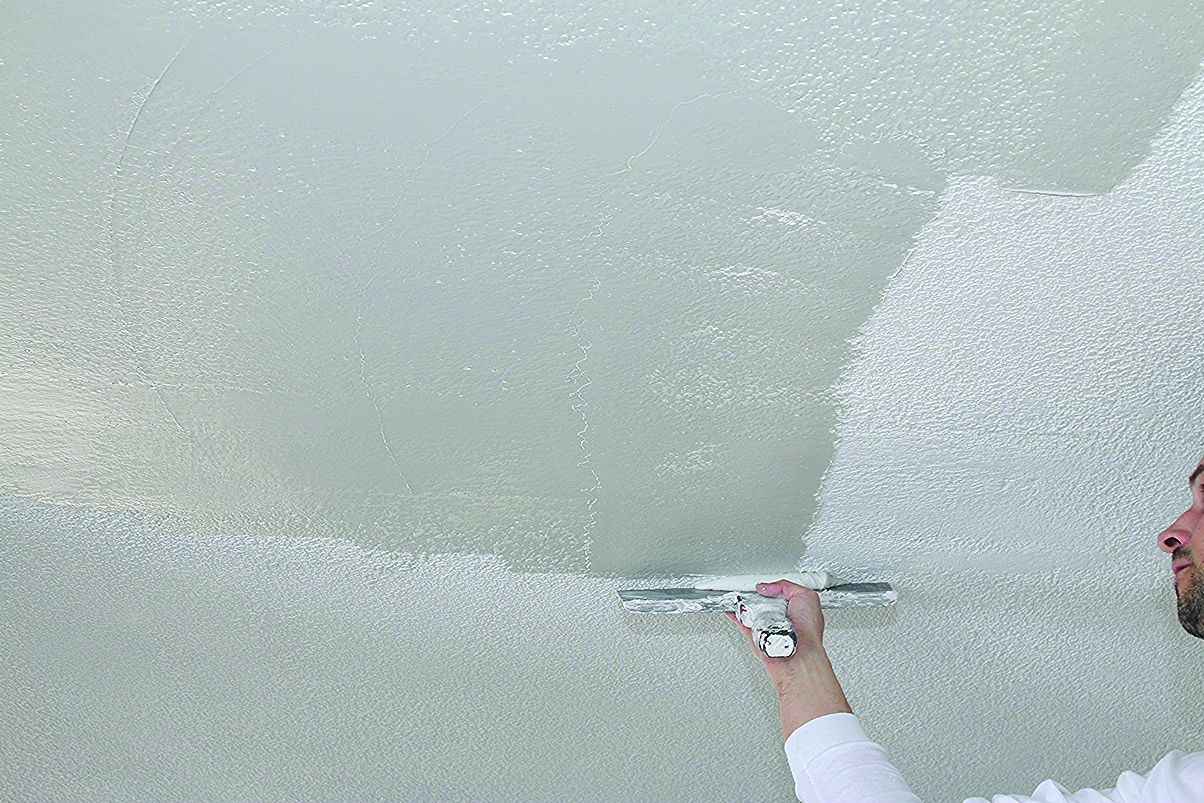
Yes, this is essentially replacing a texture with a texture, but it’s fairly inexpensive and easy to accomplish. Prior to popcorn taking over all ceilings, skim coating was all the rage. It’s completed by using a quick-set drywall mud, applied with a joint compound and finished with a trowel or knife to make a new texture.
This is often seen in older homes trying to recapture their original beauty. Smooth ceilings don’t always fit the style of the era. If you attempt this yourself, make sure the substrate is secure. The texture will add more weight and you’ll want to make sure it can handle it before you start applying it. If you have concerns, ask a CertaPro contractor before you start.
Pro tip! For a skim coat, use quick-set drywall mud. Then touch it up with ready-mixed joint compound. Using high moisture content mud can cause shrinking and affect the final look.

Trust Your Ceilings to the Experts
Removing popcorn ceilings is one of the most labor-intensive and messy home improvement projects you can undertake. Between the potential for asbestos in older Plano homes and the physical strain of working overhead for hours, it is often a job best left to professionals. CertaPro Painters of Far North Texas has the equipment and expertise to handle the removal safely and efficiently, ensuring your furniture and floors are protected from the debris. We take the hassle out of the process, leaving you with modern, smooth ceilings without the backbreaking work.
Whether you choose to scrape, cover, or skim, our team is ready to help you modernize your home. We serve the entire Plano community and understand the unique construction styles found in our neighborhoods. If you are ready to say goodbye to outdated textures and welcome a clean, contemporary look, contact us today. Schedule an estimate to have our pros help you out.
