Avoid Mistakes in Bathroom Painting
Posted on May 15, 2024
Immobile pieces of ‘furniture’ and loads of ‘wall art’ makes a bathroom a complicated room to try to paint. Add in the humidity of the room and the tight space most bathrooms are known for and you’re looking at a painting nightmare. Our pros weighed in with how to avoid mistakes in bathroom painting.
1. Buying the wrong paint.
There are few rooms in your home that are as wet as often as the bathroom. The humidity of a shower, the steam of a shave, it all adds to the same outcome: water on the walls. Protect your paint job by choosing a paint in eggshell or glossy to protect the paint. The sheen added by the finish will act as a layer of armor on your walls over the paint.
2. Not preparing the area.
Professional painters say your prep work should be twice as long as the paint time. Taking the time to tape the pipes and counters will make a big difference in both the painting time and outcome of the project. Take some time to remove wall plates, wrap door knobs and tape off tile. You’ll be glad you did when you are trying to work paint behind the toilet tank and shimmy between above showers.
3. Neglecting painter’s tape.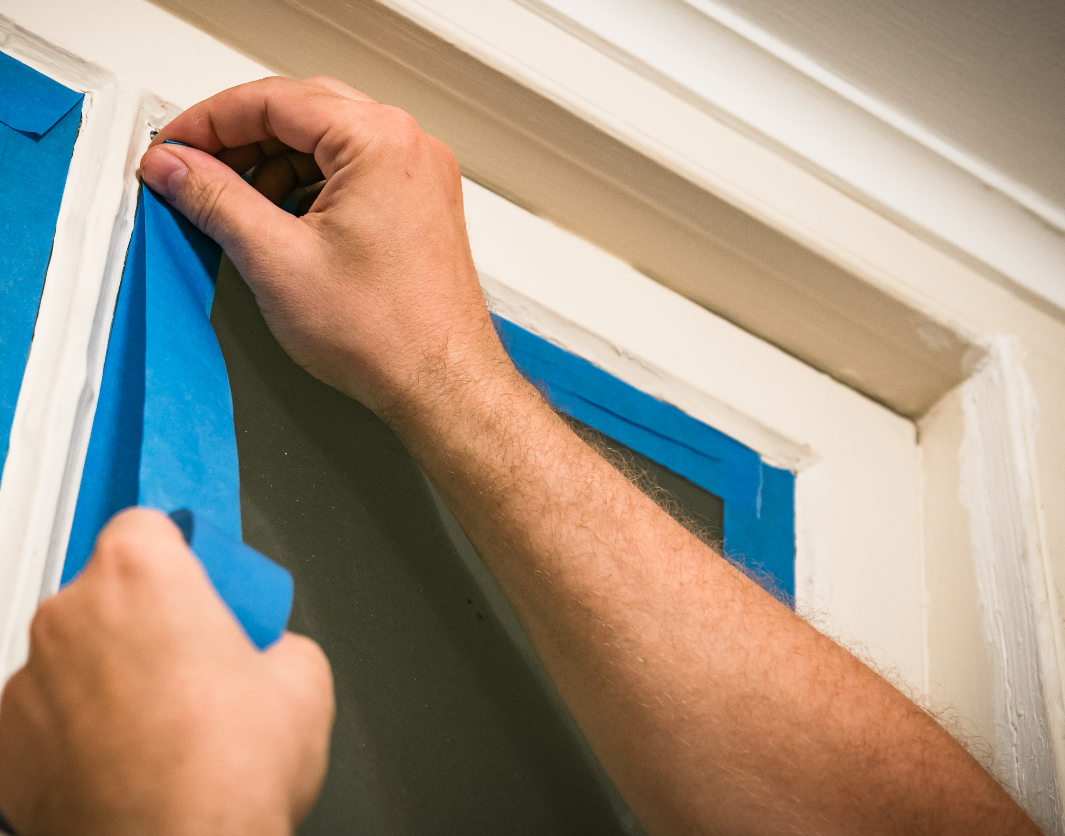
The industry standard used to be masking tape to give you straight edges to paint along. Since painter’s tape hit the market, home improvement professionals can’t get enough. Press the edges down with a putty knife to ensure clean lines. Be careful not to overload the tape with paint to avoid bleed through. Some pros suggest using a box cutter along the edge of the tape before peeling it up – once dry – to keep the paint film in tact.
4. Not washing the walls.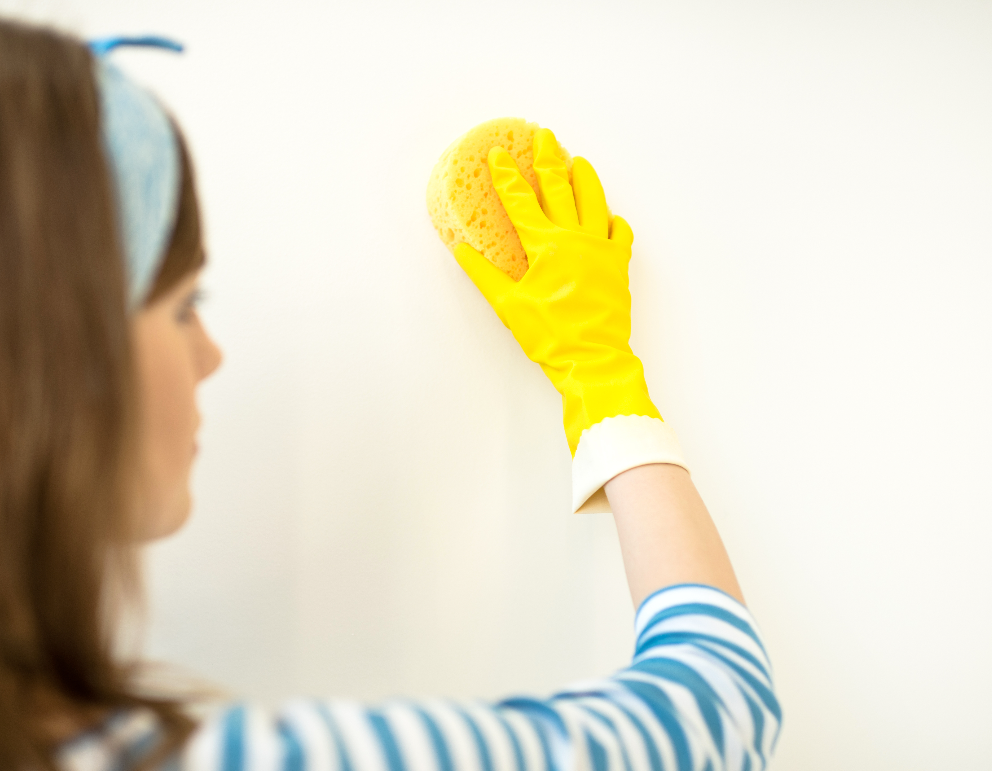
You would be shocked how much grime and dust is sitting on your walls. There is much more to clean than a rogue speck of toothpaste. Start with a vacuum to pull dust down, then get a good degreaser to wipe the walls. You can make your own by mixing one gallon warm water with two cups of vinegar. Sponge down the walls from top to bottom, making sure to include tight corners and baseboards.
5. Skimping on paint.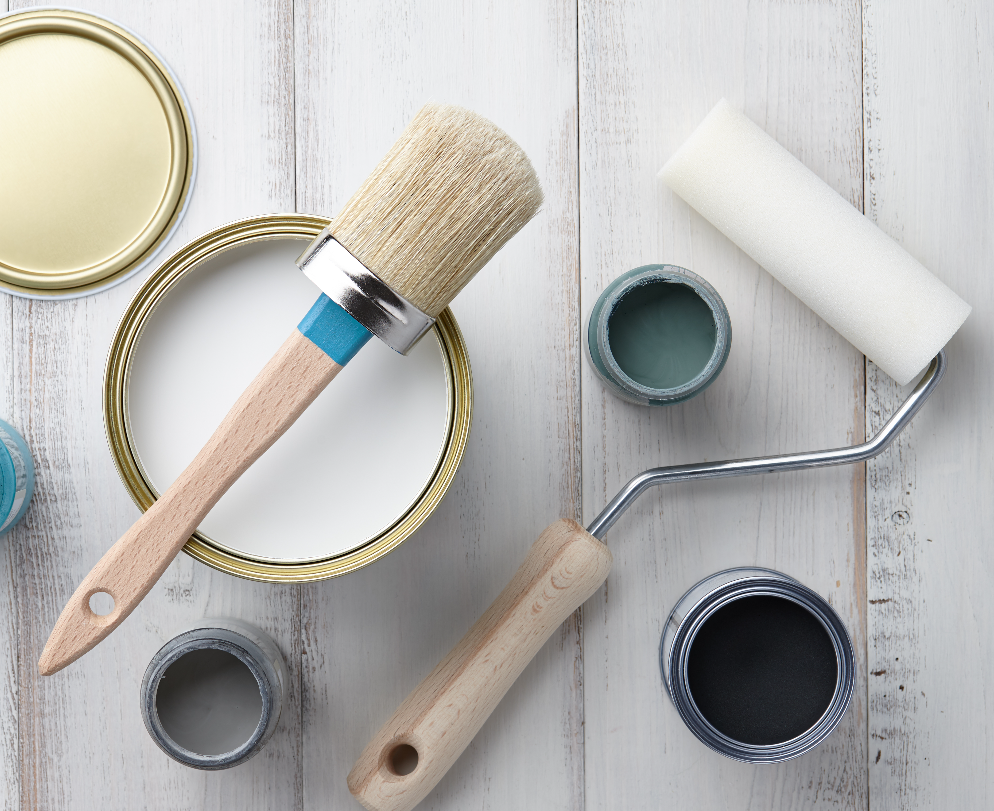
No one wants to stop their job mid-project to go get more paint. Even with the most precise computer tools can’t make the new color exactly match the old. It’s easier to over buy and make one big batch. A gallon of paint will usually cover about 400 square feet. Use that number to work out what you need, and get extra.
6. Getting the cheapest tools.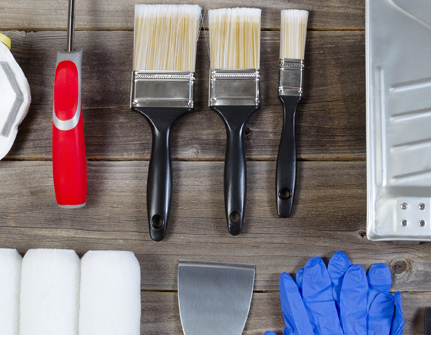
It can be tempting to get the cheapest tools available and tossing them after the job is complete. The reality is, your job will look like it was done with cheap tools. Match your brushes to the paint and job. For latex, get synthetic bristles. Oil-based paints need a natural brush.
7. Buying paint because it’s on sale.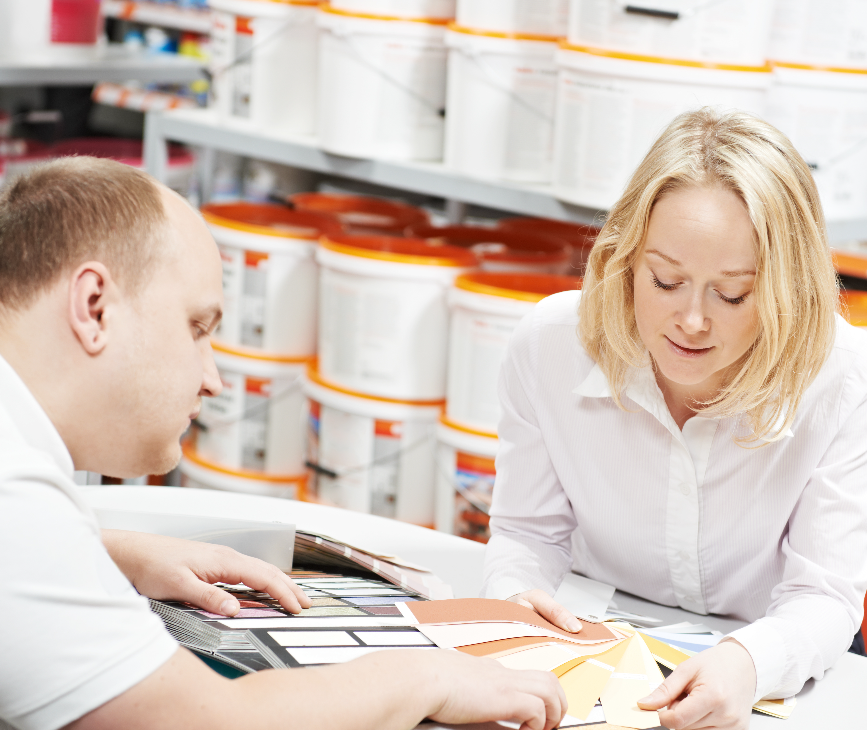
Rarely is there a sale so good it makes cheap paint worth it. You need to first know what paint you are layering over. The new paint should match the old. If it’s latex, go latex. The same goes for oil paints. Mixing the style of paint will lead to failure in your walls with cracking and peeling.
8. Don’t skip priming.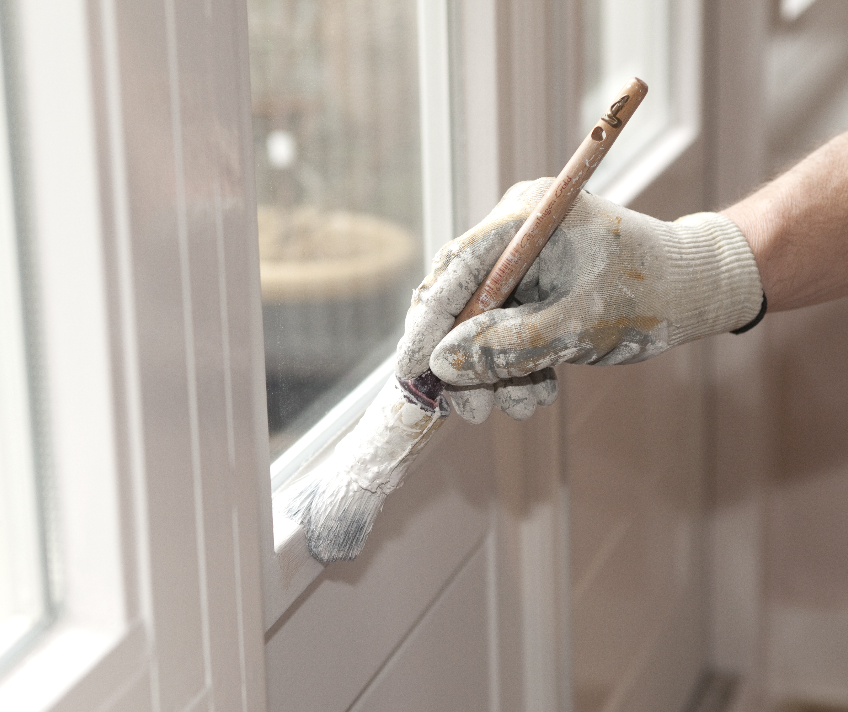
Especially in bathrooms full of wet and humidity, priming the walls is crucial. The primer will not only give you an even, blank surface to paint, but it also provides a tooth for the new paint color to stick to. Without a primed wall, your new paint could peel off almost as fast as you put it up.
9. Rushing second coats.
Your paint needs time to set and dry. If you try to rush into your second coat, you could pull up the first layer of paint and cause holidays, streaks and other malities in your job. You must make sure your paint is completely dried. If you are unsure how long this takes, give it 24 hours before you start again.


