
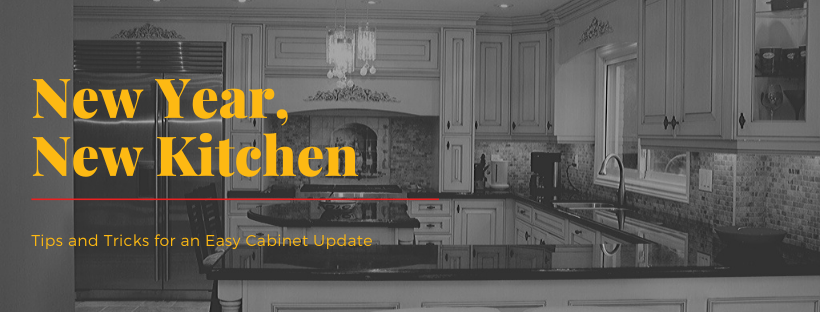
Kitchen Cabinet Painting Marietta Pros: Tips and Tricks for an Easy Update
Posted on December 26, 2019


Prep, Primer, and Paint Transforms your Kitchen
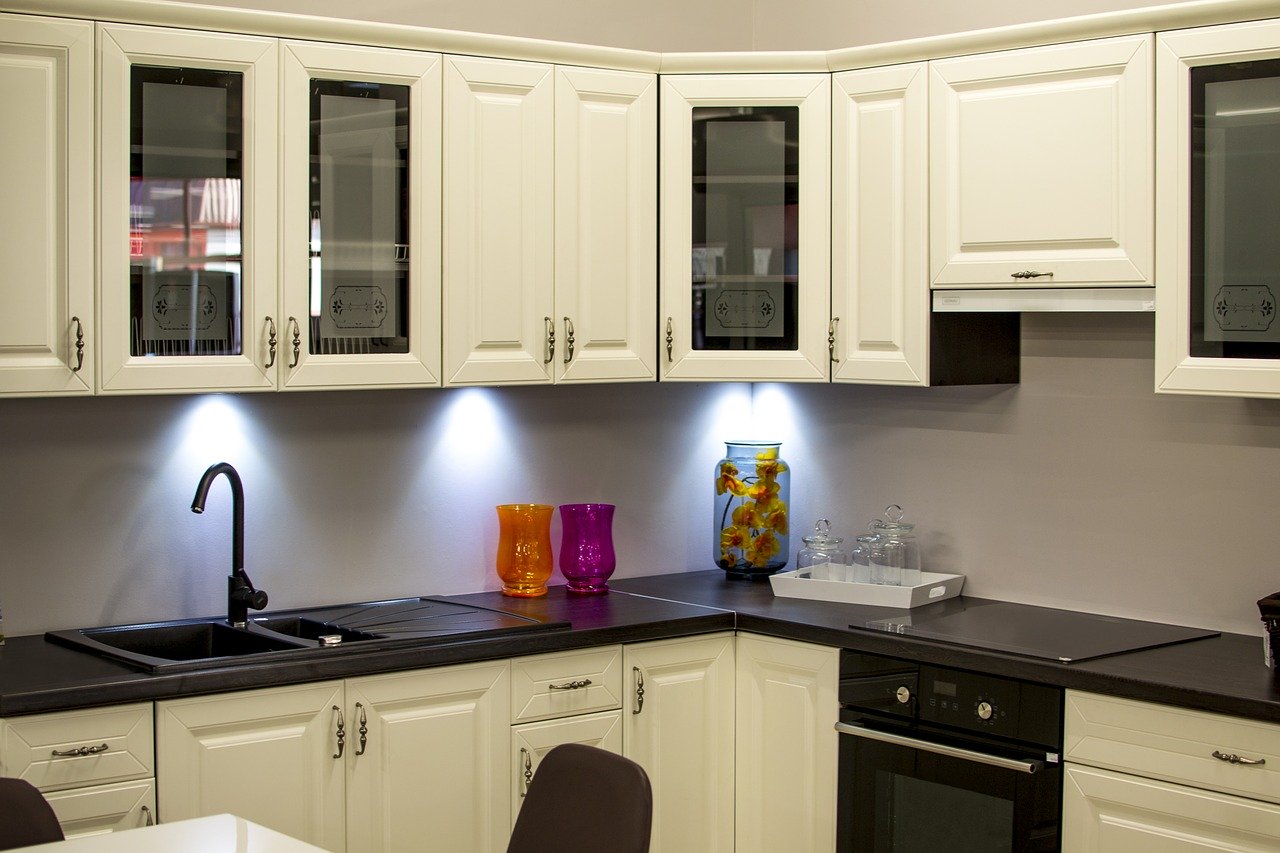
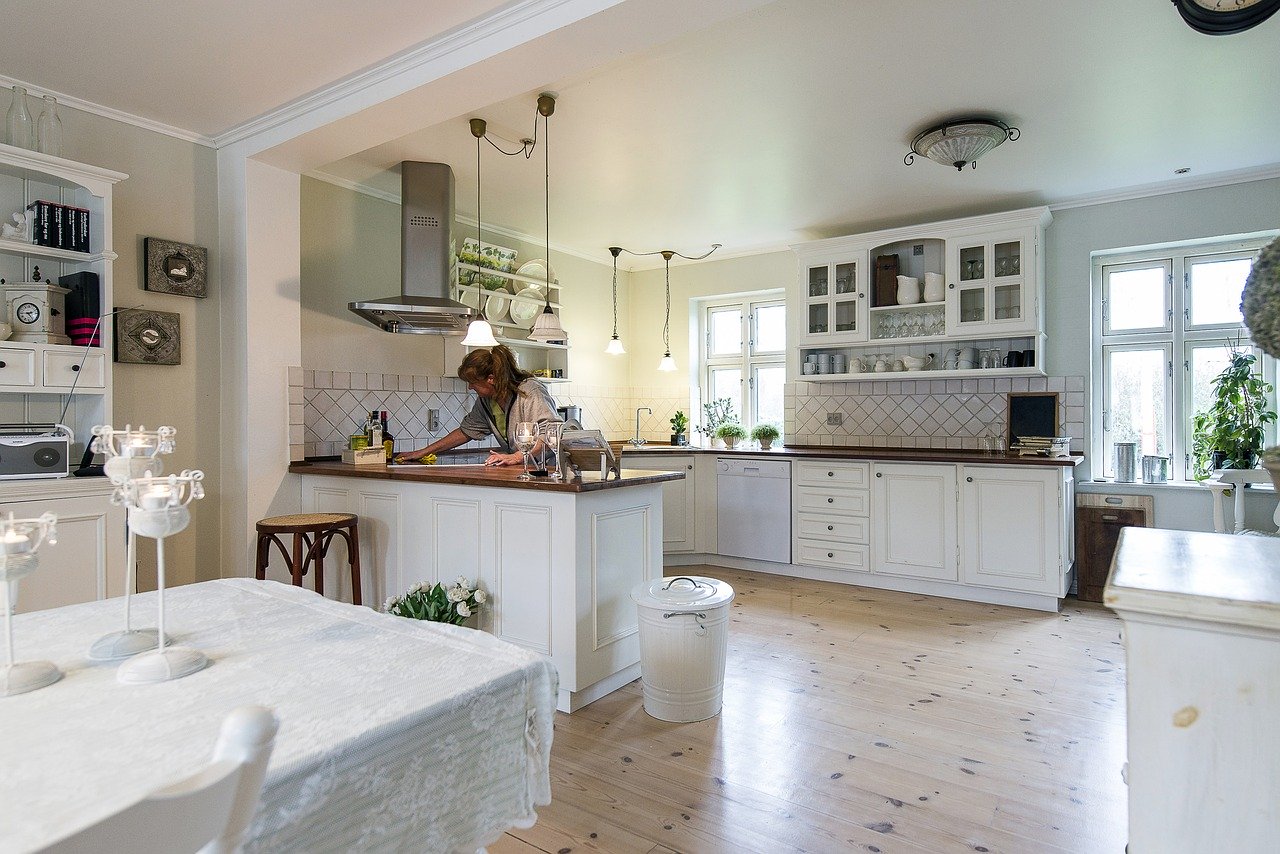
Adding new appliances, counters and cabinets to a kitchen can be a costly proposition. It’s no surprise that homeowners renovating their kitchens are looking for ways to save. By choosing to paint, rather than replace the cabinets, you could be saving some serious money. That doesn’t mean this option is easy. Here are tips and tricks for an easy update from our kitchen cabinet painting Marietta pros.
Prep
A successful paint job of any kind relies heavily on thorough and proper prep work. Unlike walls, cabinets can be made of a variety of finishes and materials. They are high touch and high impact items, meaning they are much harder to paint or refinish with any lasting success. A do it yourselfer can be tempted to take on the project, but be cautious. It’s very easy to go over budget or end up with a shoddy finish.
Temporary Kitchen
Working in your kitchen can take the room offline for several days to over a week. With a little planning, you can set up a temporary kitchen that will serve your family while your cabinets are out of commission. Set up a room nearby with a hot plate, toaster oven and most importantly, paper plates. While it can seem wasteful, your dishwasher is more than likely going to be disconnected.
Clean and Clean More
Even the cleanest of kitchens pick up a good amount of mess. Grease and dust are relentless. Use a degreaser with a cloth or kitchen sponge to clean off all of the surfaces. This will remove remaining oil and allow the primer to stick. Make sure you clean cabinet faces, drawers, frames and exposed areas you intend to paint.
Sand for Tooth
For best results, use a palm sander with 100-grit sandpaper to remove the finish on all of the cabinets, frames and drawers. It’s not important that you sand down to bare wood, just make sure you remove the current finish and create some tooth for the paint to adhere to. When you are done, use a paint brush or vacuum to remove the dust on surfaces. Then follow up with a tack cloth.
Remove and Label
Save yourself heartache and frustration in the long run and remove all of the hardware from the cabinets. This allows a film to be created without interruption and make a solid finish with your paint. Then use masking tape on the insides of the doors to label where each piece goes.
Time to Prime
Using a larger brush, 2 ½ or 3 inch wide angled sash, apply the primer to all cabinet pieces you will paint. Start where the panel meets the molding on all four sides, then cover the rest. Make sure you cover sides and crevices.
Top coats on paint tend to flake off without a good primer beneath. The pro recommended primer to use for cabinets in particular is a bonding primer. Because cabinets are non-porous as opposed to drywall, it’s important to invest in this specialized base coat. They hold like glue to the cabinet and adhere paint.
Additive for Latex
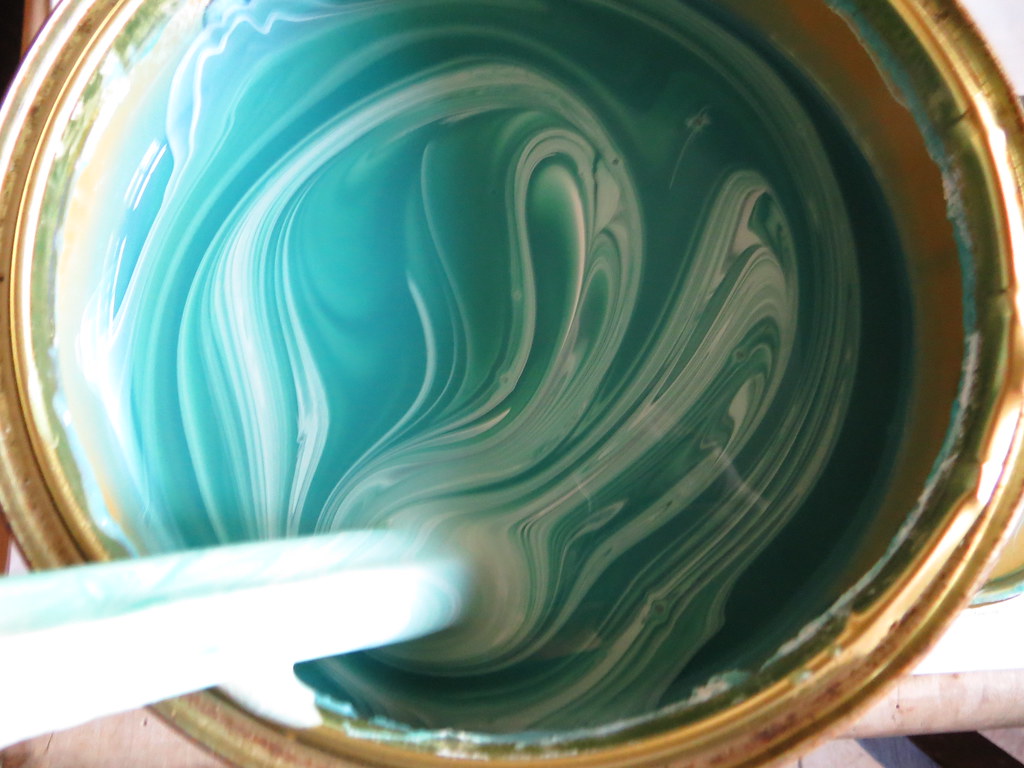
Latex paint is easy to work with and clean, but when it comes to fingerprint-prone cabinets, you could use some extra power in it. Give it a shot of steroids with additives for water-based paints. This makes your latex paint wear like oil, with improved hardness. It will resist dings, avoid chips and stand up to scratches.
Strokes no More
If you are not looking for the hand-brushed look, our kitchen cabinet painting Marietta pros say to try a sprayer to get an even and smooth top coat. Most home improvement stores will have high volume, low pressure sprayers for rent.
CertaPro Painters is happy to help you with your kitchen renovations. Contact our cabinet painter estimators to set up your free, in-home estimate today.
![]()
