Real Estate Apartment Common Areas Painting Case Study
in Woodbridge, VA
Real Estate Apartment Interior Painting Project – Common Areas
CertaPro Painters® of Loudoun, VA had the opportunity to work on an interior project for a Real Estate building in Woodbridge, VA. The client was looking to update the interior of the hallways in the real estate building with an updated look to brighten up the space. The project took a total of 4 months to revamp the interior. The biggest challenge when it comes to interior painting projects for apartment common areas is working around normal foot traffic and minimizing disruptions with the tenants that live within these buildings.
However, with our professionals working so diligently we managed to finish the project on time. As a result, the owner was very pleased with how meticulous, precise, and efficient we were on the project and happy that the project was done in a quick, timely manner. We hope to continue a long-lasting, professional relationship going forward with our client!
CHALLENGES:
Large commercial projects provide their own set of challenges. For this project, our CertaPro Painters coordinated with both the Property Management team and residents, in order to not disrupt their daily activities while working with repainting the complex. Additionally, we completed Level-3 Preparation to the surfaces that were to be painted including patching holes, repairing cracks, and repairing surface damage as well as drywall finishing work to textured walls as applicable for a uniform and professional look. This project required extensive attention to detail since the customer wanted all surfaces to be sprayed and not rolled.
CONDITIONS:
- Wall Prep – Walls need to be prepped for a complete, professional finish.
- Wall Repair – Cracks, surface damage, and holes.
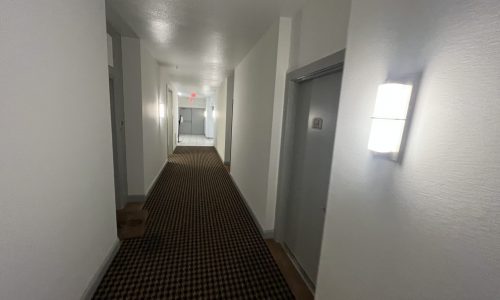
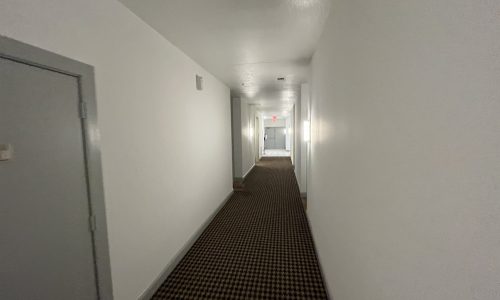
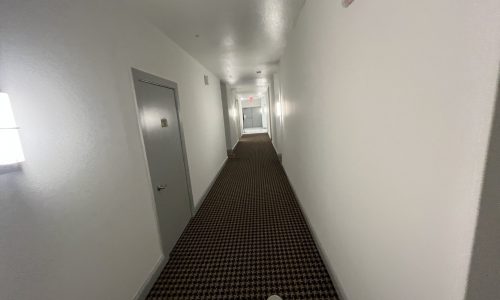
- Yellow Paint – The walls and trim were a dull, unpleasant yellow color and we brought them back to life by painting them a shade of bright white.
PROJECT INVOLVEMENT:
- Wall Repair – We had to correct defects on the walls, which included cracks, surface damage, and holes.
- Interior Paint – We had to prime the area for coats of the appropriate paint colors.
- Prep – Repair, maintenance, and adding primer for paint
- Drywall Finish – Applied a drywall finish to the textured walls to get it a uniform, clean look.
PROJECT TIMELINE – 4 Months
Before Photos
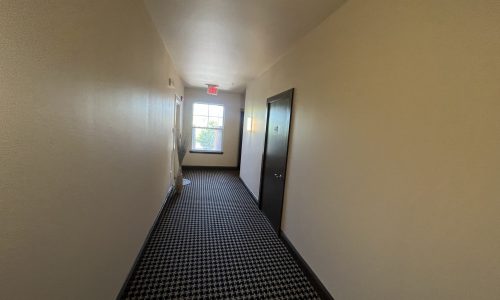
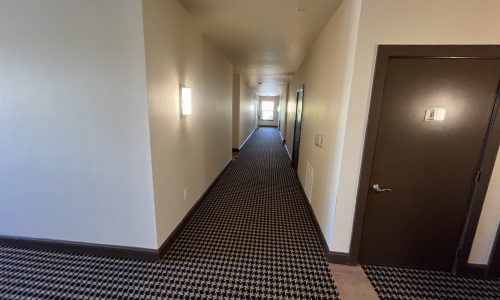
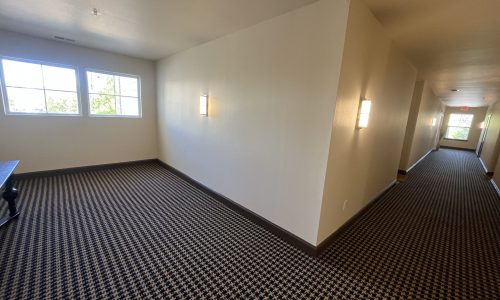
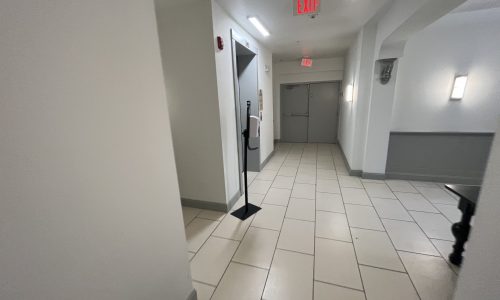
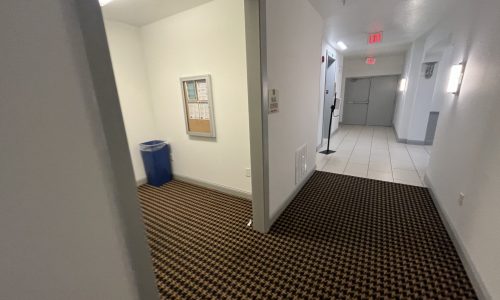
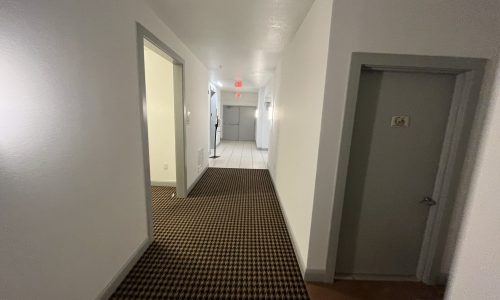
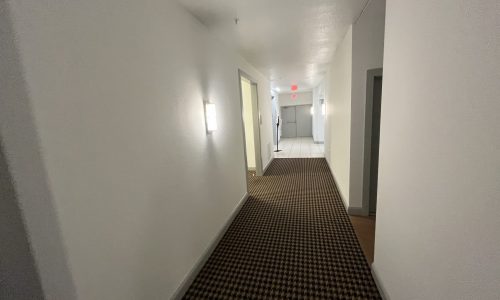
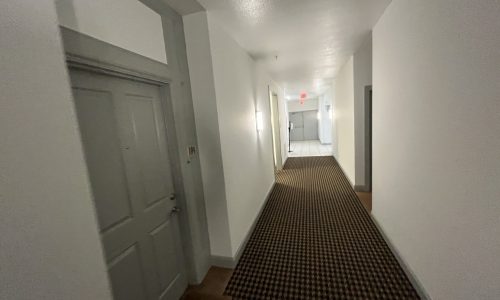
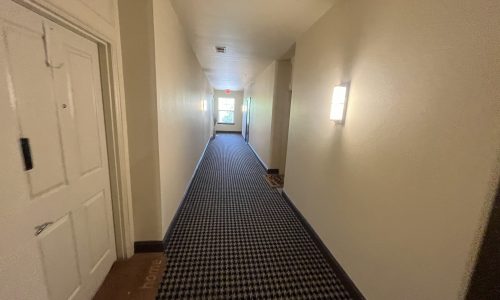
Below are a few photos of what the building looked like prior to painting. Click on any image to view.
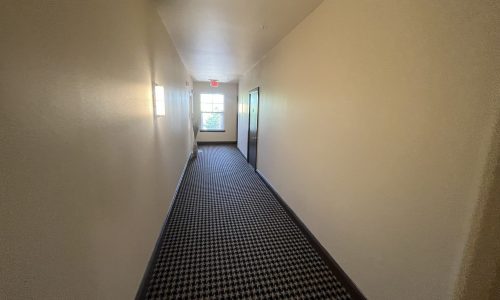
Former Hallway Real Estate Interior
Here's a previous look at the hallway interior of thre real estate.
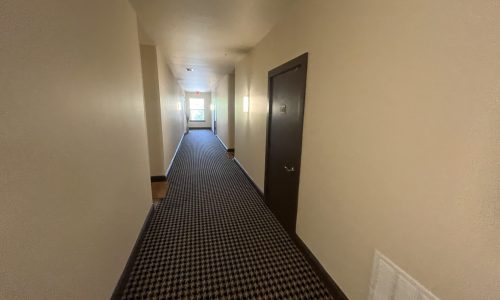
Another Before Photo of the Real Estate Interior
Another angle of the hallway interior in the real estate building.
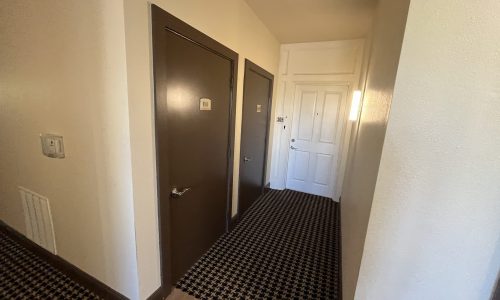
Before Photo of Door Trim and Hallway Interionr
The interior of the hallway was originally painted a beige white color.
Before Photo of Bathroom Area
Here's a before look at the bathroom area. Doors were originally black with beige walls.
Final Results
After completion, areas of concern were surveyed and pictures were taken to validate the quality of work.


 CHALLENGES: