
Knicks and Dings: Drywall Repair for a Crisp Look
Posted on March 25, 2019


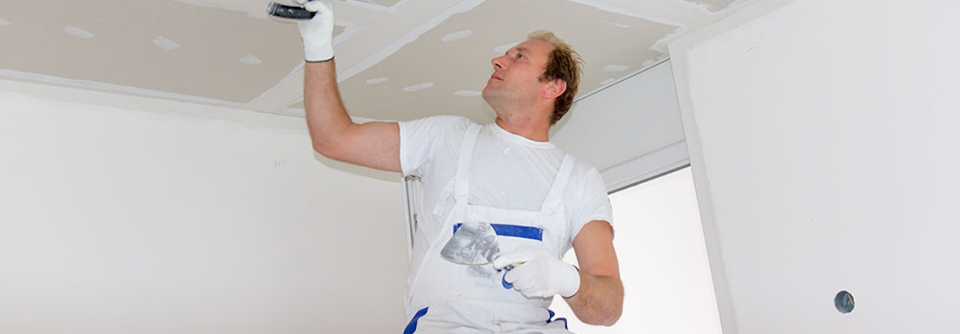
A good paint job depends on the preparation that was done before the painting even began. Getting the surface ready can be confusing and tedious if you don’t know how to tackle the nicks and dings in your wall. Drywall repair can give you a crisp look and a perfect canvas to paint. Here are the 10 most useful tips to patch drywall.
Self-priming filler
If you are patching prior to painting, spring for the self-priming filler material. This way, your patch is already primed and won’t show through your paint job. If you do not opt for self-priming filler, you’ll need to prime the area you patched, prior to painting.
Setting compound for holes
Have holes from screws or holes where the wall got banged into? Get a patching compound. Are the holes bigger or deep? You’ll want a joint compound that sets through chemical reaction. Plan to wait anywhere from five to 90 minutes for the areas to dry before painting. Either kind of compound will be available at a local hardware store.
Dent in nail holes
If you have troublesome holes with drywall sticking out, dent it in further. Use the rounded end of a putty knife or screwdriver to make a dent over the hole. Now use the patching material to fill in the dent.
Spray your crack
Look around windows and doors for cracks in the wall and previous paint. Fixing the cracks can be difficult and cause further cracks if painted over. A spray on crack repair is an option to cover the crack and get a flat paint job. The spray makes a flexible cover for the crack and will save the crack from showing through, at least for a temporary fix.
If the crack is big enough to have an open area, use patching compound to fill it, then use the spray over top. The double layer will give you the longest lasting option for a crack repair. You can find crack repair spray at paint stores or hardware stores.
Swipe rows of holes
Don’t attack a row of screw holes one by one. You will waste time on each individual hole. It’s best to use one long swipe of joint compound to fill them all at once. Besides being a faster way to tackle the project, it will mask the holes better.
Skim coat for lots of holes
If your mudroom or entryway takes a lot banging around, it’s a good idea to skim a coat of filler to cover any dings that could ruin your paint job. Use a work light up close to the wall to see any shadows cast in the marks you might not otherwise notice. A wide putty knife – about 6 inches – will give you the best coverage with the least amount of effort. A topping or all purpose joint compound gives a flat surface.
Seal drywall paper
Removal of wallpaper or sticky picture hangers can be a messy or violent task, as far as your drywall is concerned. Any rips in the paper must be repaired prior to priming or painting. If you skip the patch, your wall will show the mark with bubbles or fading. Use an oil or shellac based sealer, available in spray cans for easy application. Once it’s dried, sand lightly and proceed with your project.
Patch mid sized holes
Mid sized holes are about the size of doorknobs and is best patched with stick on mesh patches. Clean the wall surface and sand it for a good tooth. Put the patch over the hole and apply two or three thin layers of joint compound. If you get a setting compound for the first layer, it will speed up the drying and layering process.
Texturing in a can
Want to cover dings in the wall with a texture? Keep in mind working with texture can seem tempting, but big batches and too much can cause other issues down the line if not done by a professional. Still, texture can be good in a small area. Spray on orange peel patch will give a small amount of texture relatively easily at home. Make sure you do a practice run on scrap wood, or cardboard before taking it to the walls.
Raking light to patch
Raking lights show all of the defects in a wall. Put the bright light on the floor and allow the beam to rake across the wall. This will make it easy to see and fix any issues. If your wall passes this test, it’s ready to paint.
