Concrete Coatings
in Hilton Head, SC
Polyurea & Epoxy Coating Services in Hilton Head, SC
Hilton Head – Beaufort – Hardeeville – Bluffton – Okatie – and Surrounding Areas
Have CertaPro Painters® of Hilton Head update any concrete surface into an attractive and functional part of your property through professional epoxy finish services. Our floor coatings team specializes in garage floors, patios, sidewalks, kitchen counter tops, basements, interior floors, driveways, and pool decks. See what customers are saying about us on Google Reviews. For pricing information for your floor coating project, contact us to set up a free estimate appointment with our team.
Commercial & Residential Applications
Polyuera & epoxy floors work well for both residential and commercial applications. We commonly assist with garage floors and basements for residential customers. Commercial buildings use concrete floor coatings for a wide variety of types of buildings including retail, healthcare, manufacturing, food service, and automotive. There are many benefits to these types of floor coatings, if you have any questions set up a free estimate appointment to get information on pricing and color options.
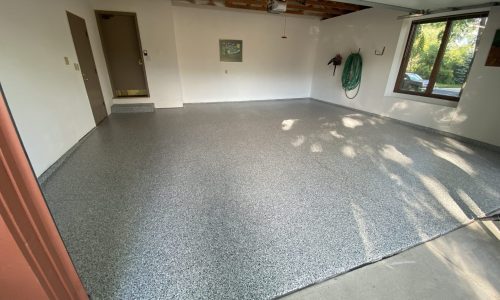
Garage Floors
Epoxy & polyurea coatings work well for residential garage floors. They provide additional safety.

Commercial Show Rooms
Polyurea floors give showrooms an attractive appearance that is easy to maintain.
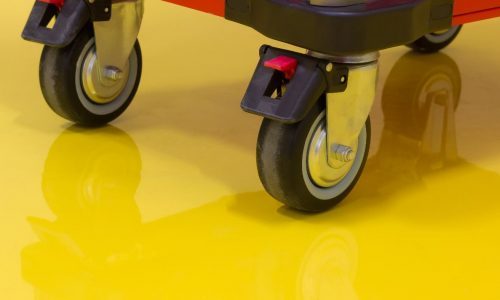
Workshops
Floor coatings are also beneficial to food manufacturing facilities.
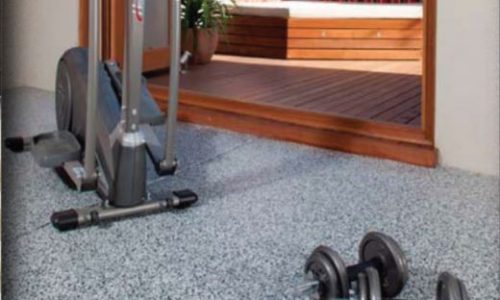
Gyms & Studios
A slip resistant floor that is easy to clean makes epoxy or polyurea an excellent choice for gym floors.
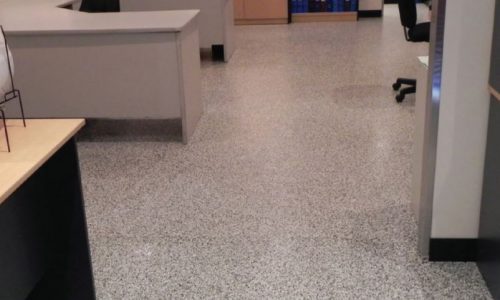
Office Buildings
Floor coatings can be great in commercial offices. Multiple colors are available to match your location.
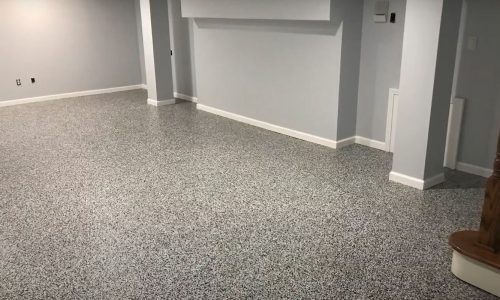
Basement Floors
Give your basement a durable and attractive floor with an epoxy or polyurea coating.
Popular Colors Available
We offer the ¼” Decorative Flake in 2 styles. Solid Flake and the Stone Flake Collection. Solid colors are more dynamic, while the stone collection is more subtle as it is trying to mimic real stone colors. There are 6 standard solid flake colors and 5 standard stone flake colors. For more information about styles and colors, set up a free estimate appointment with our team.
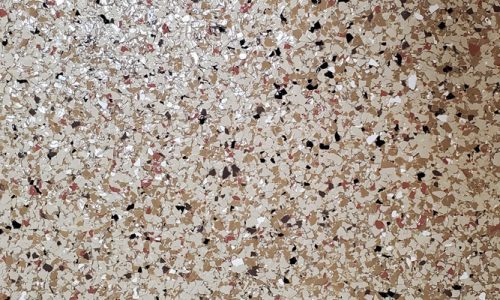
Autumn
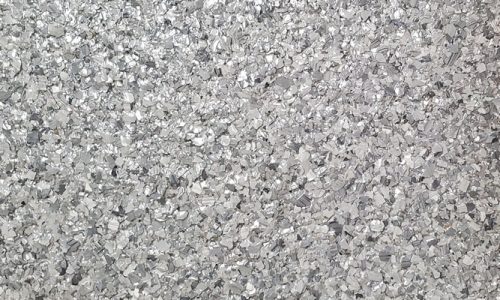
Basalt
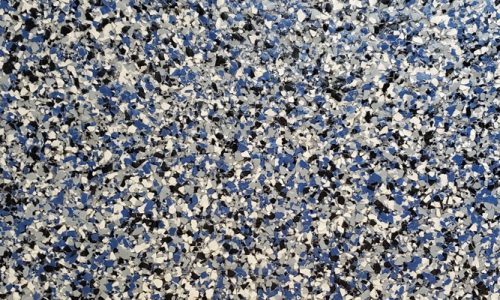
Denim
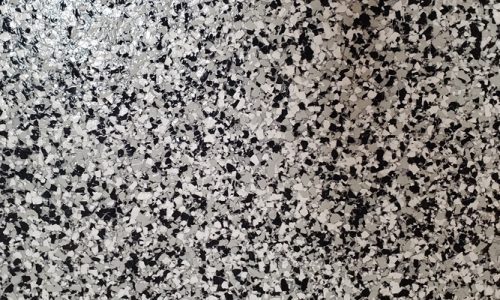
Domino
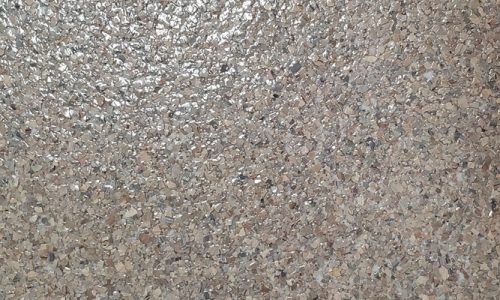
Garnet
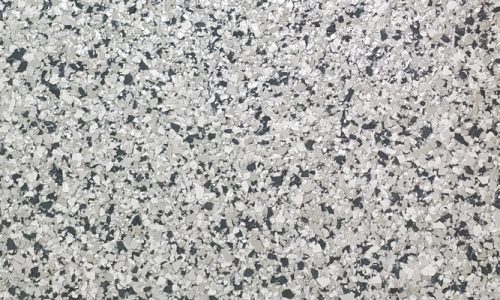
Gravel
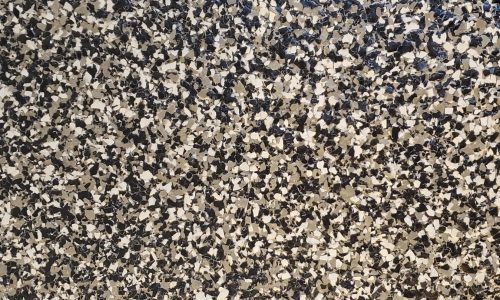
Gunflint
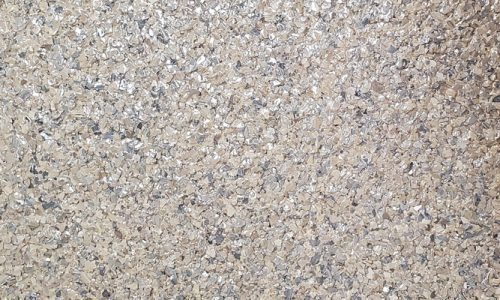
Obsidian Stone
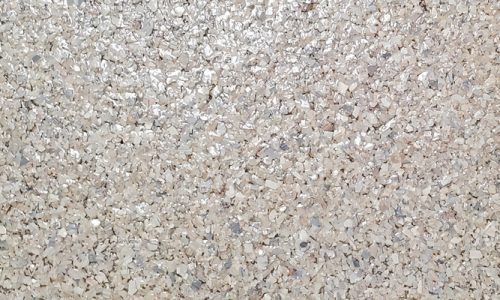
Pumice
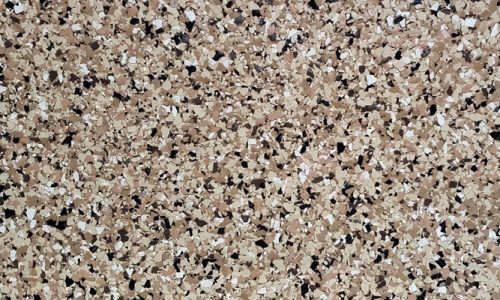
Saddle Tan
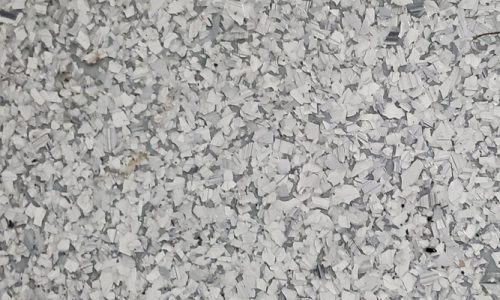
Schist
The FASTEST, EASIEST and TOUGHEST chip system on the market. 1-day Install, you can drive on the surface after only 24 hours. Easy to maintain, No waxing or upkeep needed!

The Layers of Epoxy & Polyurea Floors
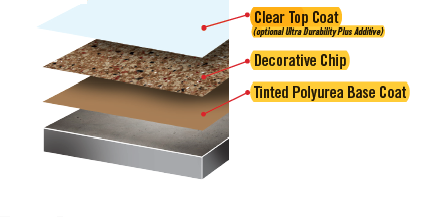
Floor coatings consist of 3 layers of coatings, starting with a concrete base (pictured as the gray slab in the diagram).
After floor prep, which include using a grinder on the floor and cleaning of the surface, a tinted base coat is applied on top of the concrete. Before the base coat dries, a layer of decorative chips are evenly spread across the surface and left to set for a few hours. Once dry, any excess chips are scraped off the surface and cleaned.
The last layer is a clear top coat that is applied on top of the chip layer. The top coat gives added protection, seals chips in place, and gives a high gloss shine to the floor.
Epoxy vs Polyurea Floors
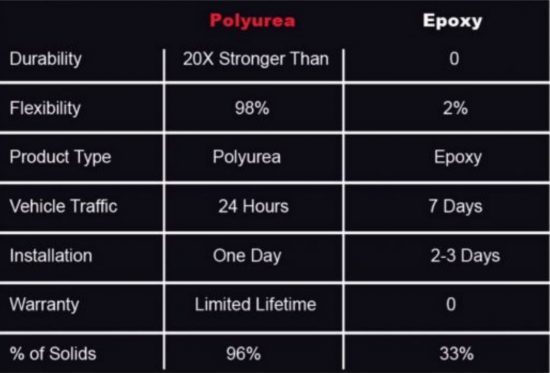
There are options when it comes to floor coatings, most commercial applications we recommend our customers to strongly consider Polyurea for its greater durability, quick cure time, and warranty. However, in residential applications like garage floors, sometimes epoxy is a more cost effective solution that will work for lighter residential use cases.
The Floor Install Process
Installing a floor coating is a multi-step process. Below outlines each step involved and gives an idea for what to expect when having a floor installed.
Set Up Workstation
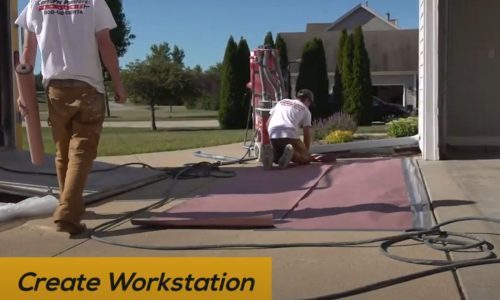
The crew will arrive and set up a workstation with floor protection. This area will be used to set up products and store equipment during the project.
Concrete Grind & Prep
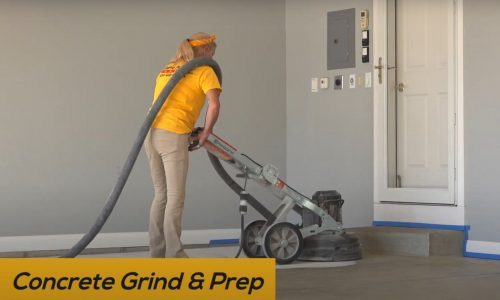
The floors are ground using a diamond floor grinder. This is a dry grinder and does not require water or moisture.
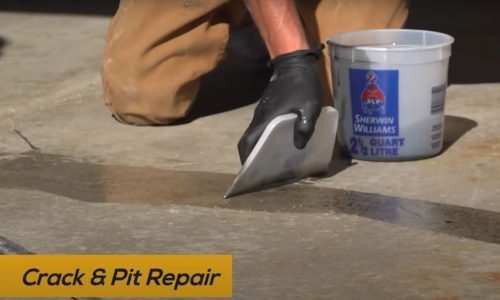
Crack & Pit Repair
Any cracks or imperfections are patched and repaired to ensure an even and smooth surface.

Clean Surface
Before application of the basecoat the floor is cleaned to remove any dust or debris.

Apply Basecoat
A tinted polyurea basecoat is applied to the prepped concrete, once mixed the basecoat needs to be applied quickly.
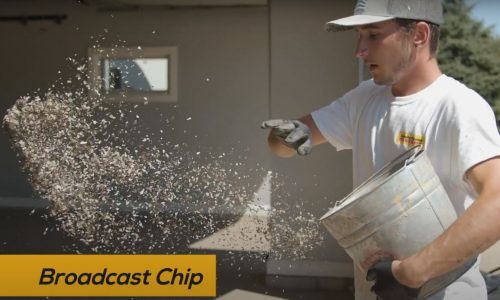
Broadcast Chips
Chips are applied evenly across the basecoat. Once spread they are left for a few hours to dry.
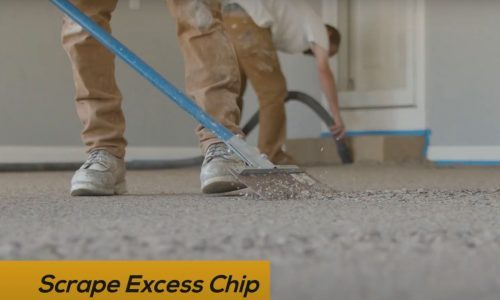
Scrape Excess Chips
Once dry, the crew returns to scrape up any excess chip off the top of the floor, leaving a strongly bonded layer of chips on the basecoat.
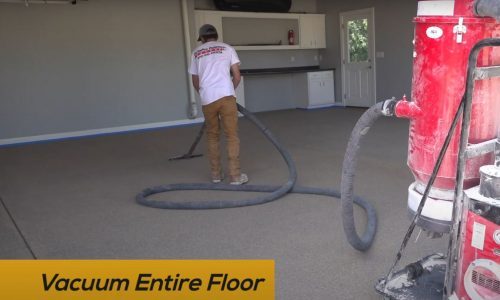
Vacuum Entire Floor
The scraped up chips are removed with another round of cleaning and vacuuming.
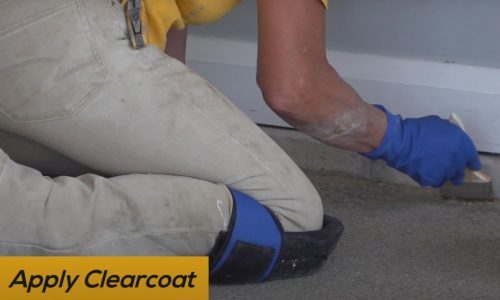
Apply Clearcoat
The last step is to apply a clearcoat, the edges are hand painted in and the rest of the floors are spread evenly with a squeegee.
Epoxy Finishes and Coatings
Tired of cleaning up those tough oil spills on the floor of your garage? As many homeowners know, it’s incredibly difficult to get oil stains out of concrete. Say goodbye to spills that stain your concrete with an epoxy floor.
Epoxy coatings are available in a range of colors. After the epoxy color coating is applied, we can add color chips to customize your flooring even more. The epoxy flooring is then finished off with a topcoat of specialized paint which gives your floor extra long-lasting protection.
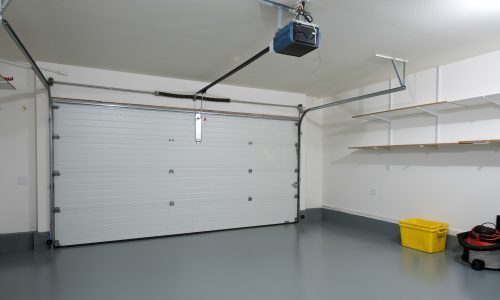
Garage Floor Coatings
Give your garage floor an attractive and durable finish, non-slip coatings can also be applied to improve safety in the garage.
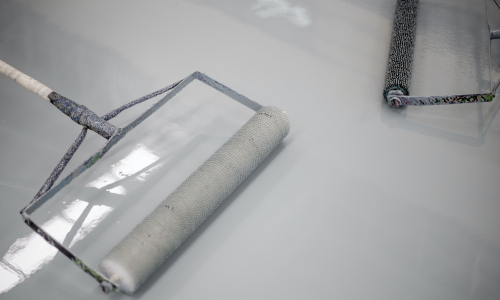
Epoxy Floor Application
Epoxy is a mix of compounds that when cured form a very hard and durable coating. Out team will evenly spread the epoxy on your floor.
By clicking next or submit you agree to receive phone, email, or text communication from us per our Terms of Use and Privacy Policy. Message/data rates apply. Consent is not a condition of purchase. We will never share your personal information with third parties for marketing purposes.


