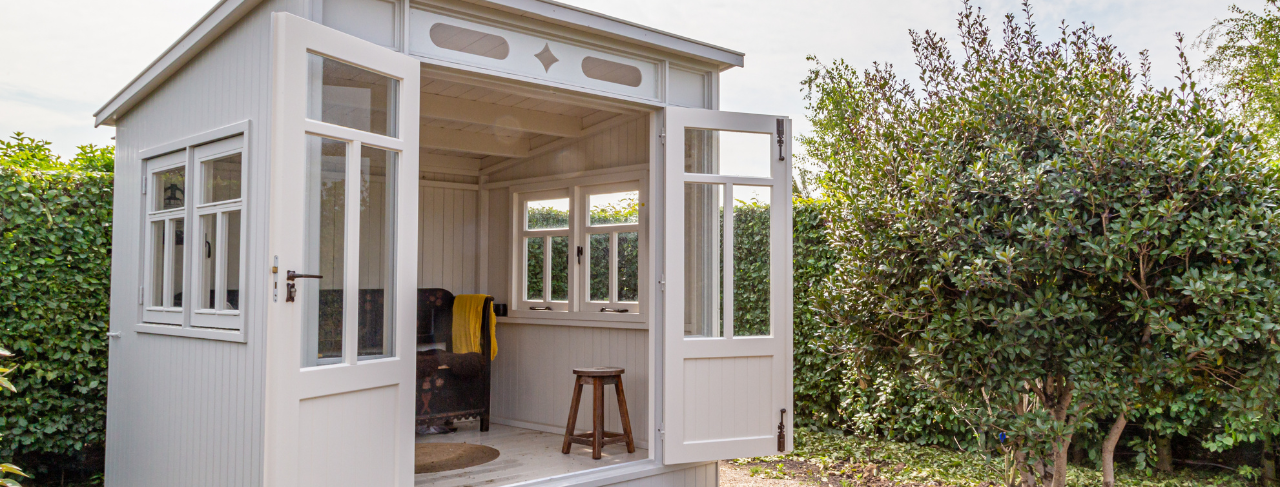
3 Tips for Painting a Shed
Posted on November 29, 2021
Fall is a great time for outdoor projects. It’s also a great time to catch up on routine maintenance around the yard. If you have a shed or storage building in need of a facelift, this information is for you. Today we will offer a few professional tips to make painting your shed easy, inexpensive, and satisfying.
Prepare the Surface
Professional painters have learned that time spent preparing a surface for paint is just as important as the painting itself. Sheds often use a siding material called T1-11, which has a fairly rough texture. Quality paint isn’t cheap, so the pros will use other materials such as sealers and primers to prepare a surface to be painted. These products essentially encapsulate a surface and reduce or prevent other colors from bleeding through. This usually means the project will need less paint, especially if the project involves covering a dark color with a lighter one.
Use the Right Tools and Paint
What tools does the project need? Should it be sprayed, rolled, or brushed? Sheds tend to take a beating, so the pros will usually use the most durable paint at their disposal. Because sheds are often small structures, professional painters will typically roll the paint on. This allows them to control the viscosity (thickness) of the paint, which is often a plus when covering up worn surfaces.
Be Patient
Do-it-yourselfers tend to apply too much paint per coat in an attempt to completely cover a surface. Professionals will usually do just the opposite, and apply a few thin coats. This allows the paint to bond quickly to the surface, and since the coat is thin it dries quickly. On a shed, the pros will typically start in one corner and work their way around the perimeter. By the time they have returned to the starting point, the first coat is dry. This means no waiting around, which makes the project move much faster.
Need a Professional Helper to Paint Your Shed? Hire CertaPro Painters®.


