
HOA Exterior Painting in Fairfax Station
CertaPro Painters® of Fairfax and Prince William, VA
HOA Exterior Painting in Fairfax Station
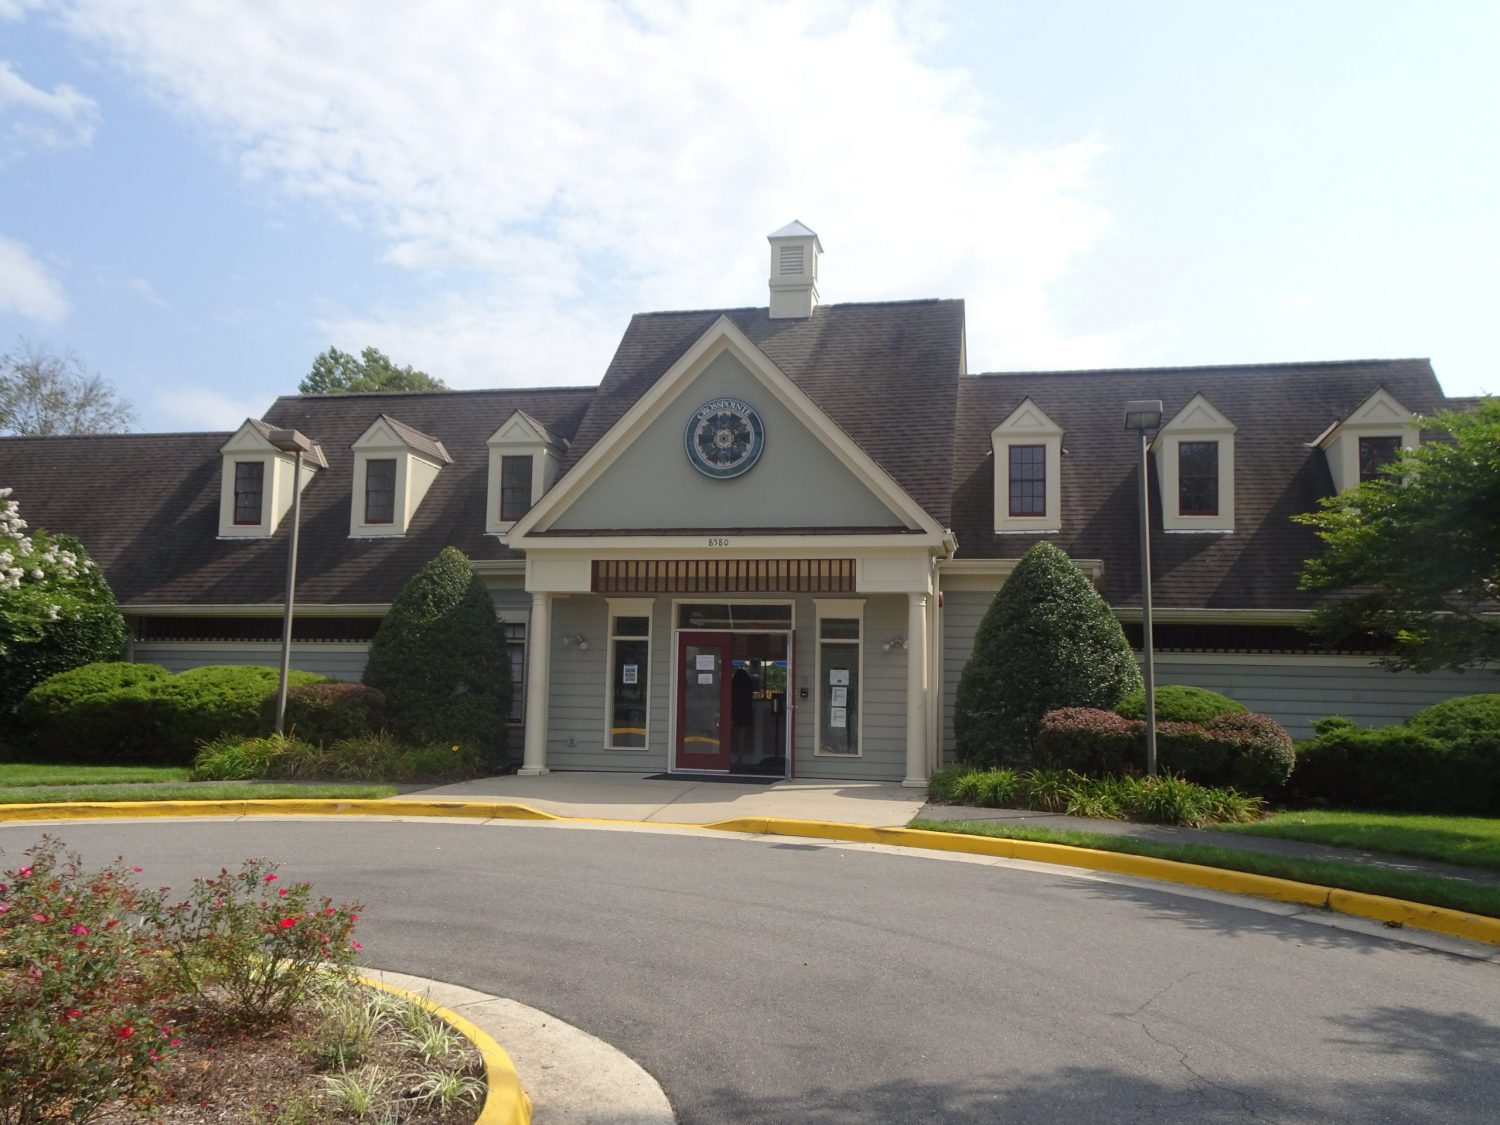
A Homeowners Association in Fairfax Station, Virginia was looking for professional preparation and painting of the exterior siding, trim, doors & frames, windows & frames, dormers, soffits, shutters, and columns for their two (2) clubhouses as part of an overall refresh ahead of pool season. The overall goal was to assist the Community in maintaining a maintenance cycle while refurbishing their overall look.
In the process, we rejuvenated each appearance and restored the lasting durable protective condition. The project included professional coordination; communication; safety measures; skilled professional preparation and cleaning; application techniques and processes; and the use of top-rated industrial-grade coatings and materials (Sherwin Williams).
Our goal was to recondition the paintable surfaces to enhance and restore the condition and protective properties, and replace/repair damaged wood found throughout with similar composite material. Both the processes and the products used were of the best professional grade ensuring enduring results that look great. We gave the exterior of both clubhouses a fresh new look by refreshing the color palette and in so doing achieved a new appearance while significantly enhancing the protective properties and long-term durability of all identified components.
The project was completed on time and within budget. The Community was thrilled with the overall experience and professionalism throughout the project and looks forward to continuing to work with CertaPro Painters of Fairfax and Prince William in the future!

About the Project
Condition of Facility:
The community was looking to refresh the existing color palette and replace and repair damaged/rotted wood identified throughout. The components to be painted were a combination of previously painted wood, hardie plank, masonry, and composite materials.
Project Involvement:
The project involved Skilled Level-3 Professional Preparation prior to painting to ensure extraordinary and lasting results.
- Power Washing – The team power washed all surfaces that were to be painted. In so doing, the crew washed with trisodium phosphate (TSP) and diluted bleach or similar solution which removed dirt and killed algae, mildew and mold on the surface. Washing was done with a power washer, by hand for windows and delicate areas, or a combination of the two – whichever was more appropriate for the substrate.
- Caulking The team caulked cracks that had been caulked previously (ie. around window frames, door frames, trim etc.) which included filling in where the caulk is missing or cracked (not including hairline cracks). For routine use and non-masonry or expansion joint use, the team used Sherwin Williams SherMax™ Urethanized Elastomeric Sealant. This is the #1 Top Rated Exterior Caulk and far exceeds the performance of other premium caulks. In addition, the team used backer rod in areas where the separation was more than the maximum for the product.
- Scrape/Sand – The team scraped loose and peeling paint with a scraper until a firm edge was reached and performed light sanding to all very rough edges. With this process, the team used a combination of heavy-duty power sanders (disk sander, belt sanders) and hand-sanding.
- Protection – The team safeguarded and protected the surrounding walkways and vegetation as necessary during setup and throughout the project to ensure a clean and tidy workspace.
- Spot Prime – The team spot primed all bare wood/metal prior to painting to ensure surfaces were sealed and protected.
- Carpentry – During our initial inspection as well as during our setup and preparation processes, we identified multiple carpentry repair zones requiring the replacement and/or repair of rotten/damaged wood with COMPOSITE materials. We used similar COMPOSITE materials, as much as possible. The advantage of composites is their extended durability (maintenance-free). All rotten wood was placed in a pile with an accompanied picture of where the wood was located for the owner to inspect.
- Paint – CertaPro Painters followed Sherwin-William’s specification’s in regards to preparation and applied wet film thickness of all products. These premium coatings far surpass other quality paints guaranteeing great lasting results that will enhance the properties appearance and reduce your maintenance burden. All paint was applied in strict accordance with the manufacturer’s minimum recommendations and applied using brush/roller or spraying equipment with back rolling to avoid any defects, streaks, and sagging
- Sherwin Williams Emerald Urethane Trim Enamel (Color Match)– For the Doors and Door Frames, we applied 1 coat (COLOR MATCH) of Sherwin Williams Emerald Urethane Trim Enamel in a Satin finish. This product delivers a smooth, uniform finish while maintaining durability, gloss, and color retention.
- Sherwin Williams Emerald Exterior Acrylic Latex (Color Change)– For the Shutters, we applied 2 coats (COLOR CHANGE) of Sherwin Williams Emerald Exterior Acrylic Latex in a Satin finish. This product offers superior resistance to blistering, peeling, chalking, fading, dirt pick up, mold and mildew compared to leading competitors.
- Sherwin Williams, Emerald Exterior Acrylic Latex (Color Match)– For the Hardie Plank Siding, Masonry Walls (Rear of Facility), Soffit, Trim, Fascia, Rake boards, Spindles, Overhangs, Dormers, Windows/Window Frames, Cupola’s, Columns, Vents, we applied 1 coat (COLOR MATCH) of Sherwin Williams, Emerald Exterior Acrylic Latex with a Satin finish. This product offers superior resistance to blistering, peeling, chalking, fading, dirt pick up, mold and mildew compared to leading competitors.
Special Challenges:
The project was completed safely and efficiently. It required the use of ladders in order to efficiently and safely access elevated areas as well as difficult and challenging areas.
Due to the scope of work and being a fully operational community, CertaPro Painters, the Commercial Operations Manager, and the Community Managers coordinated daily/weekly staging areas in terms of clubhouse access and components that were to be properly cleaned, prepped and painted.
Project Timeline:
2 Weeks
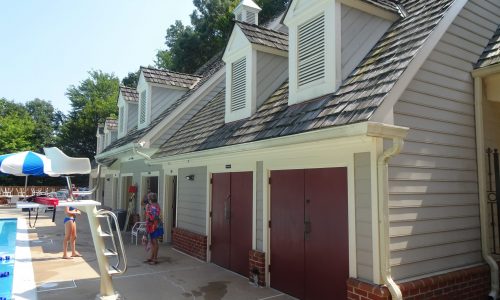
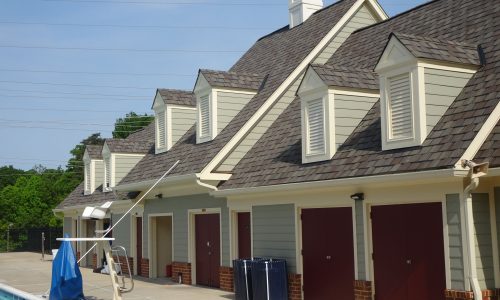
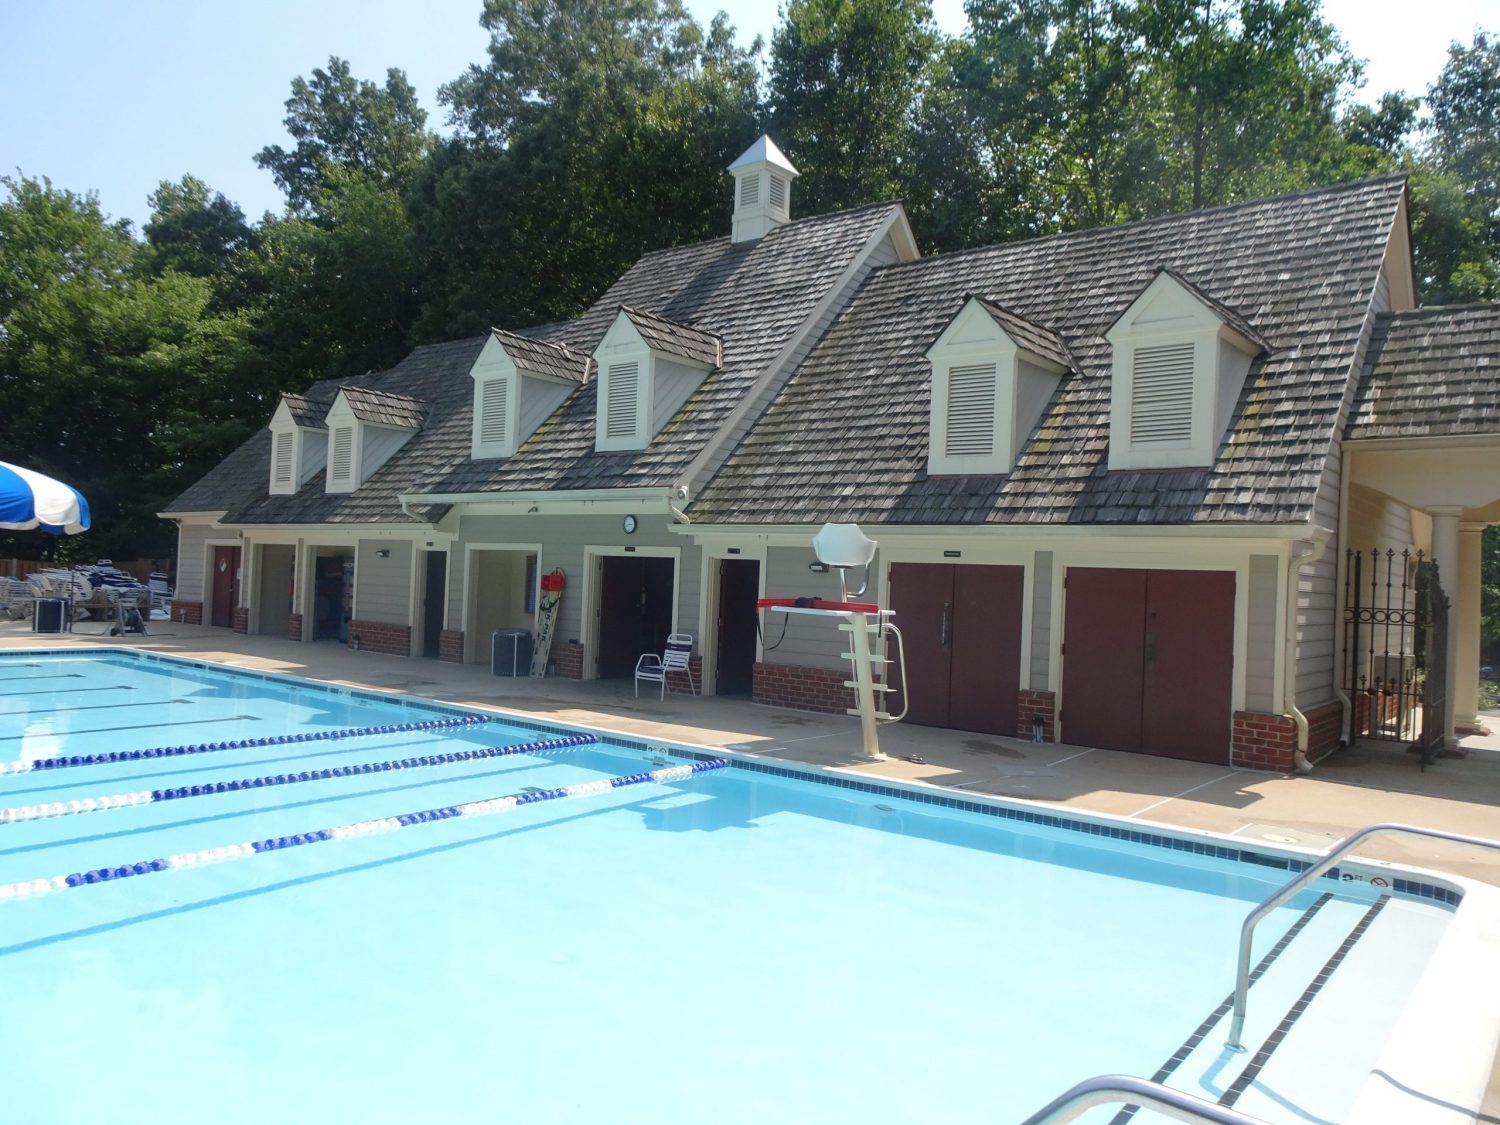
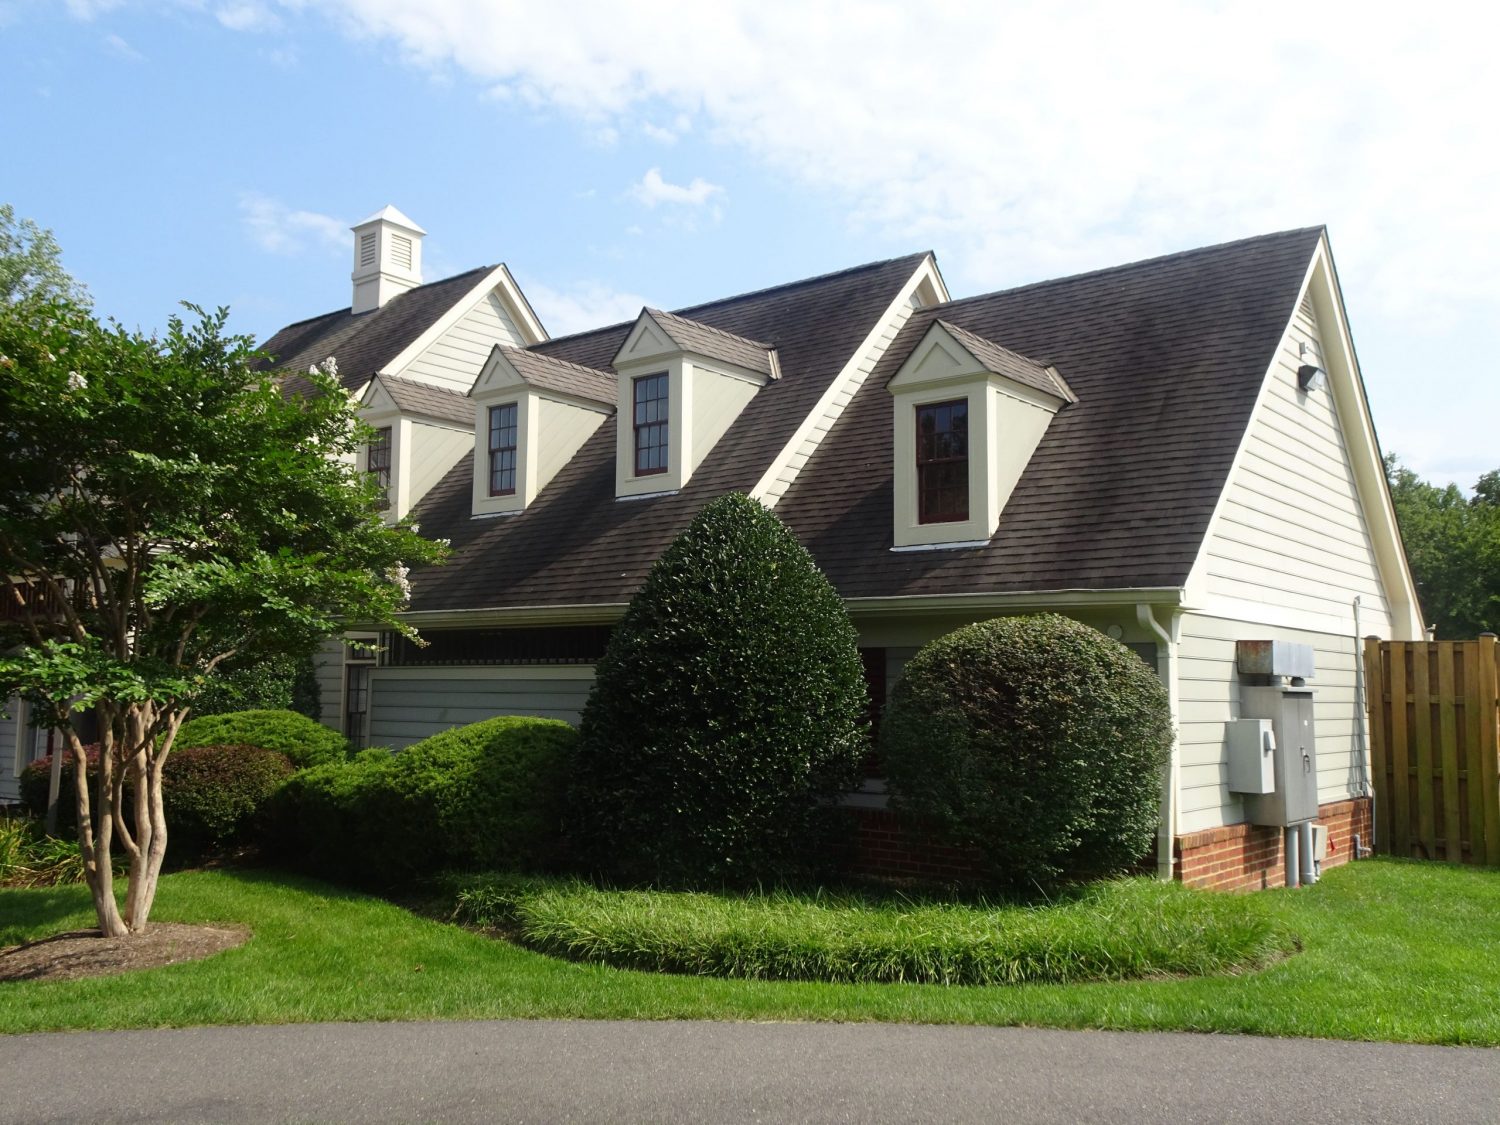
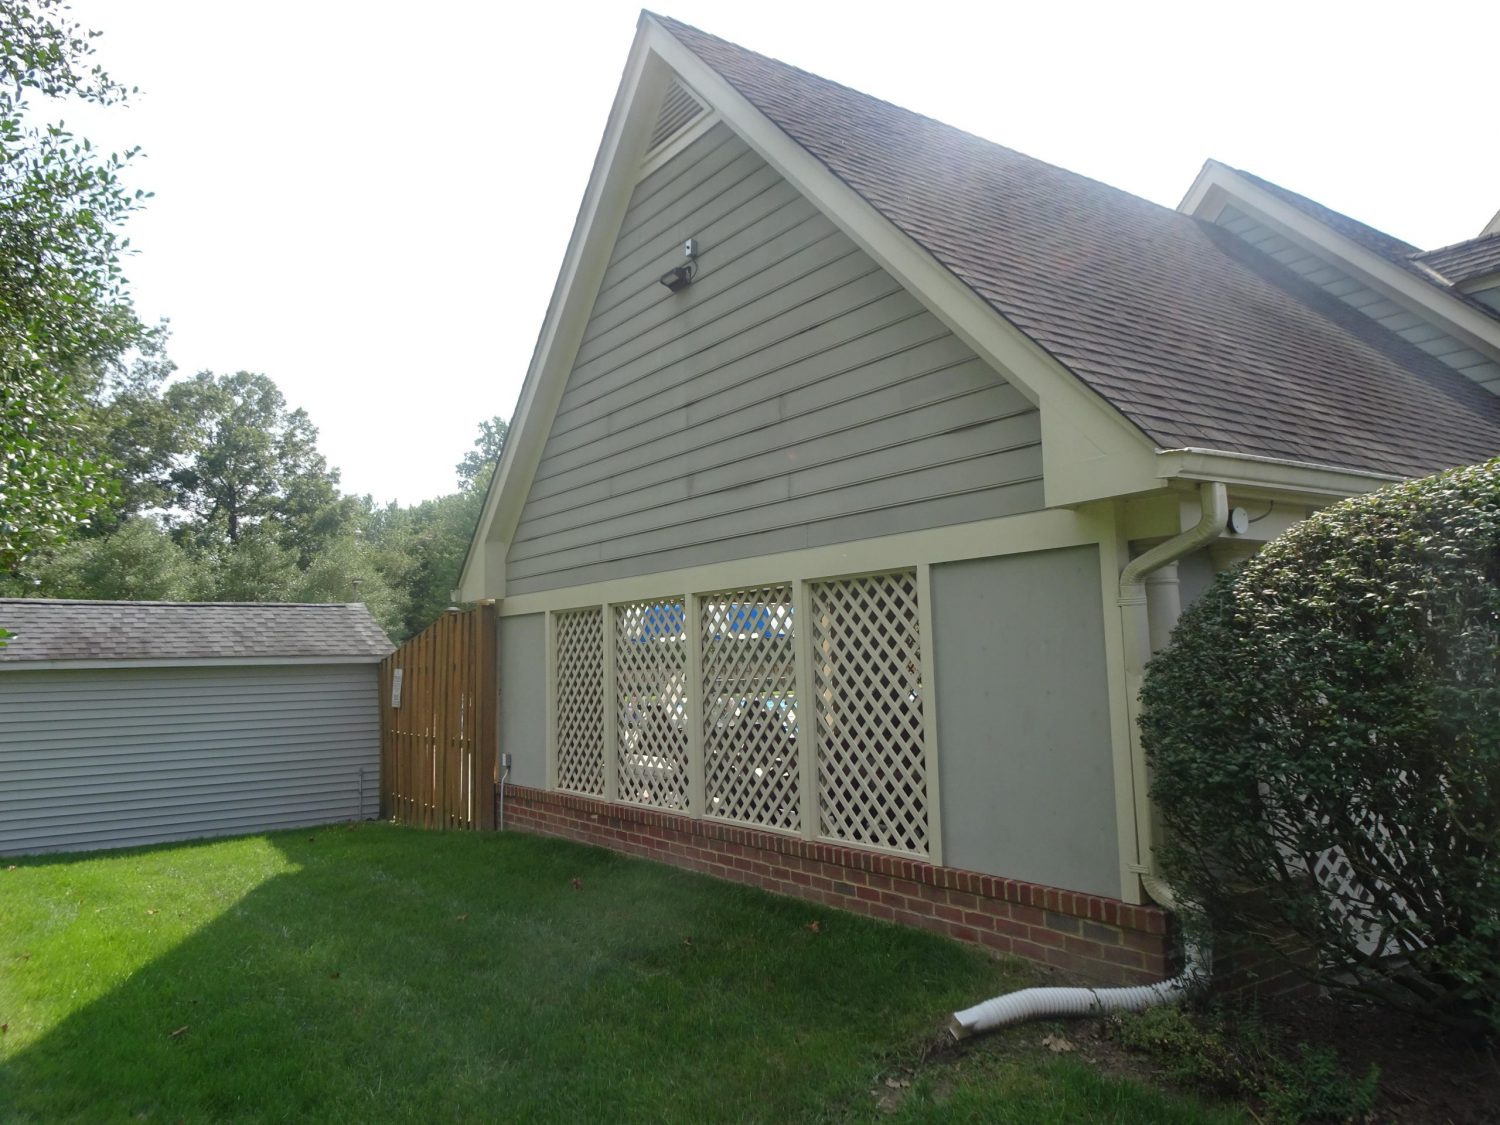
Before Photos
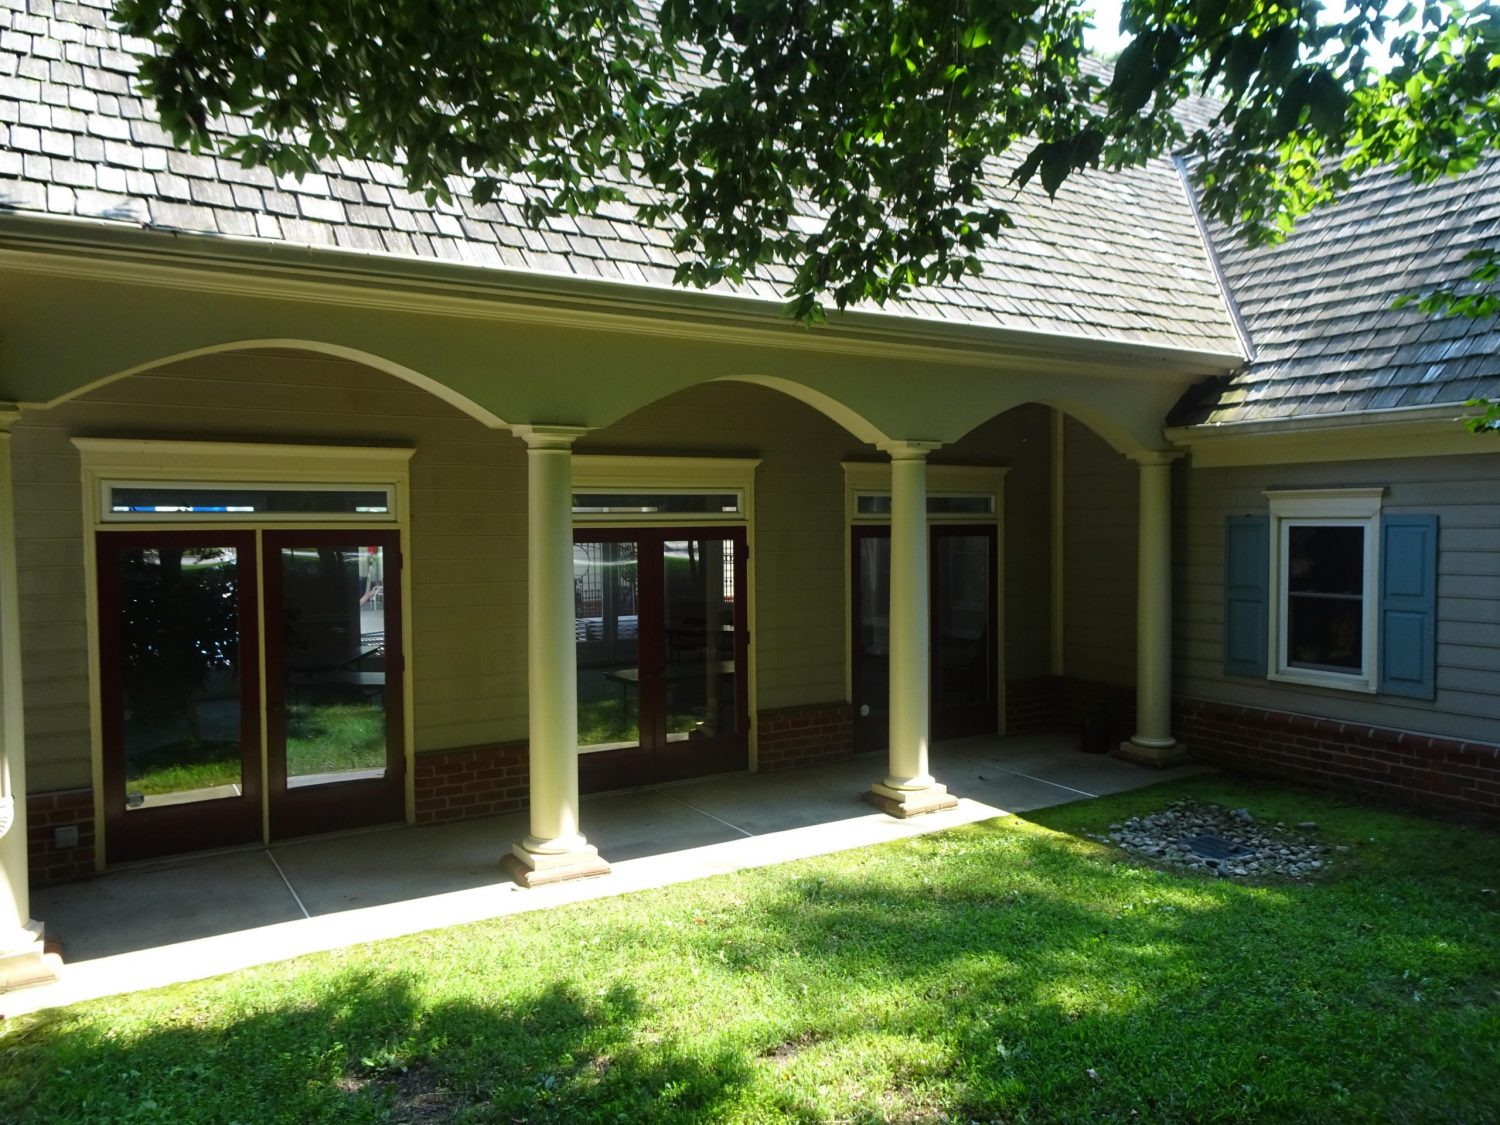
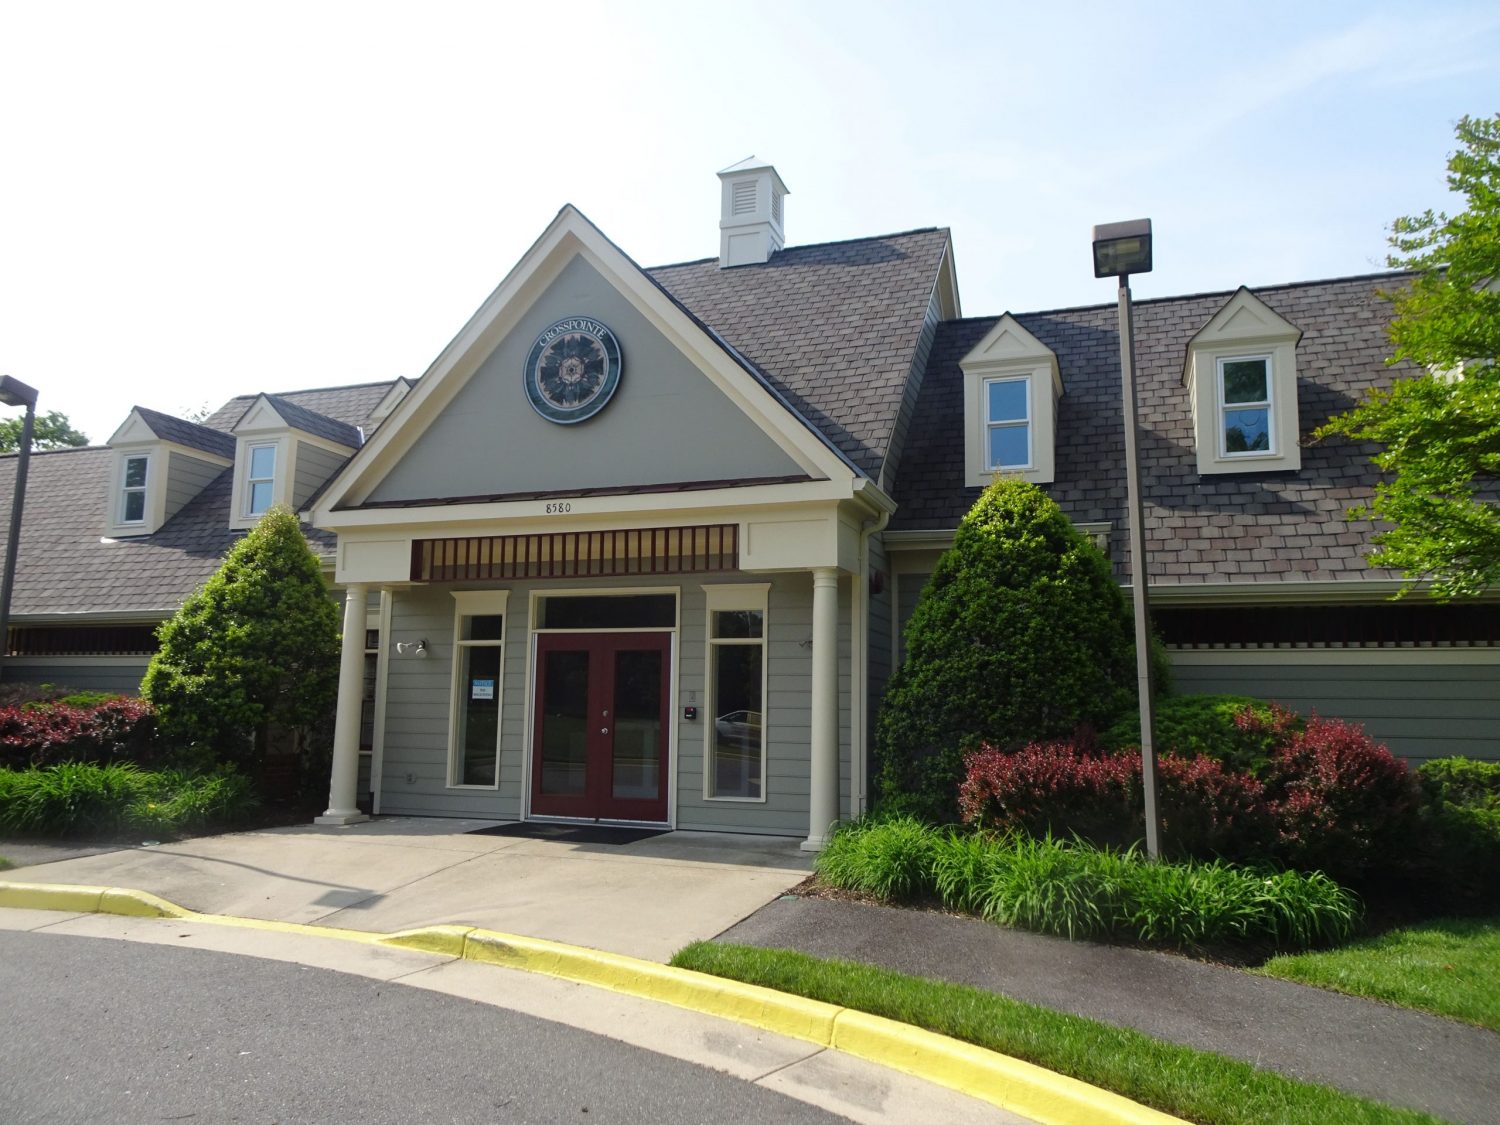
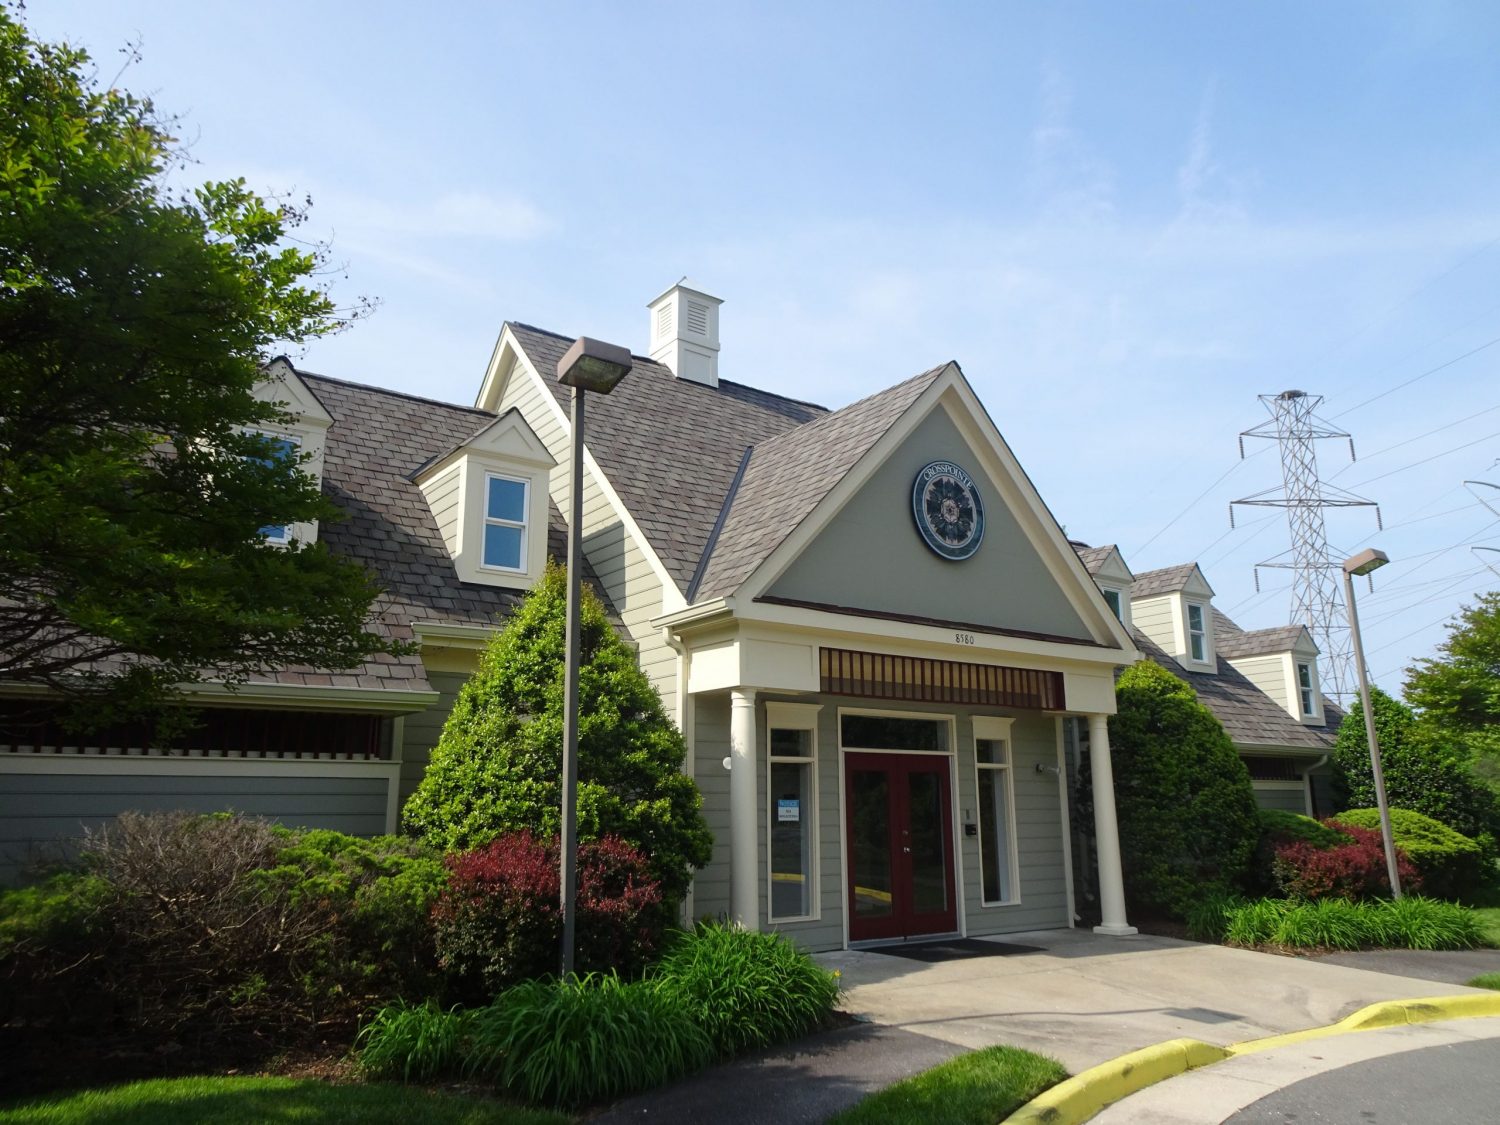
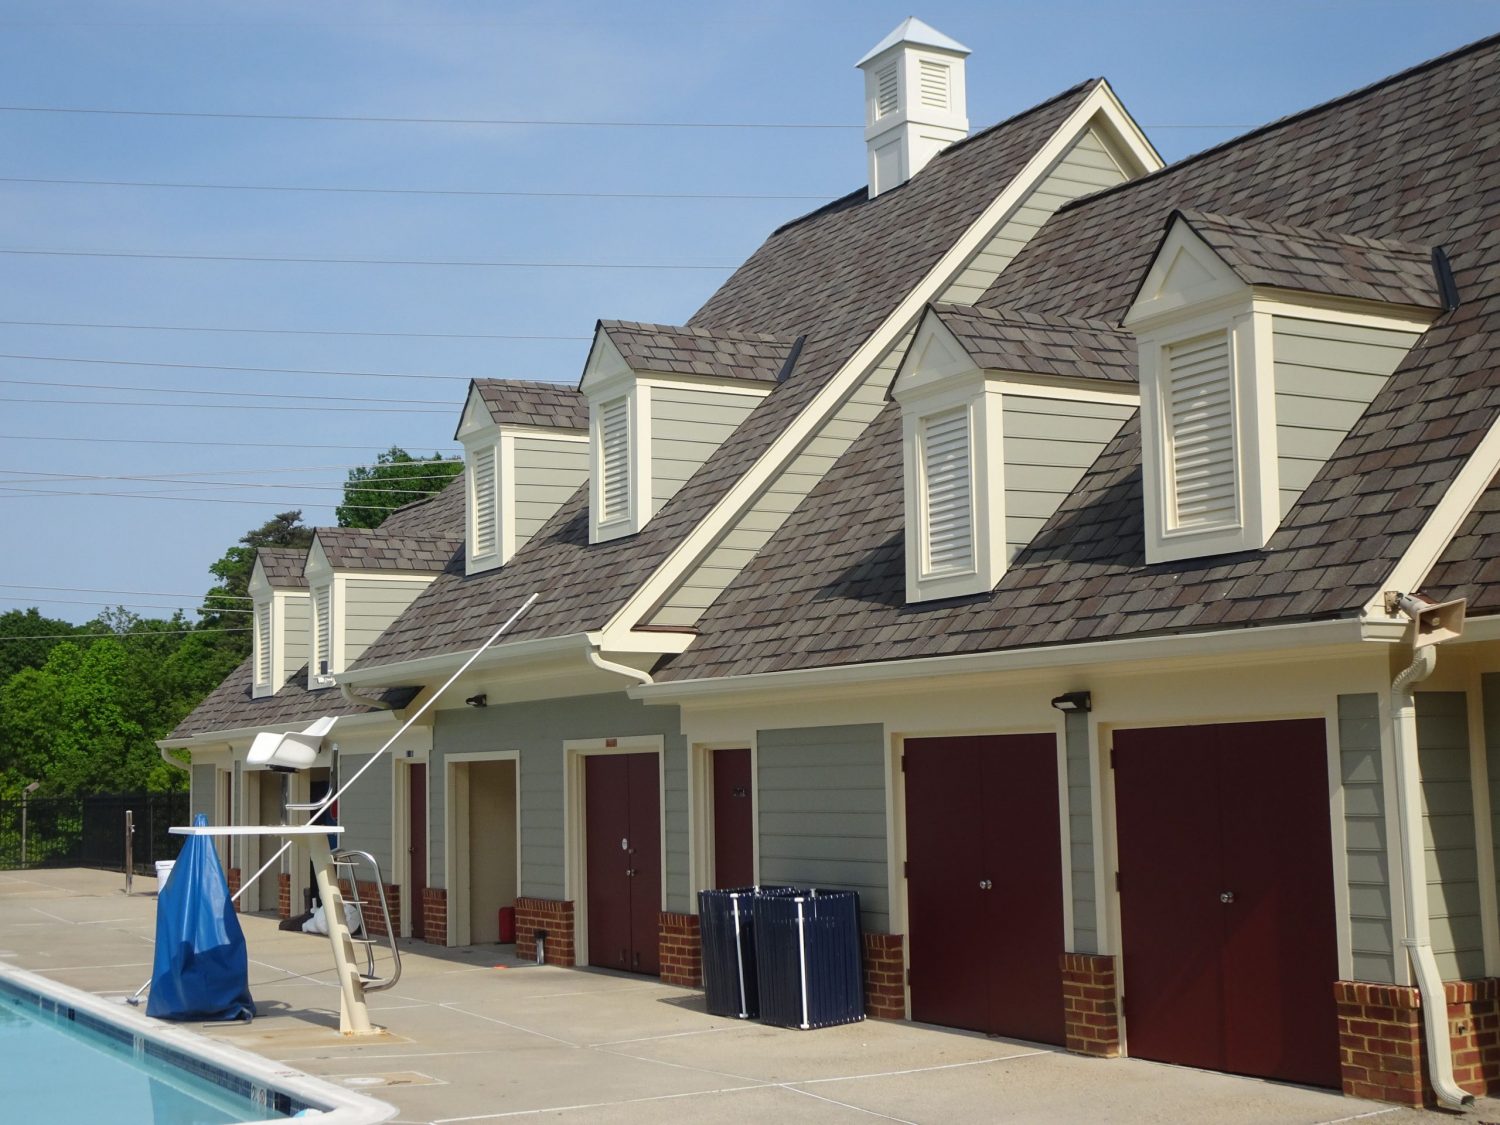
Below is what the HOA looked like prior to painting. Click on any image to zoom in.
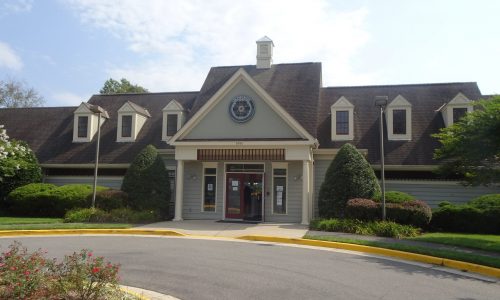
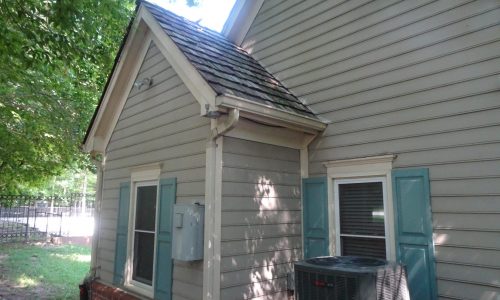

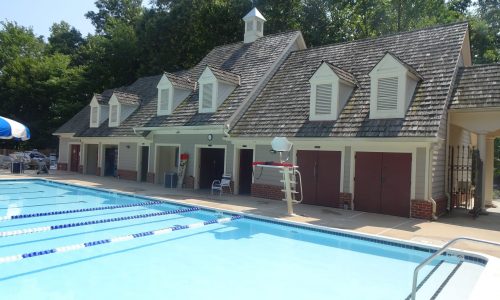
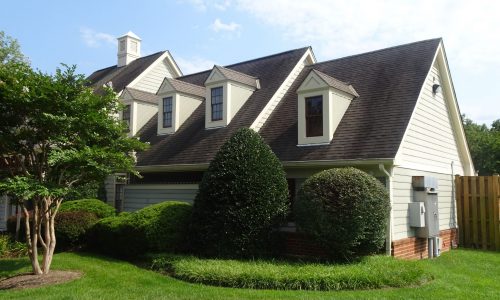
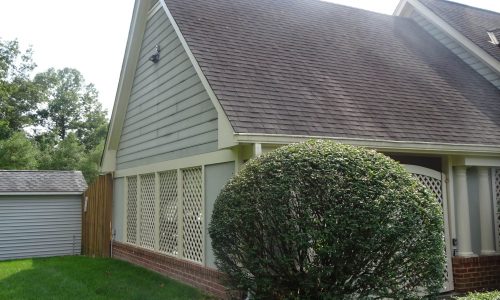
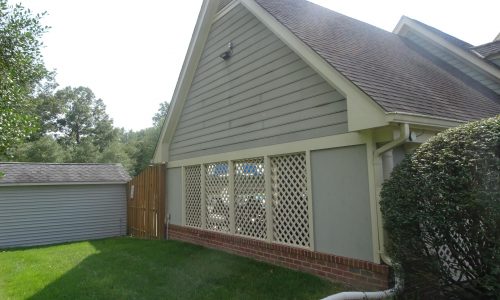
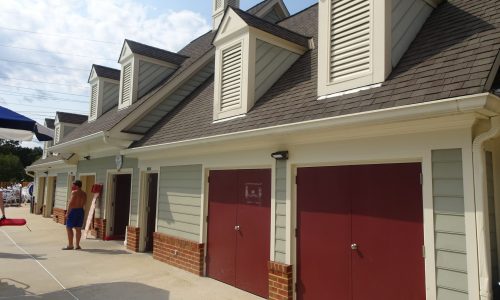
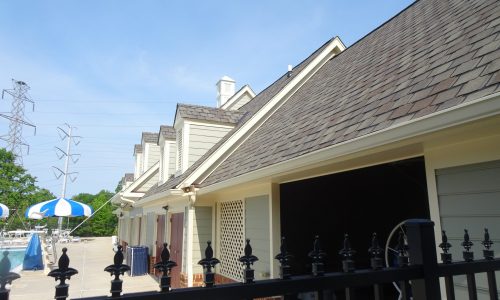
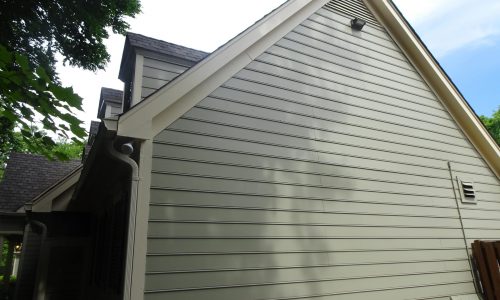
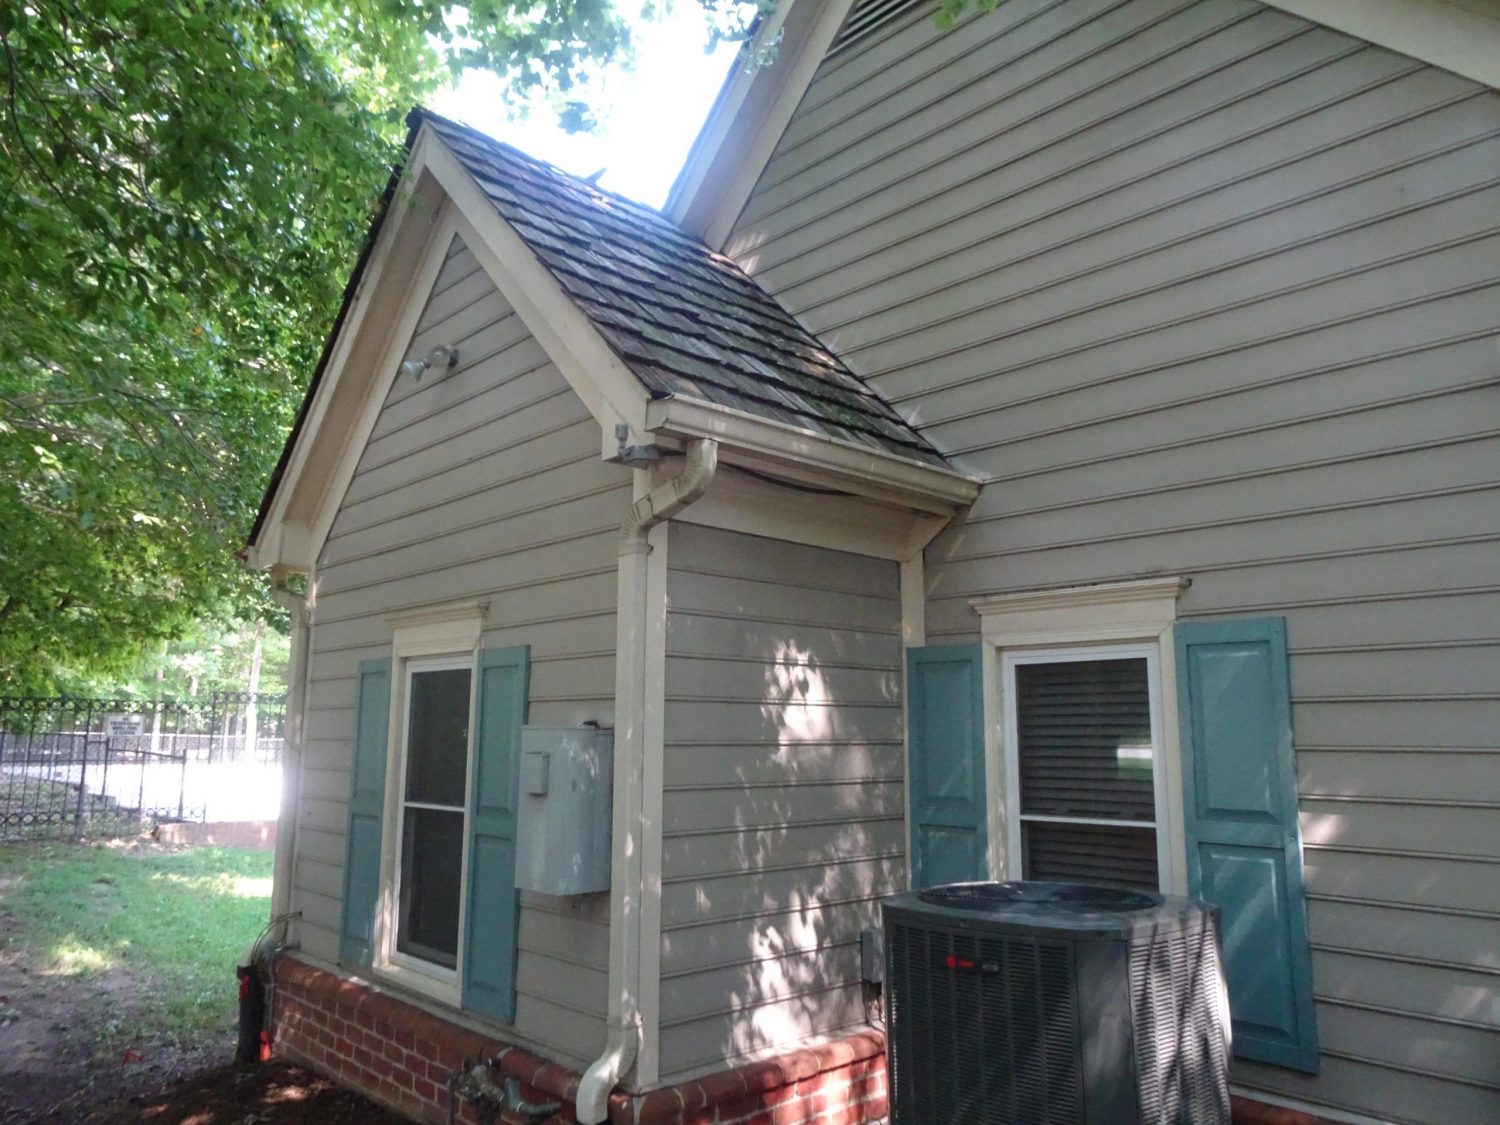
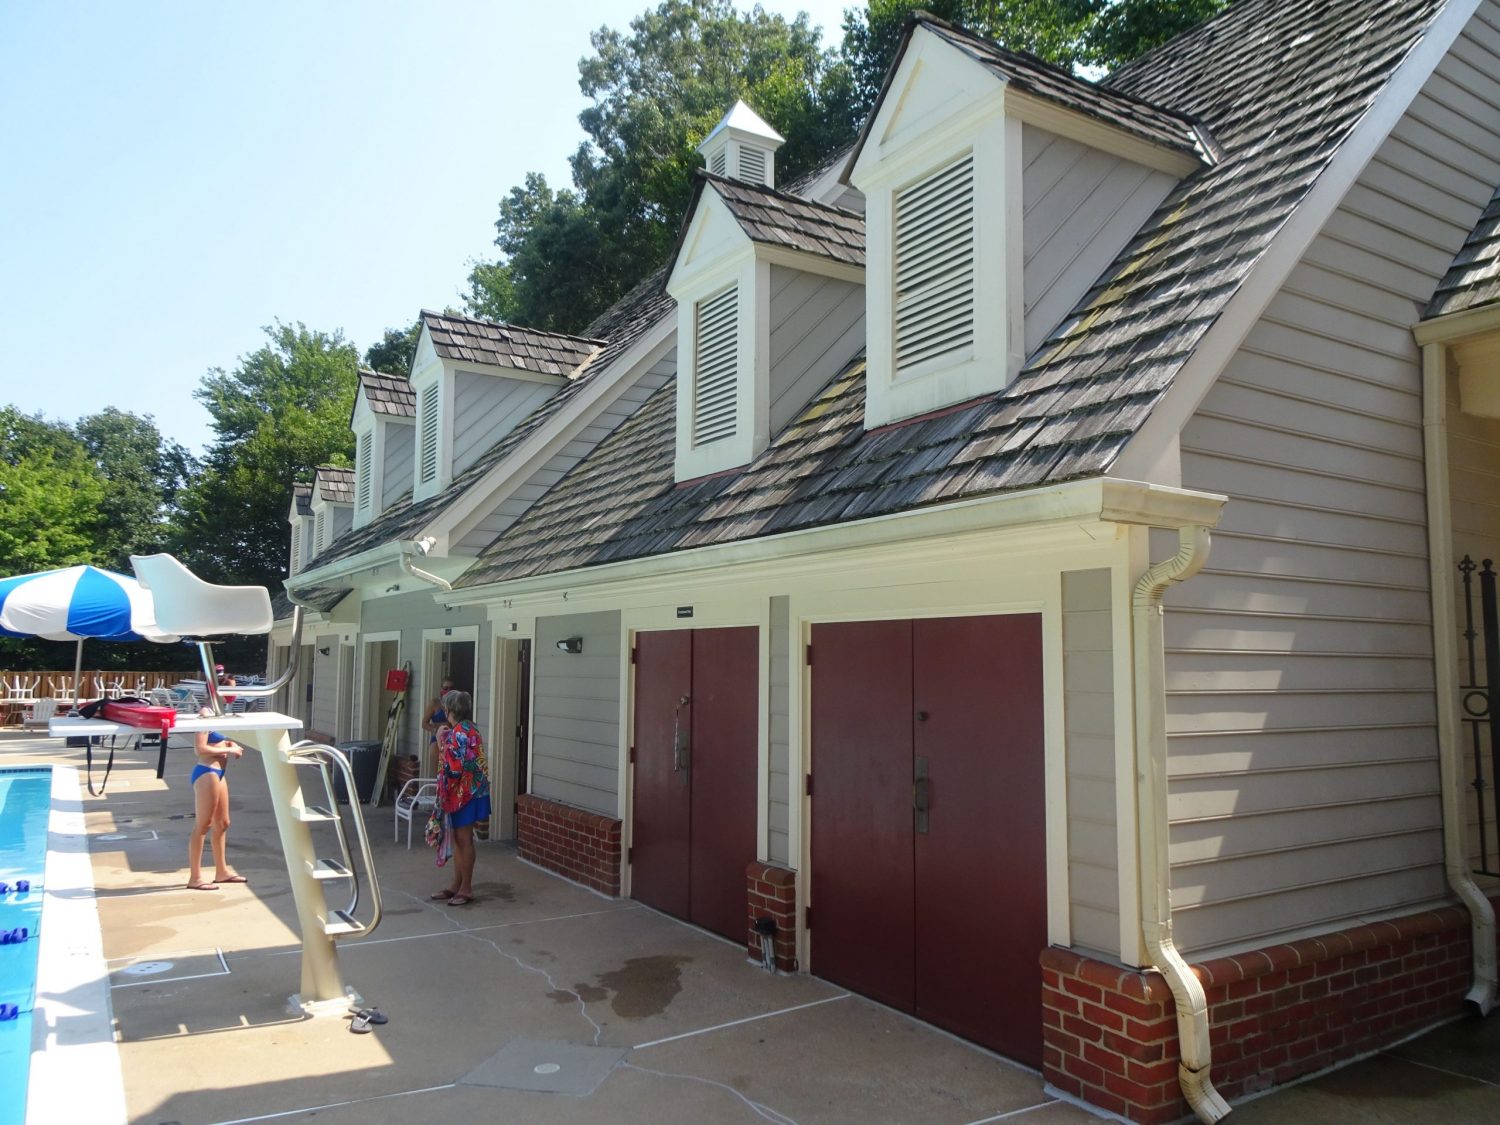
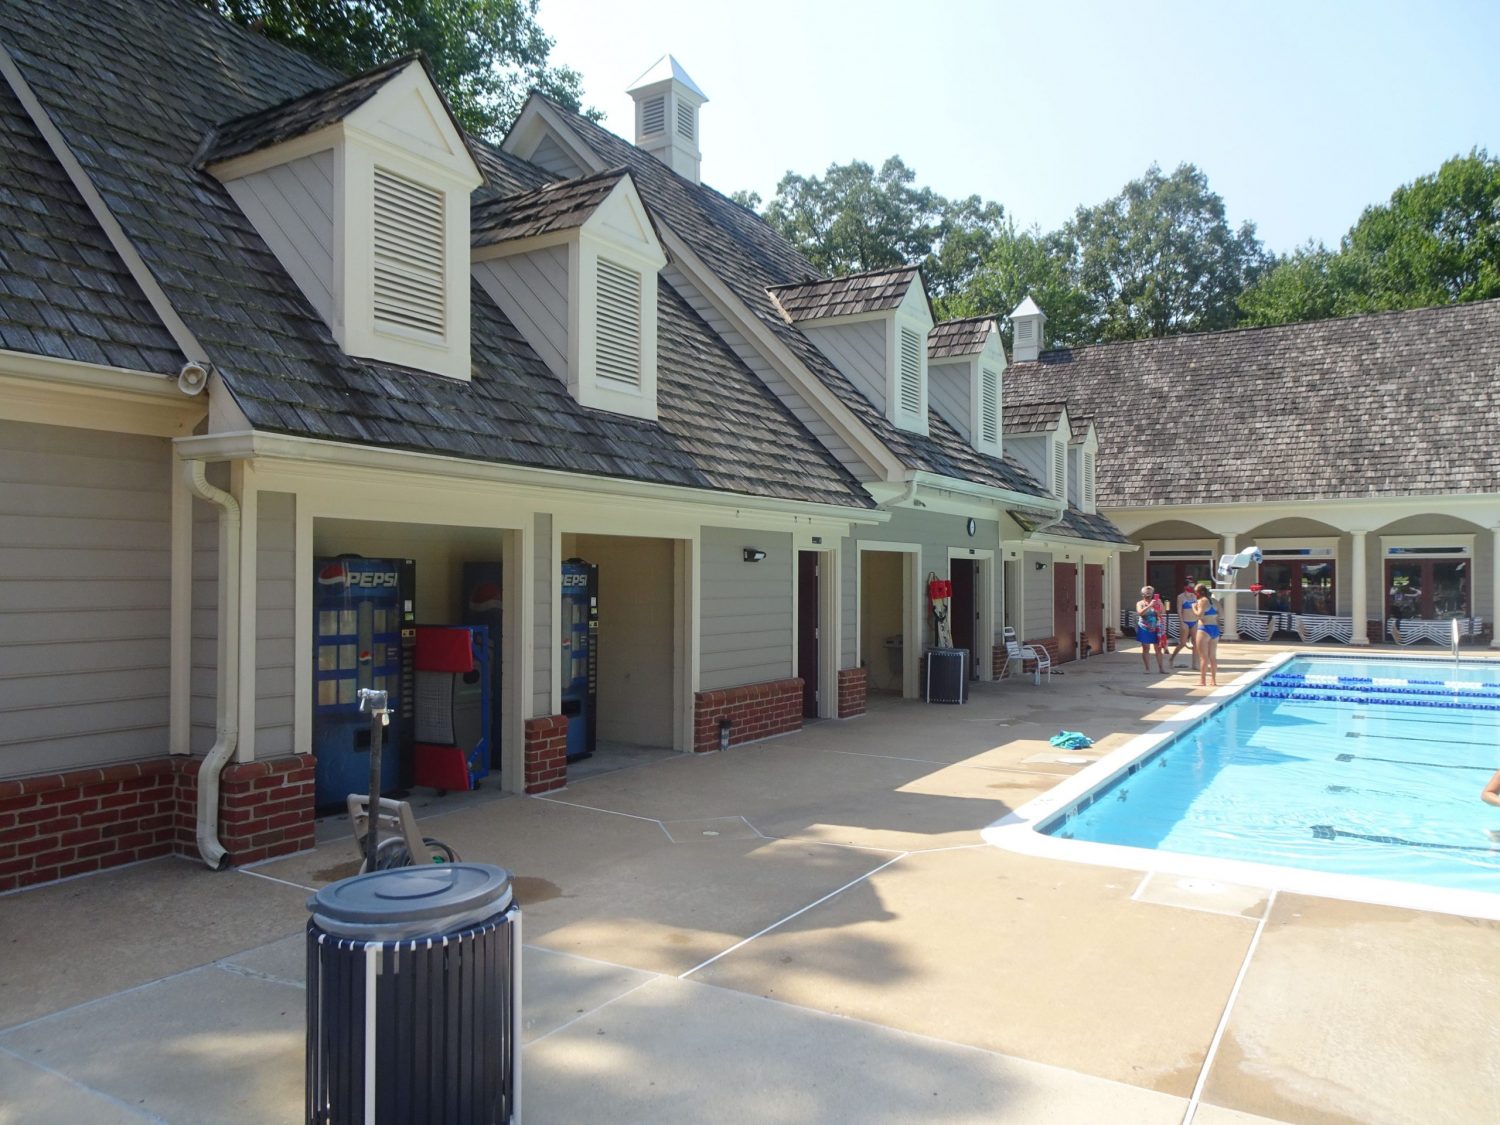
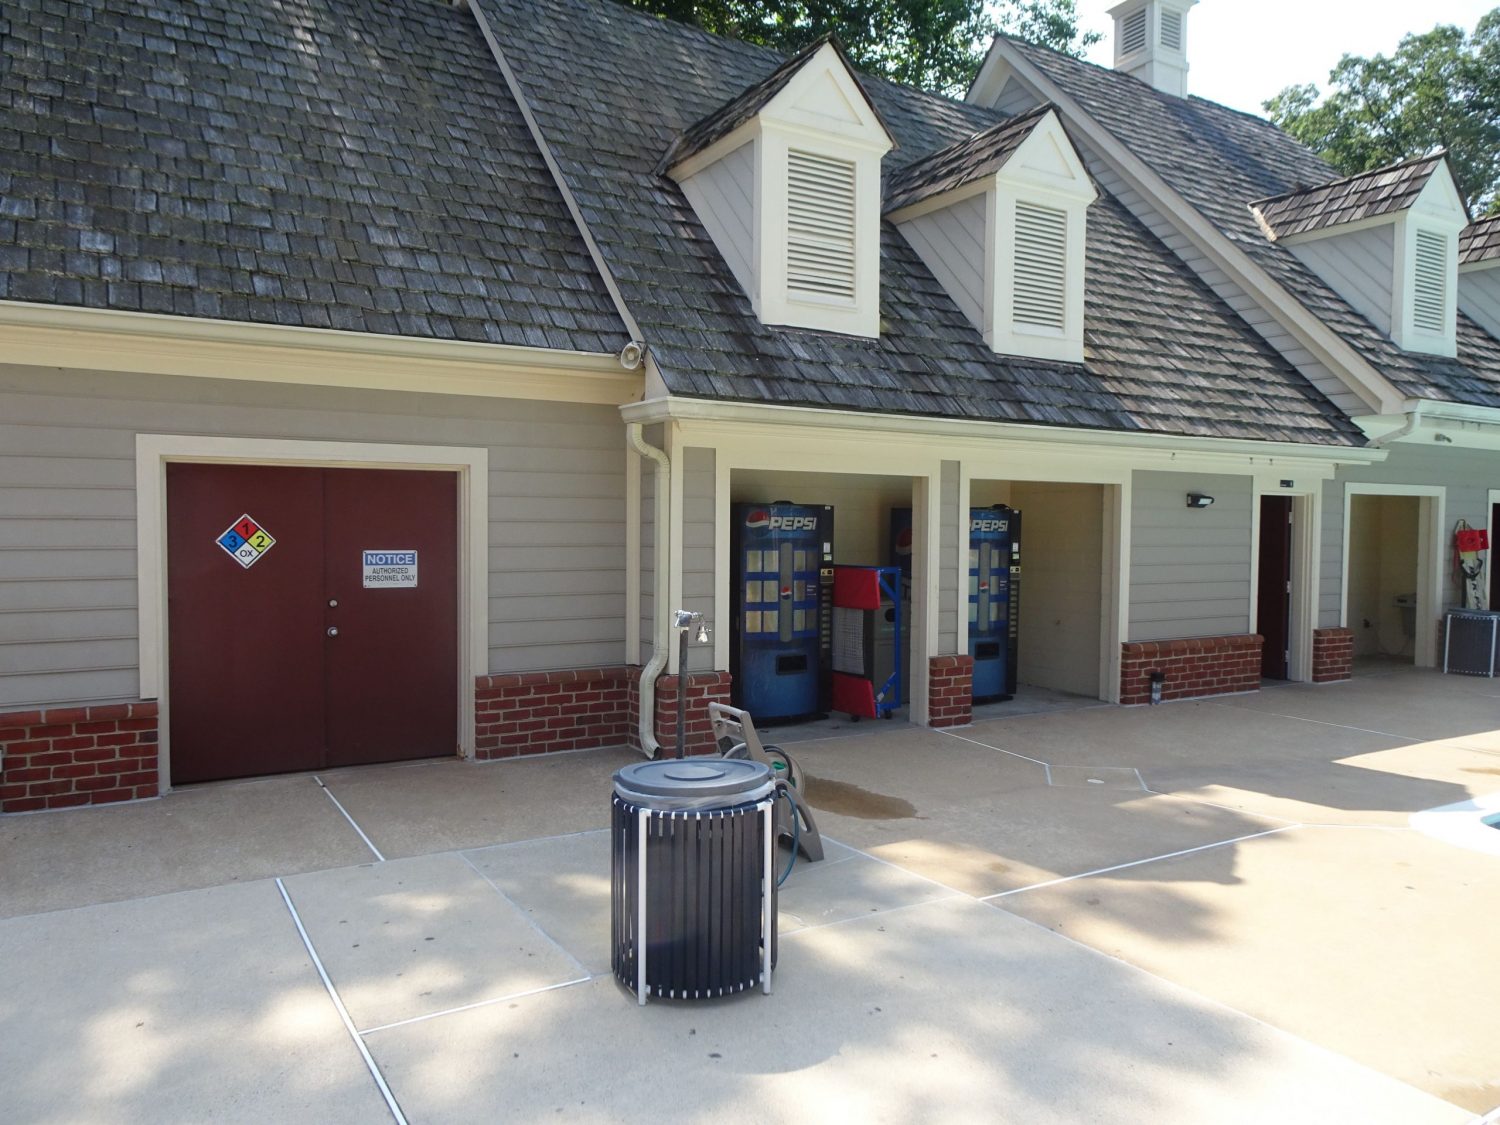
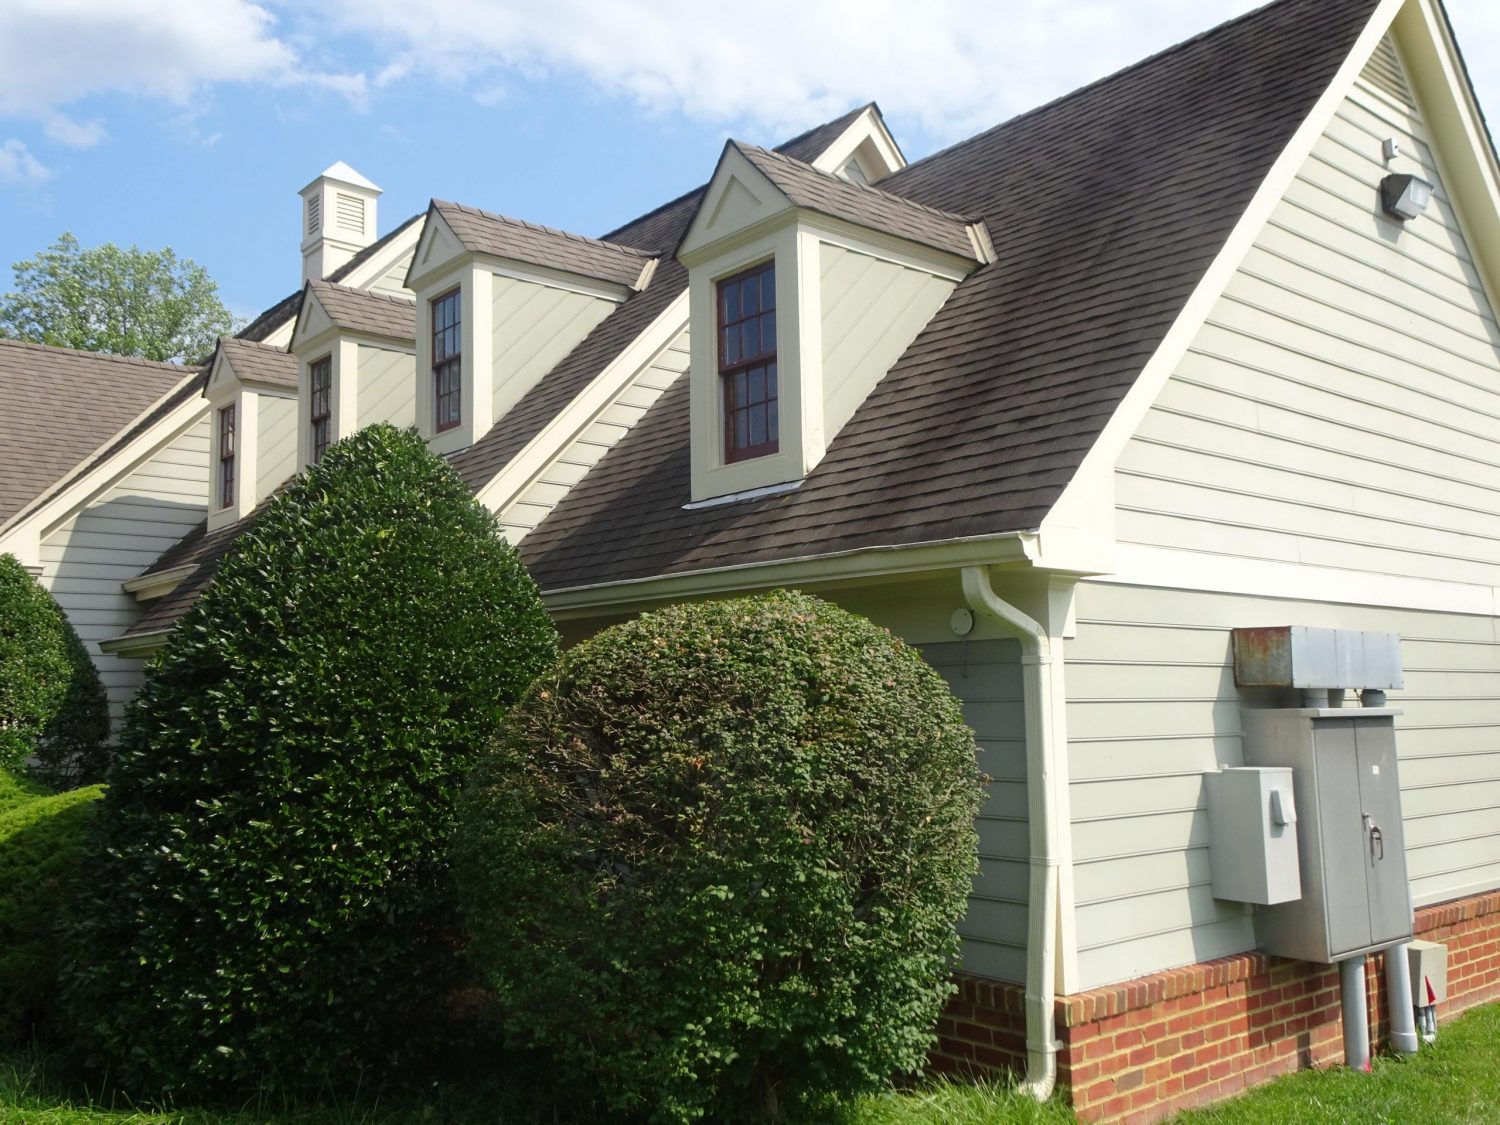
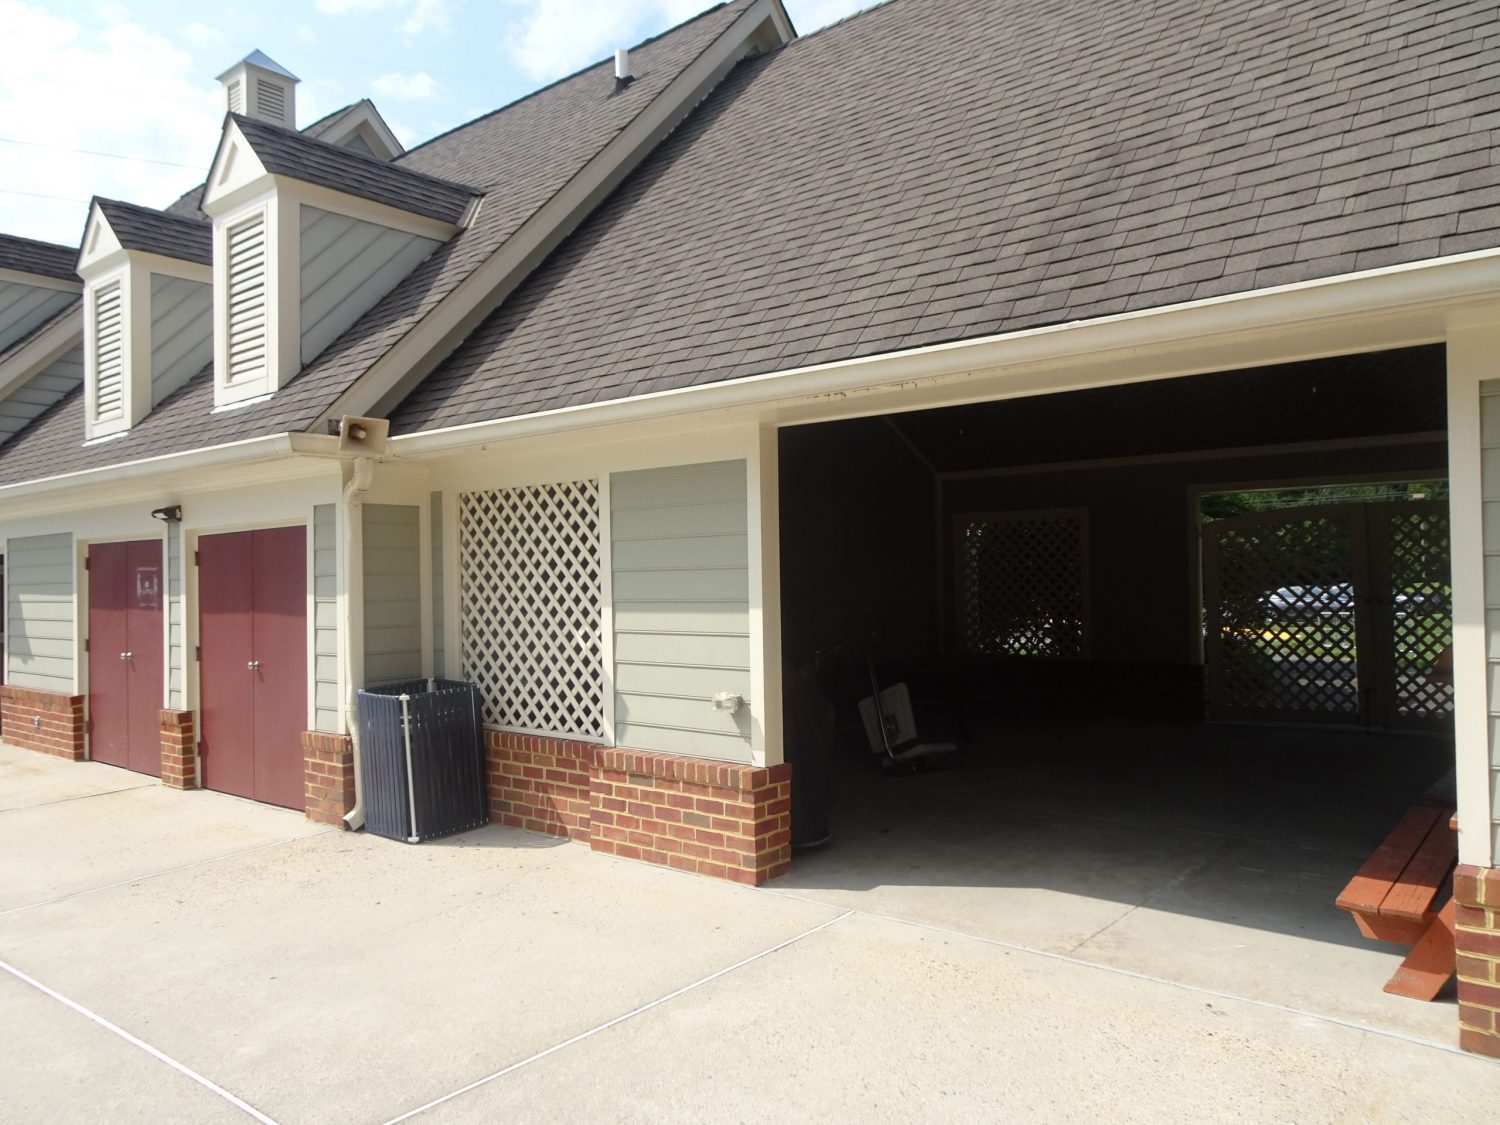
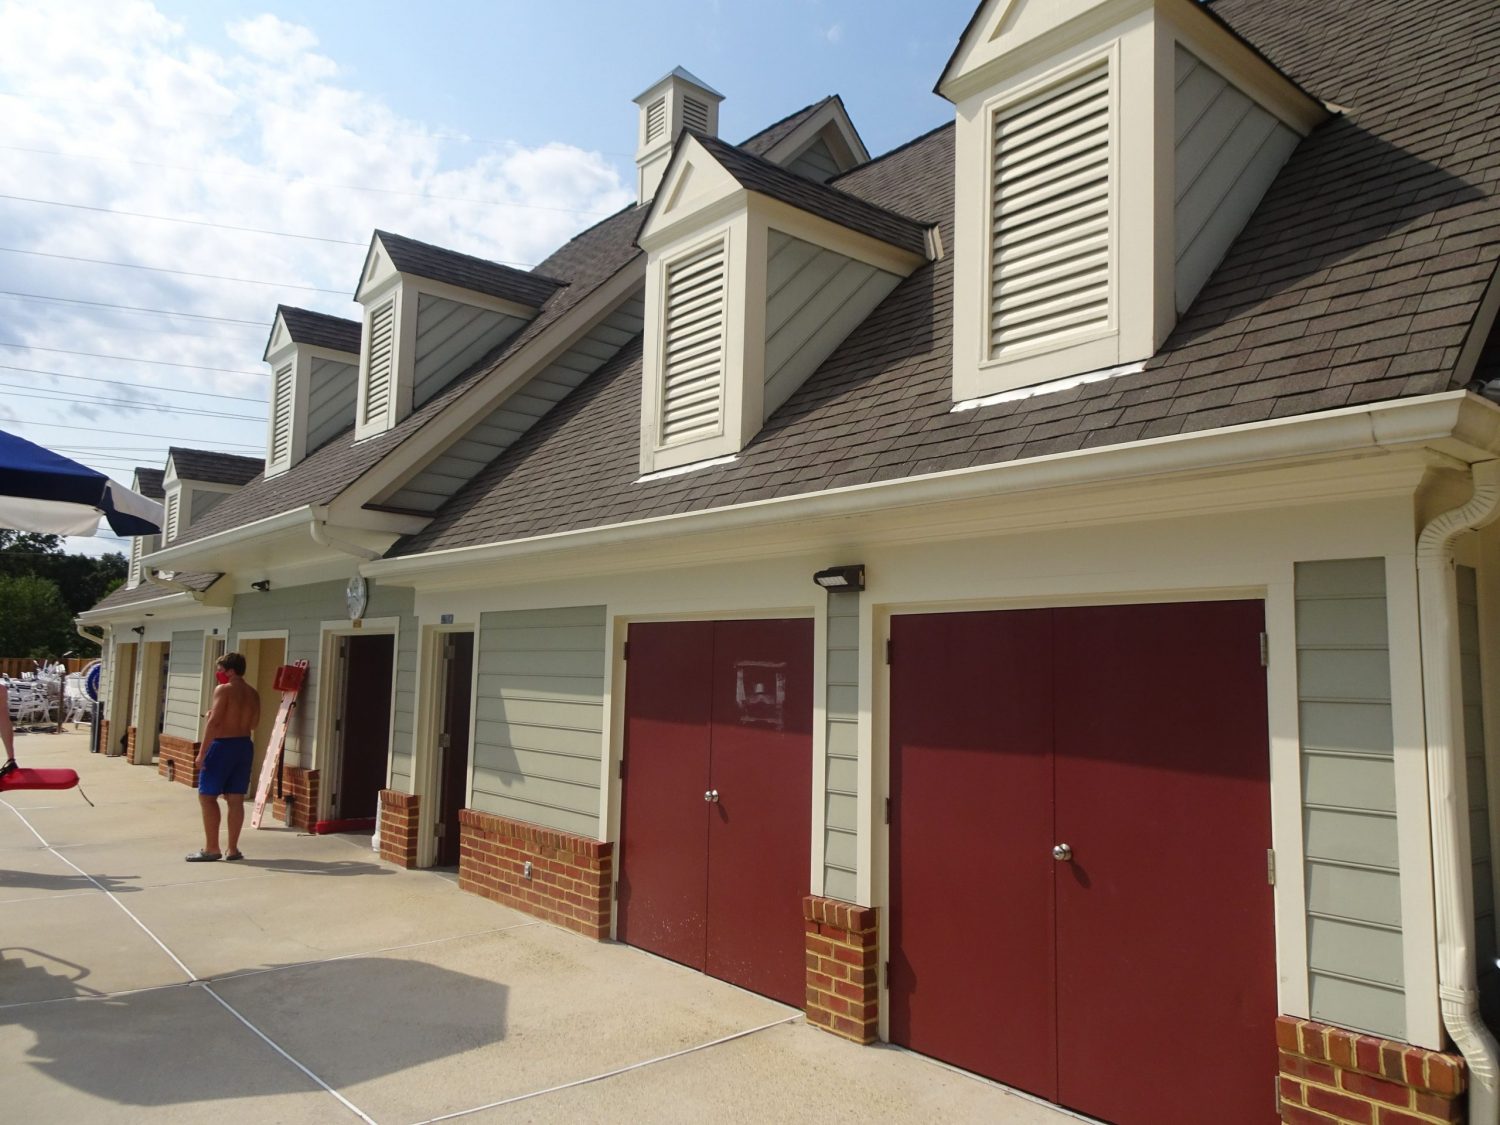
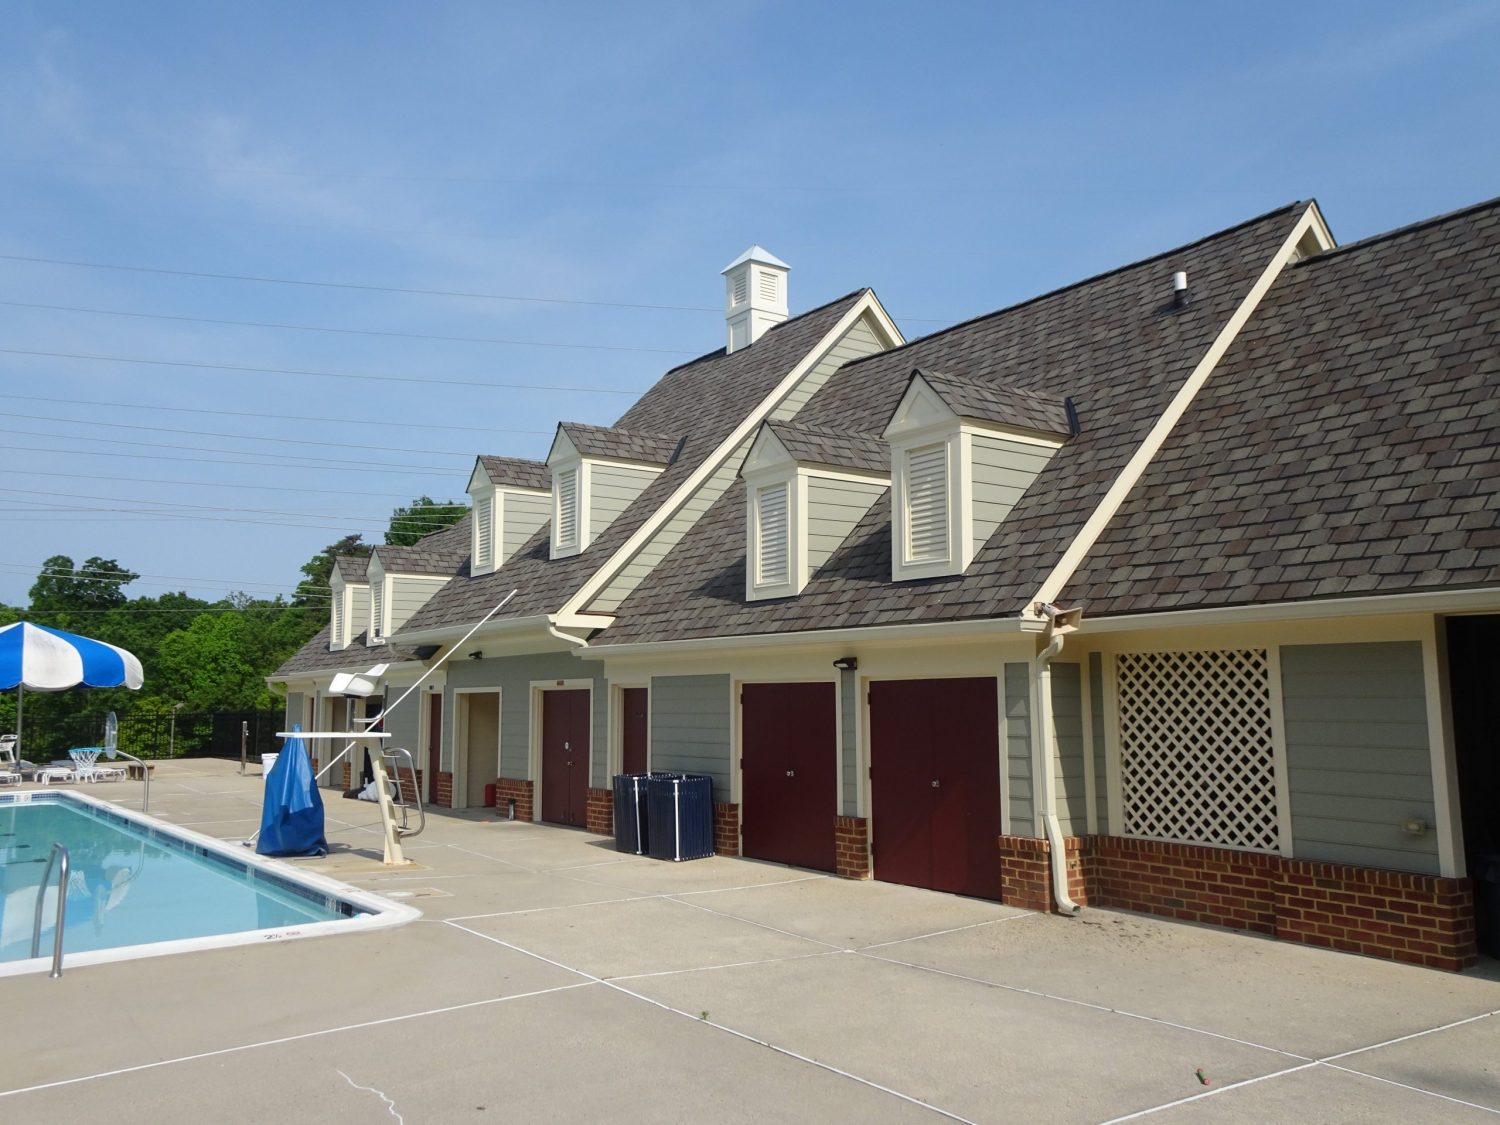
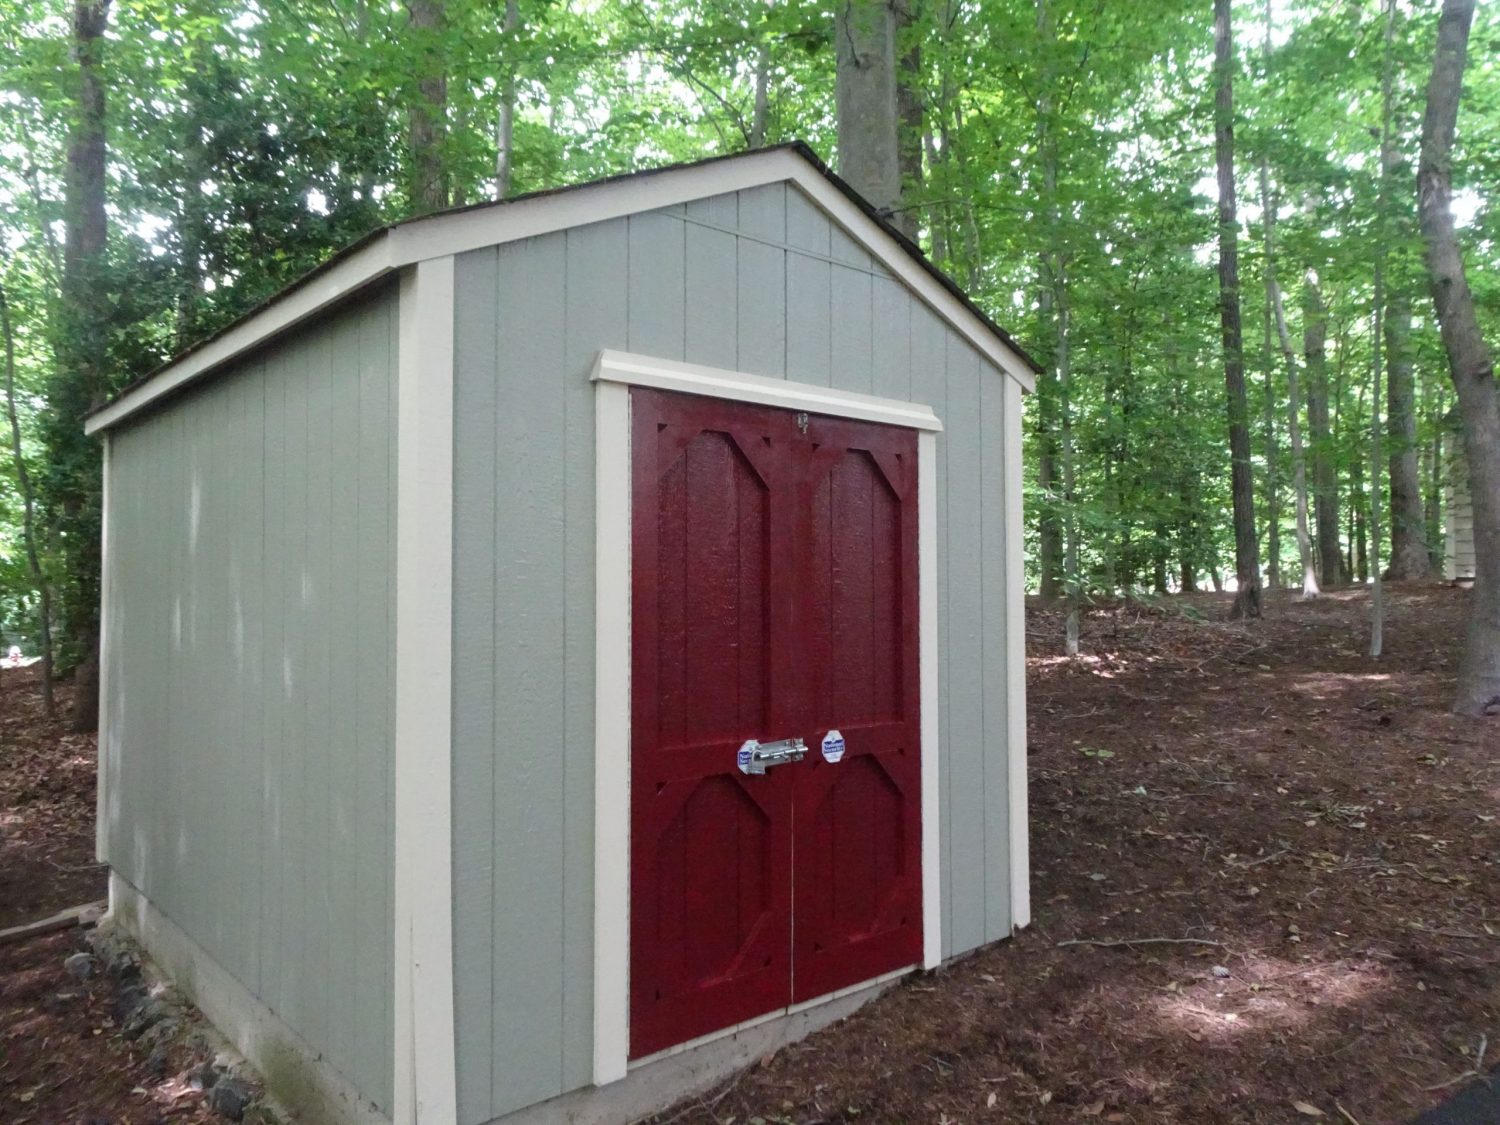
Another Before Look at the Garage Building
Here's another look at garage building before the exterior update.


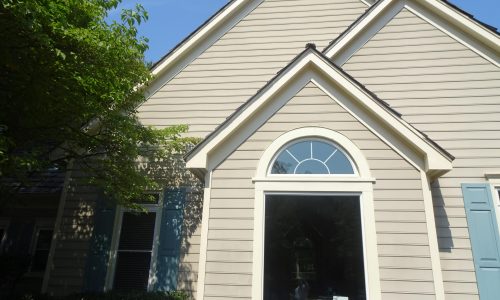
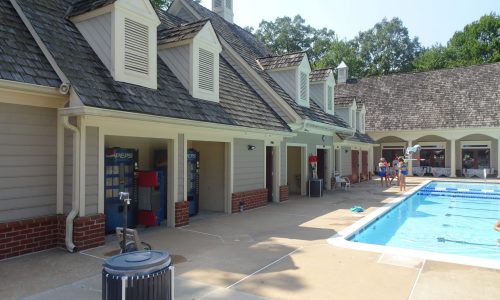
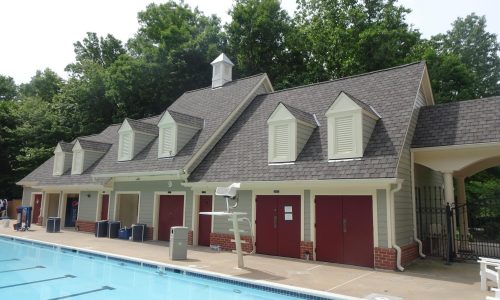
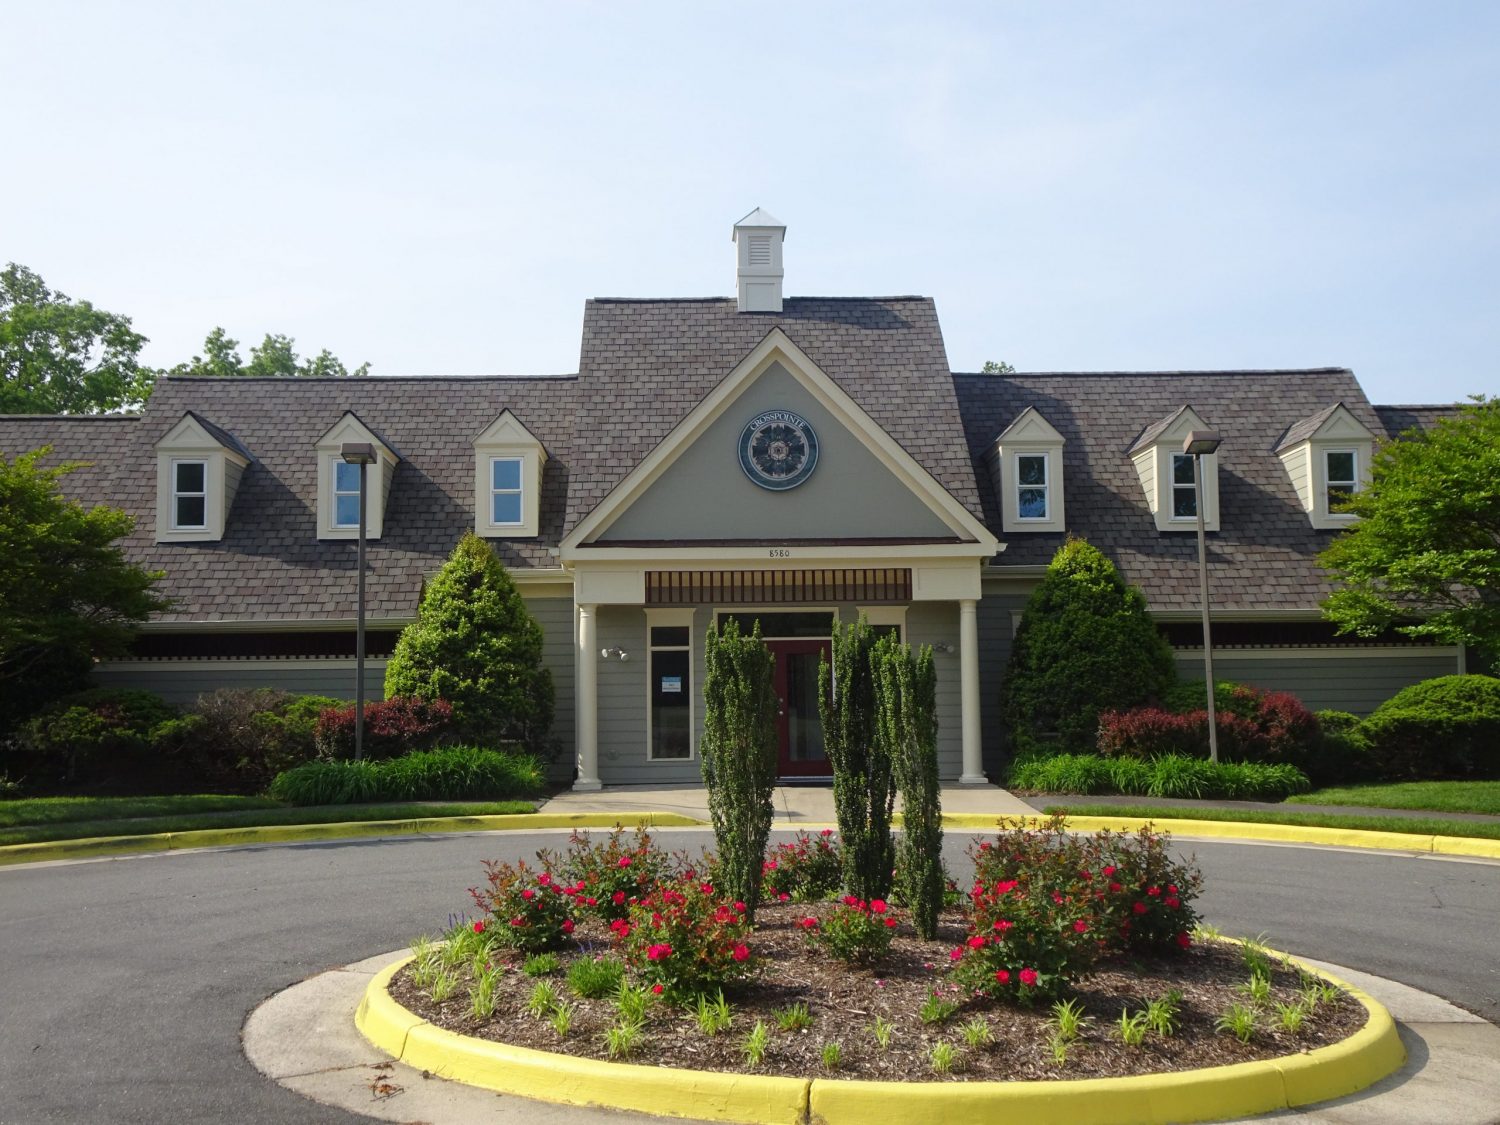
After Photos
Check out the final results of this exterior painting project below. Click on any image to zoom in.
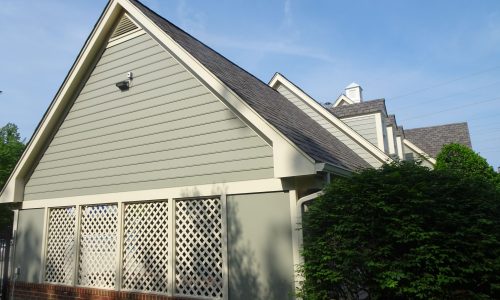
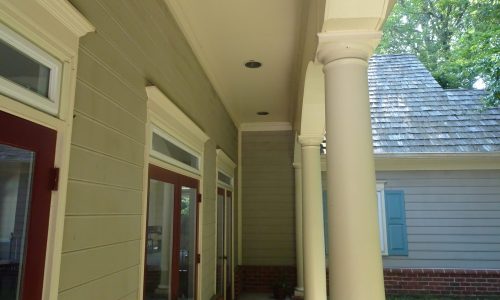
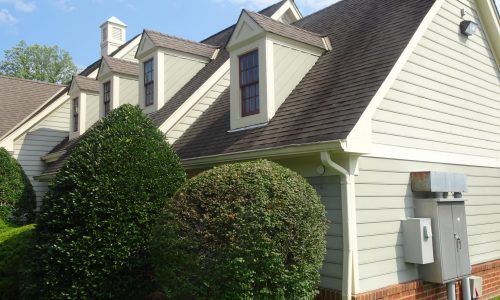
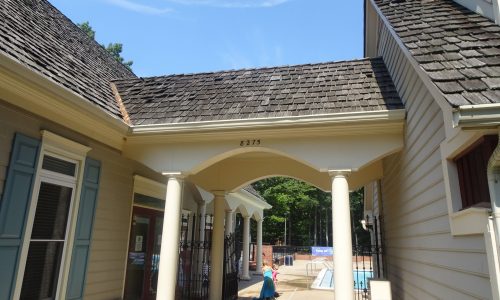
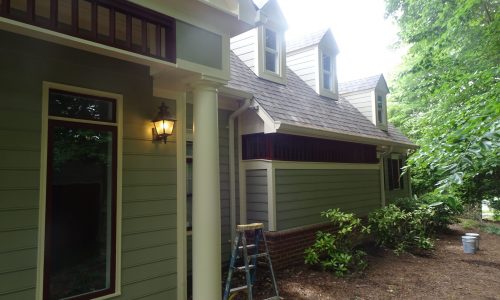
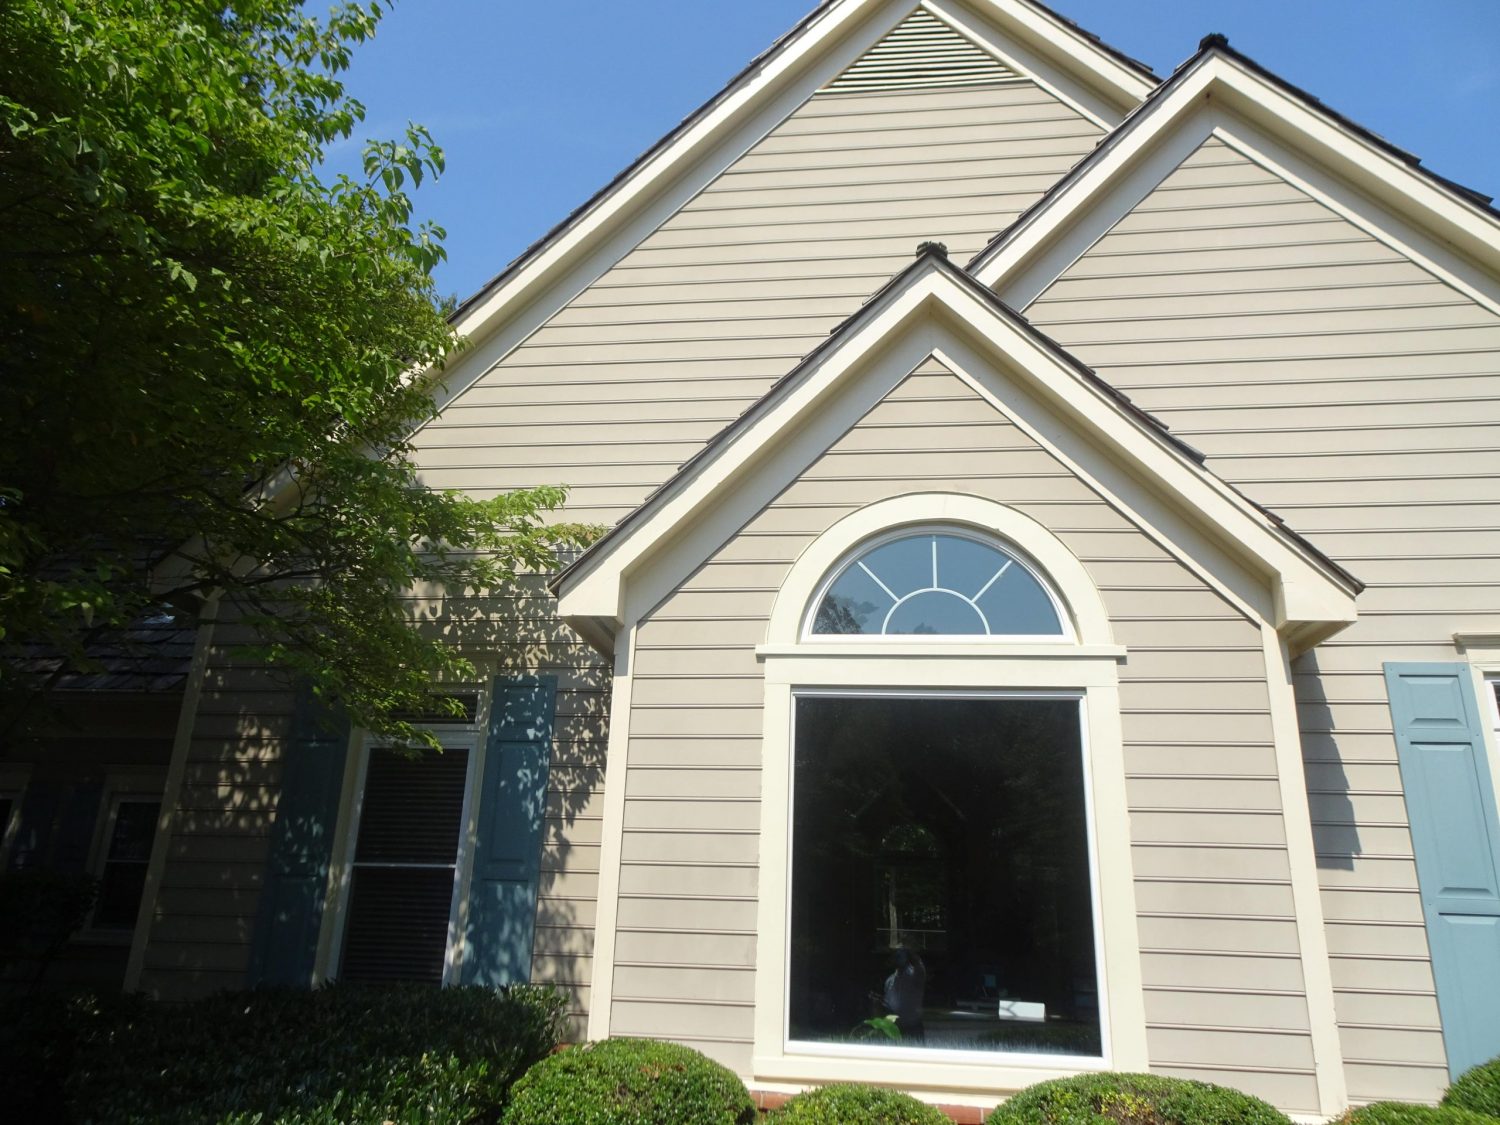
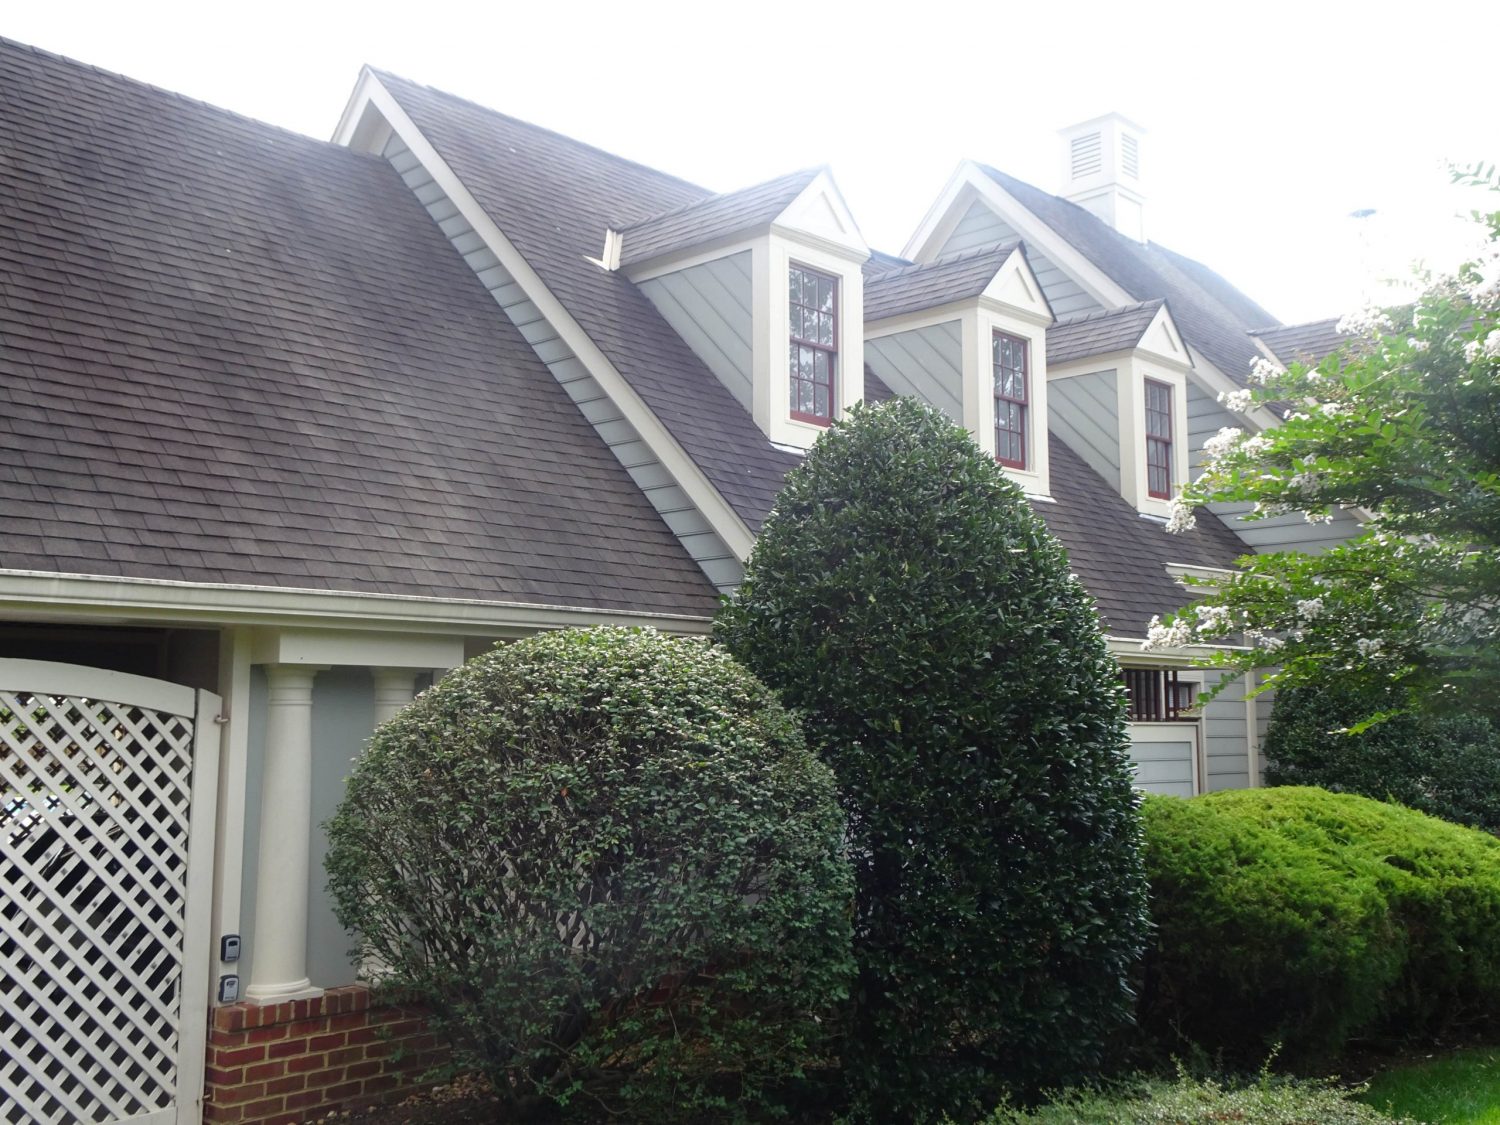
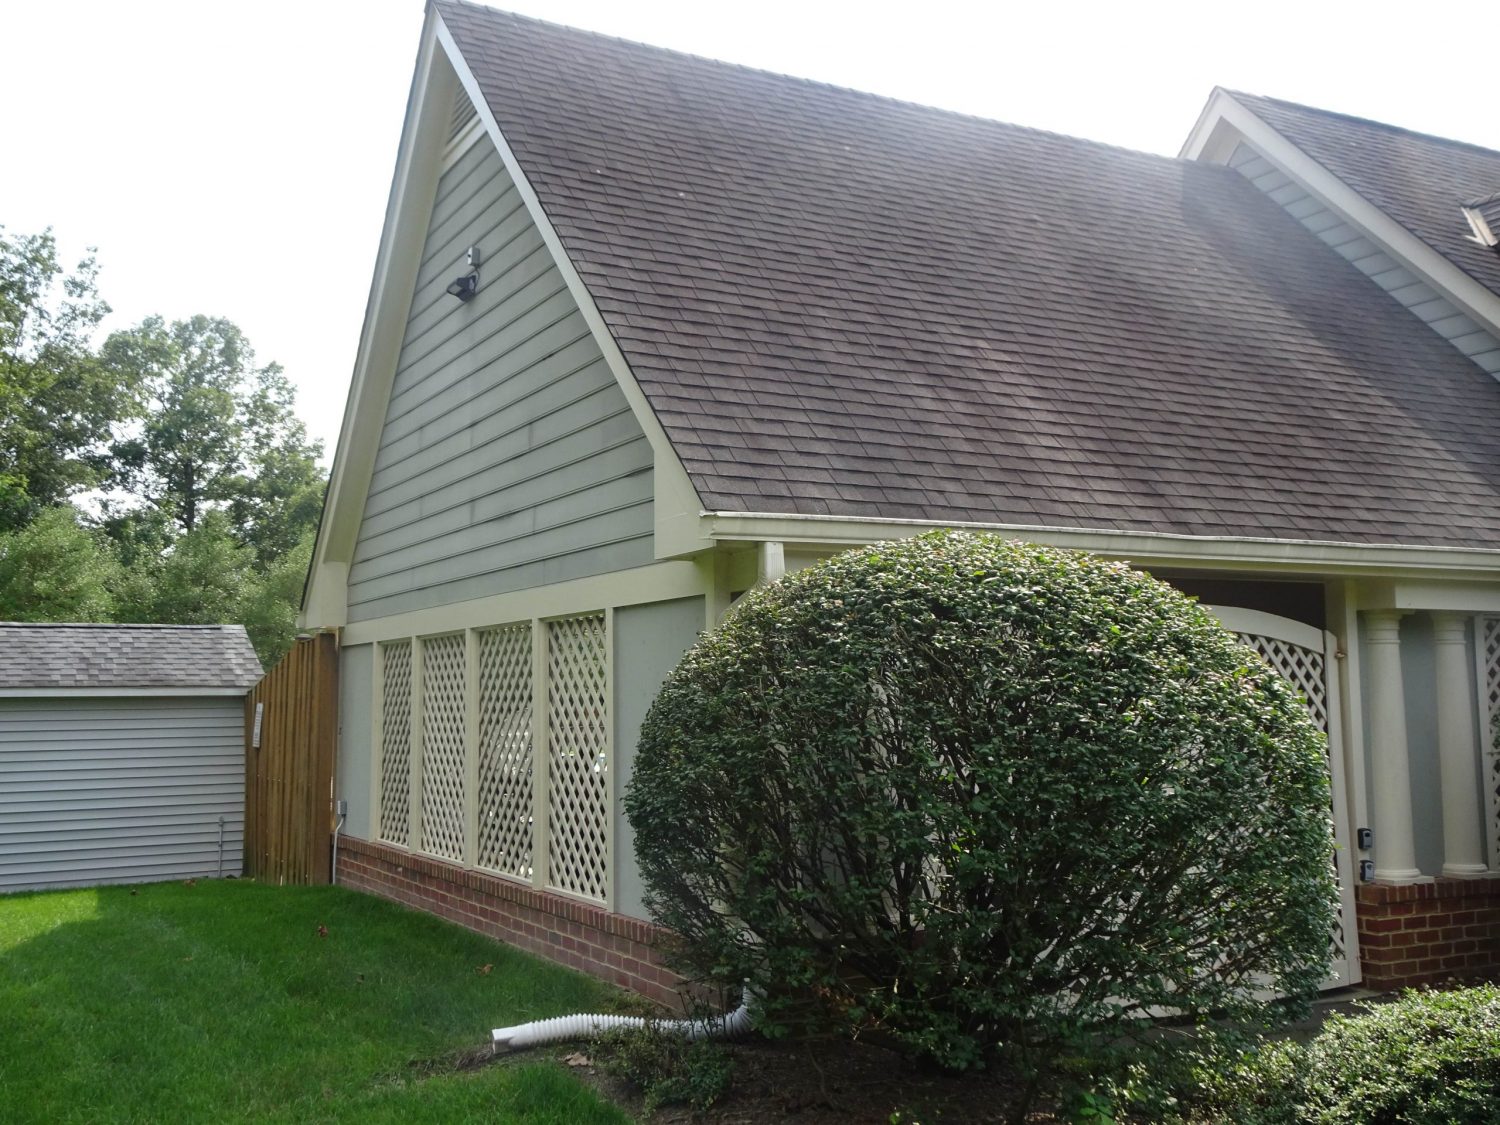
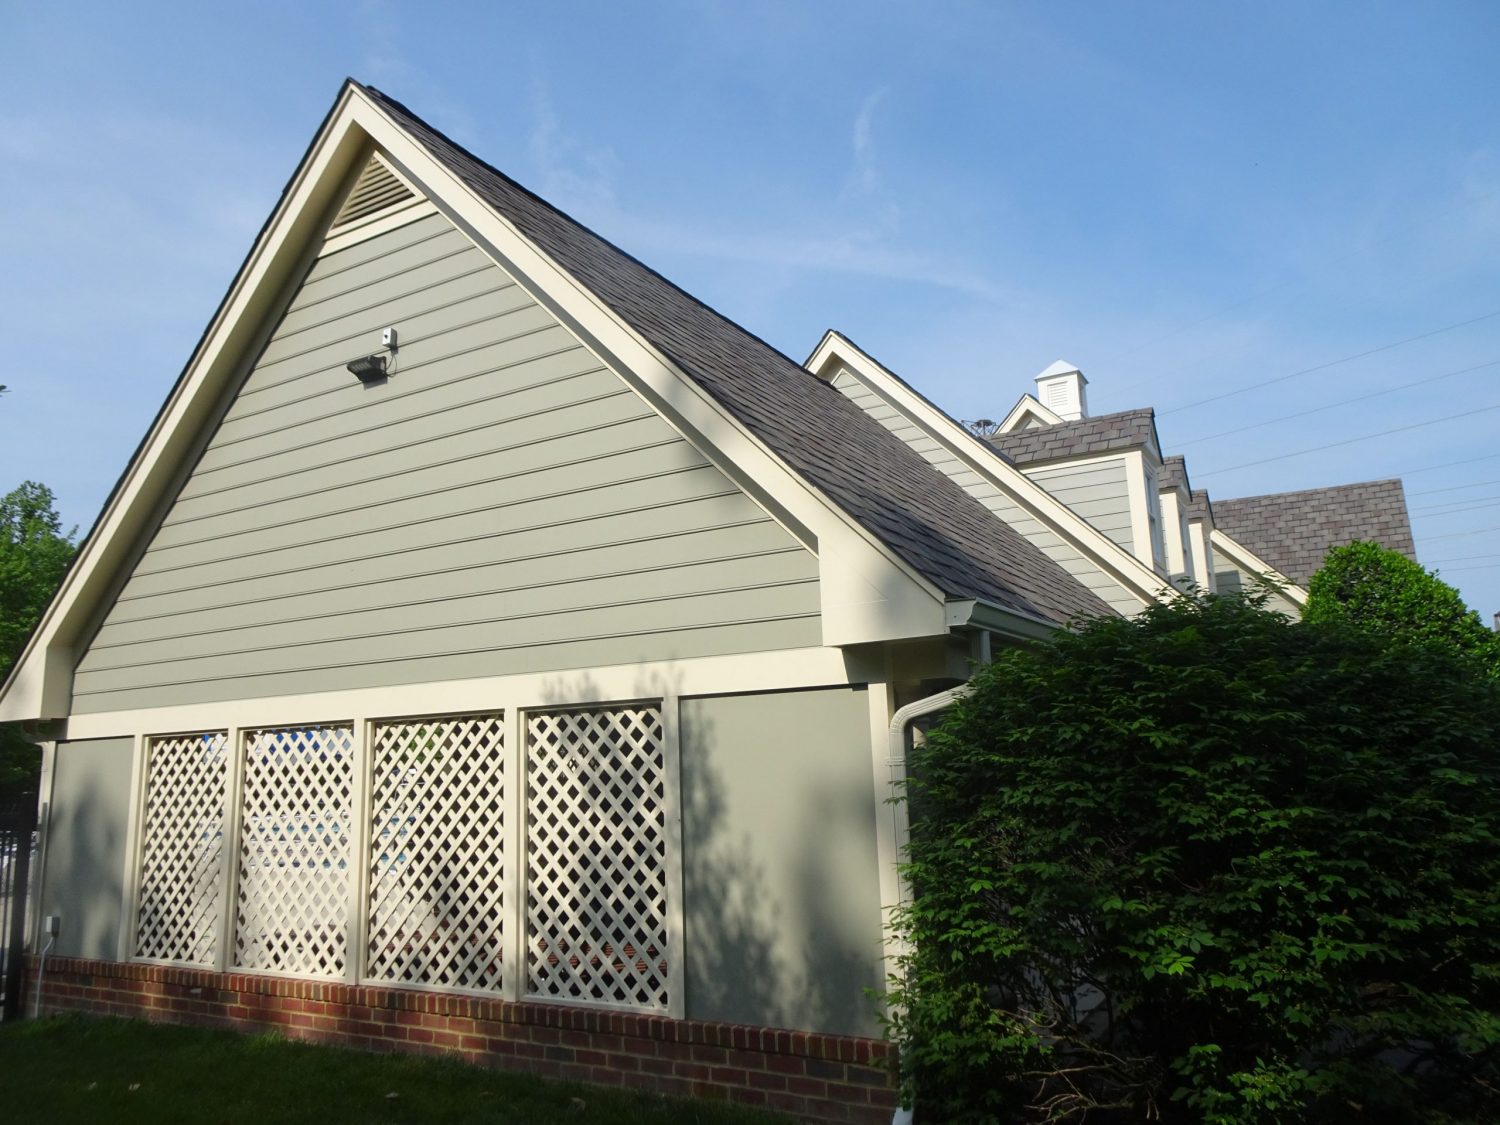
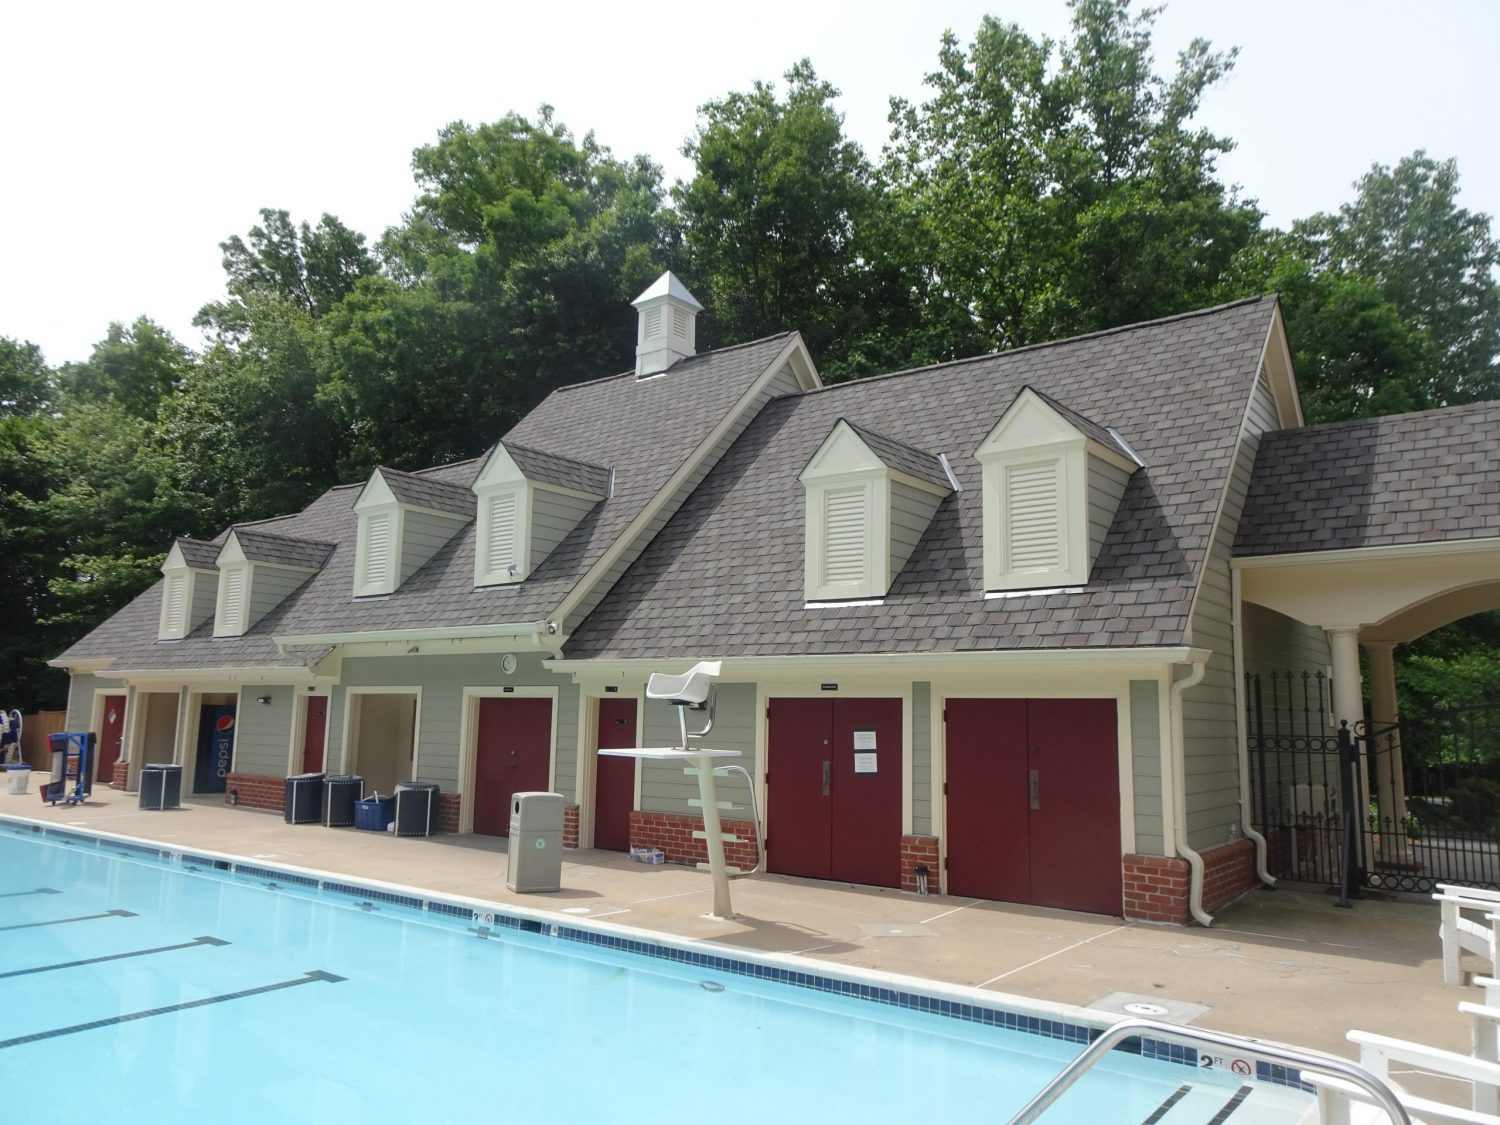
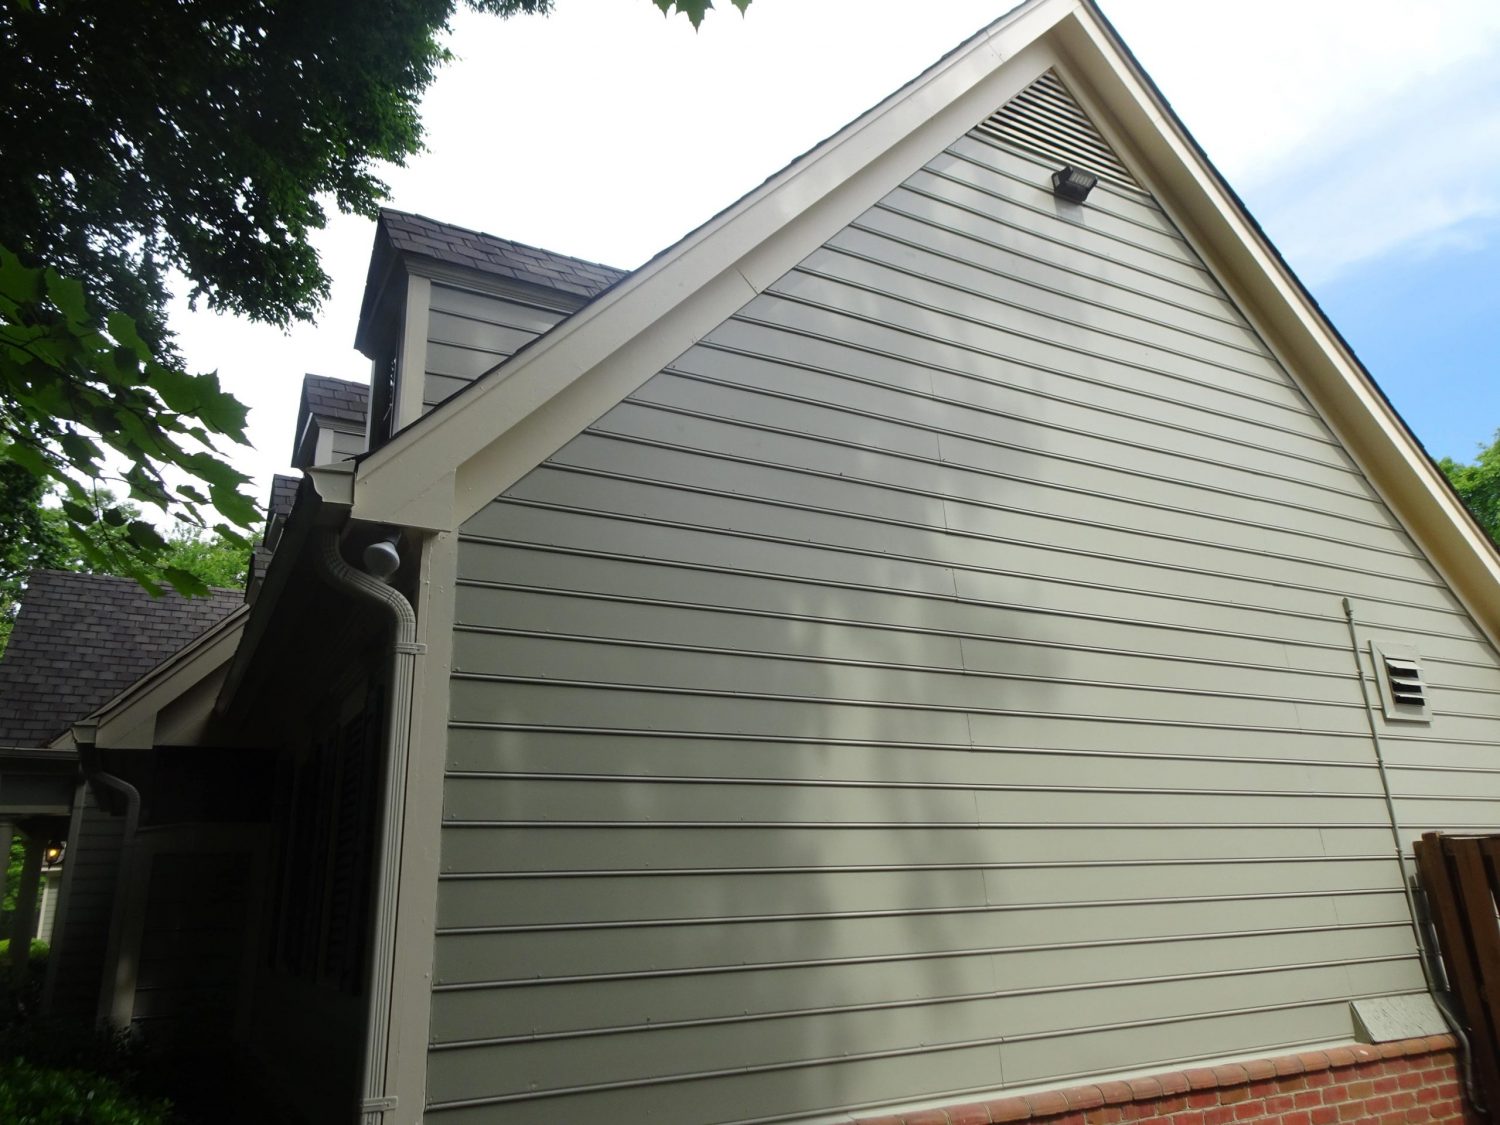
Side View of Updated Siding and Trim Work
Side View of siding trim, soffit, and fascia updated with new paint.

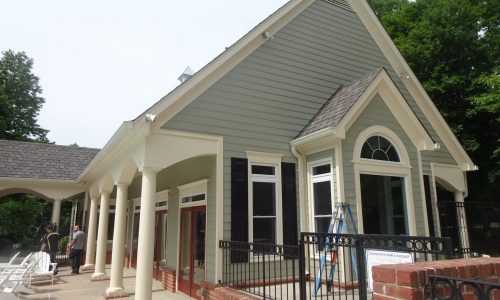

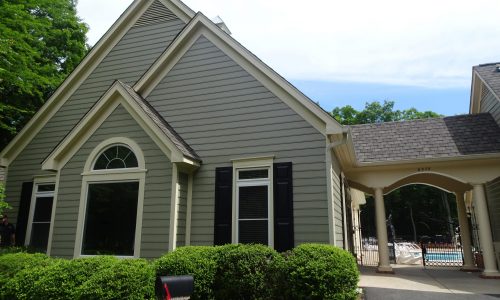
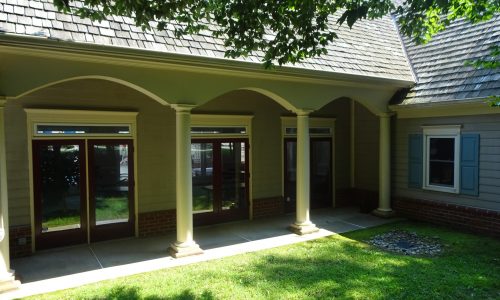
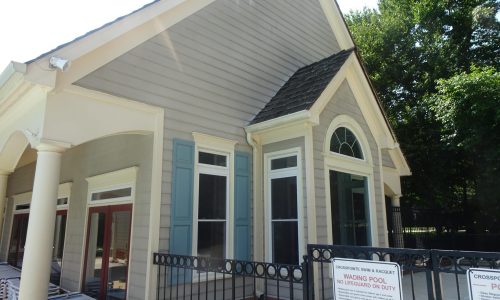
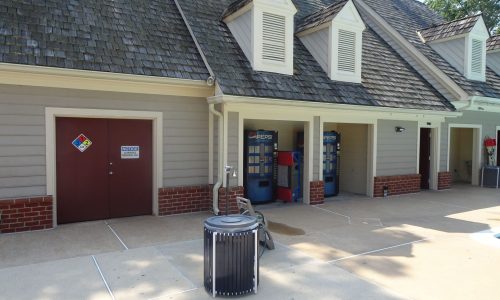
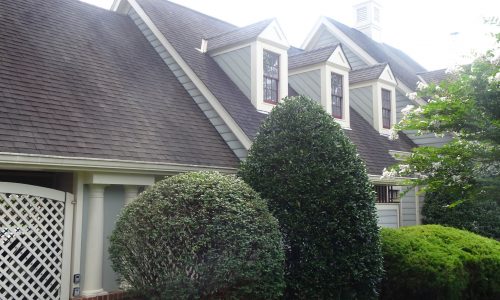
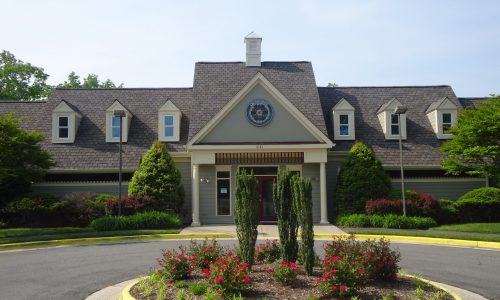
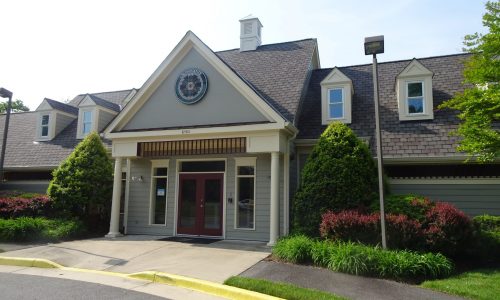
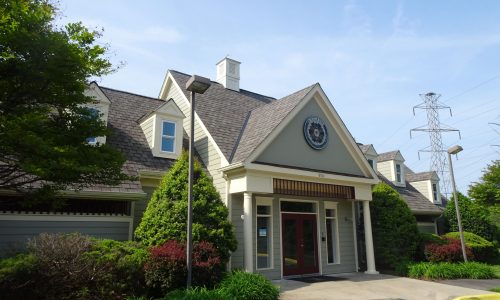
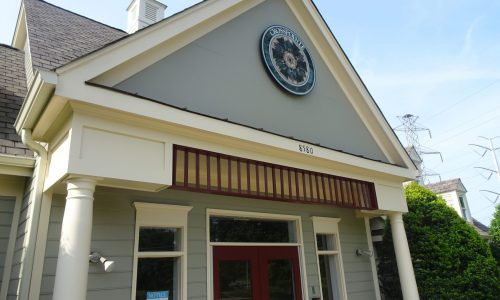
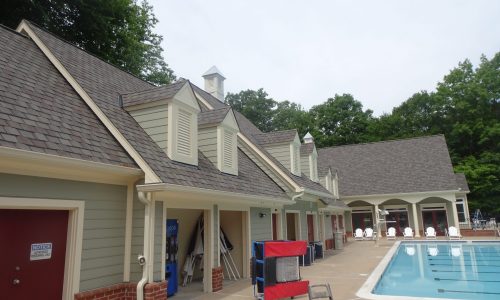
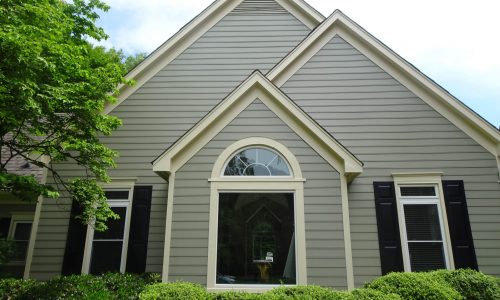
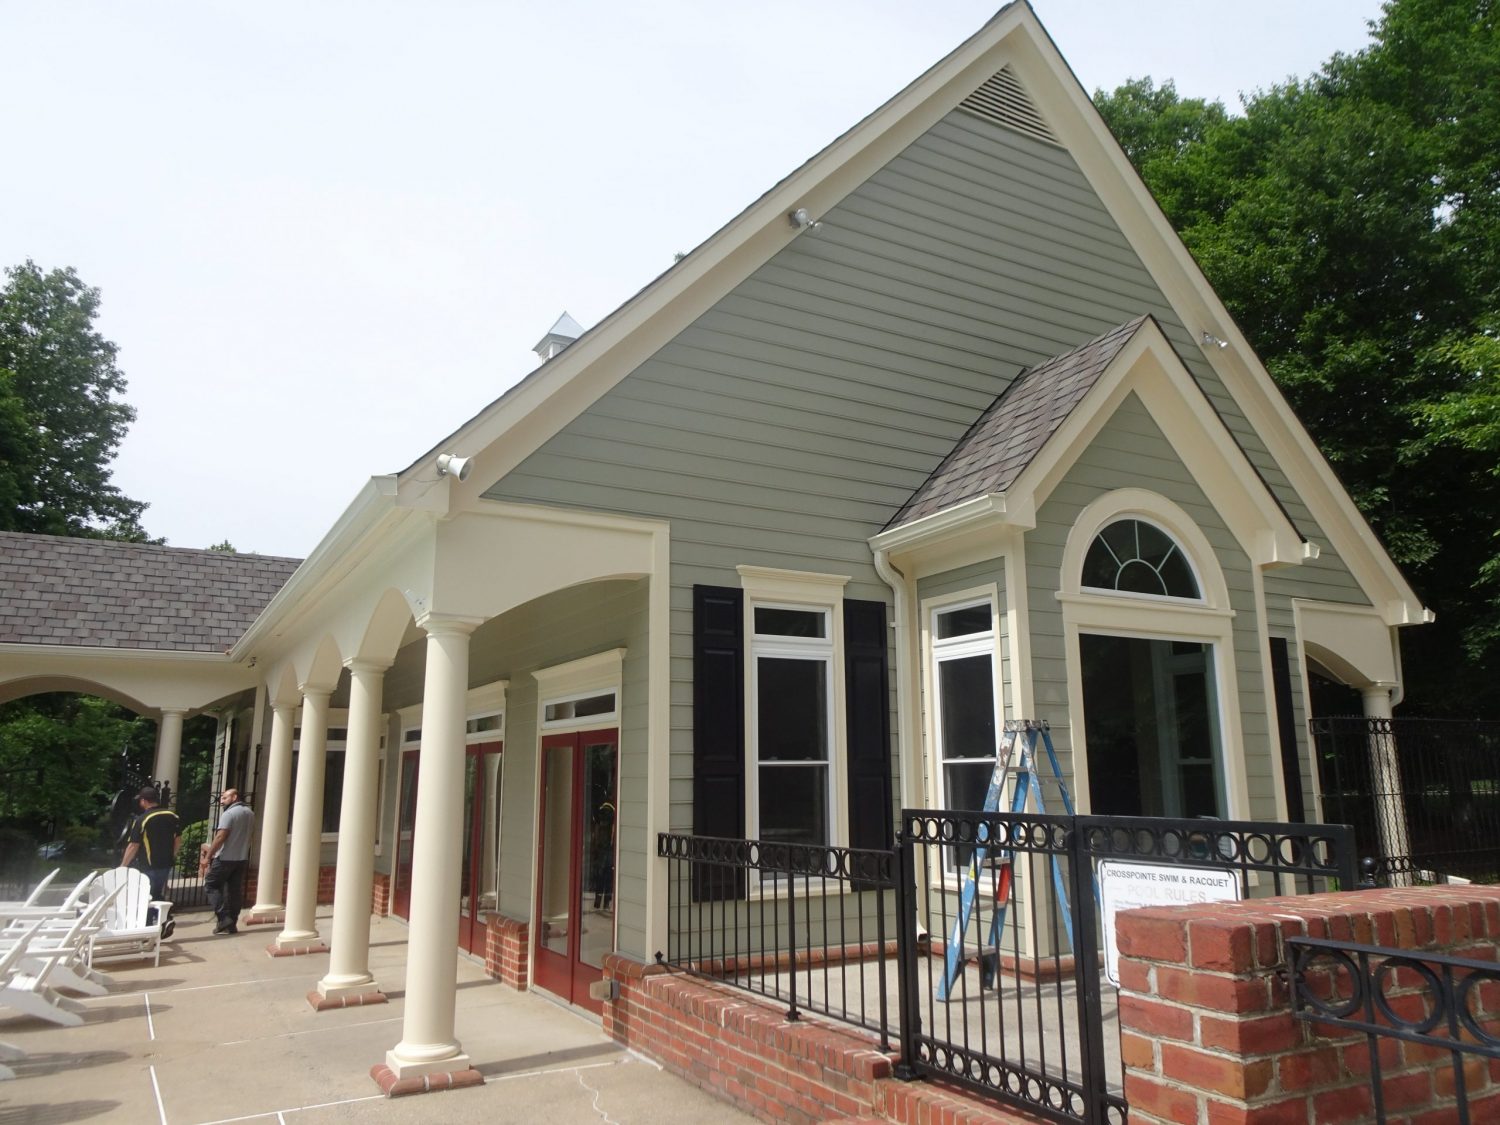
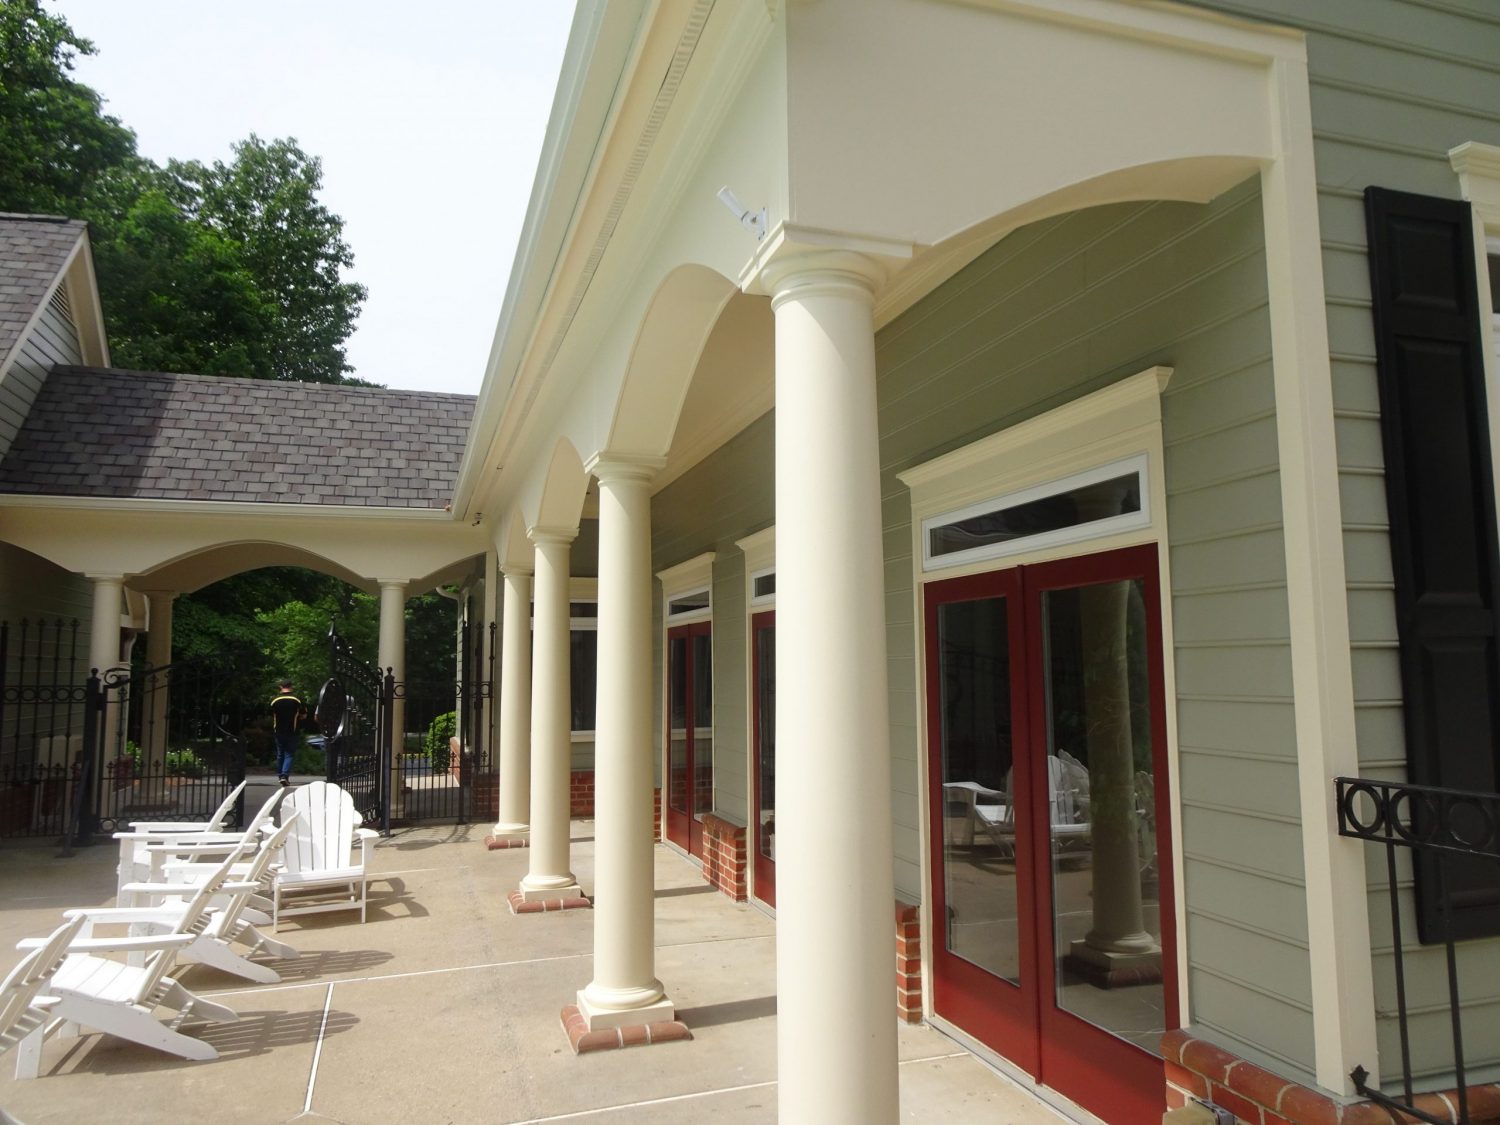
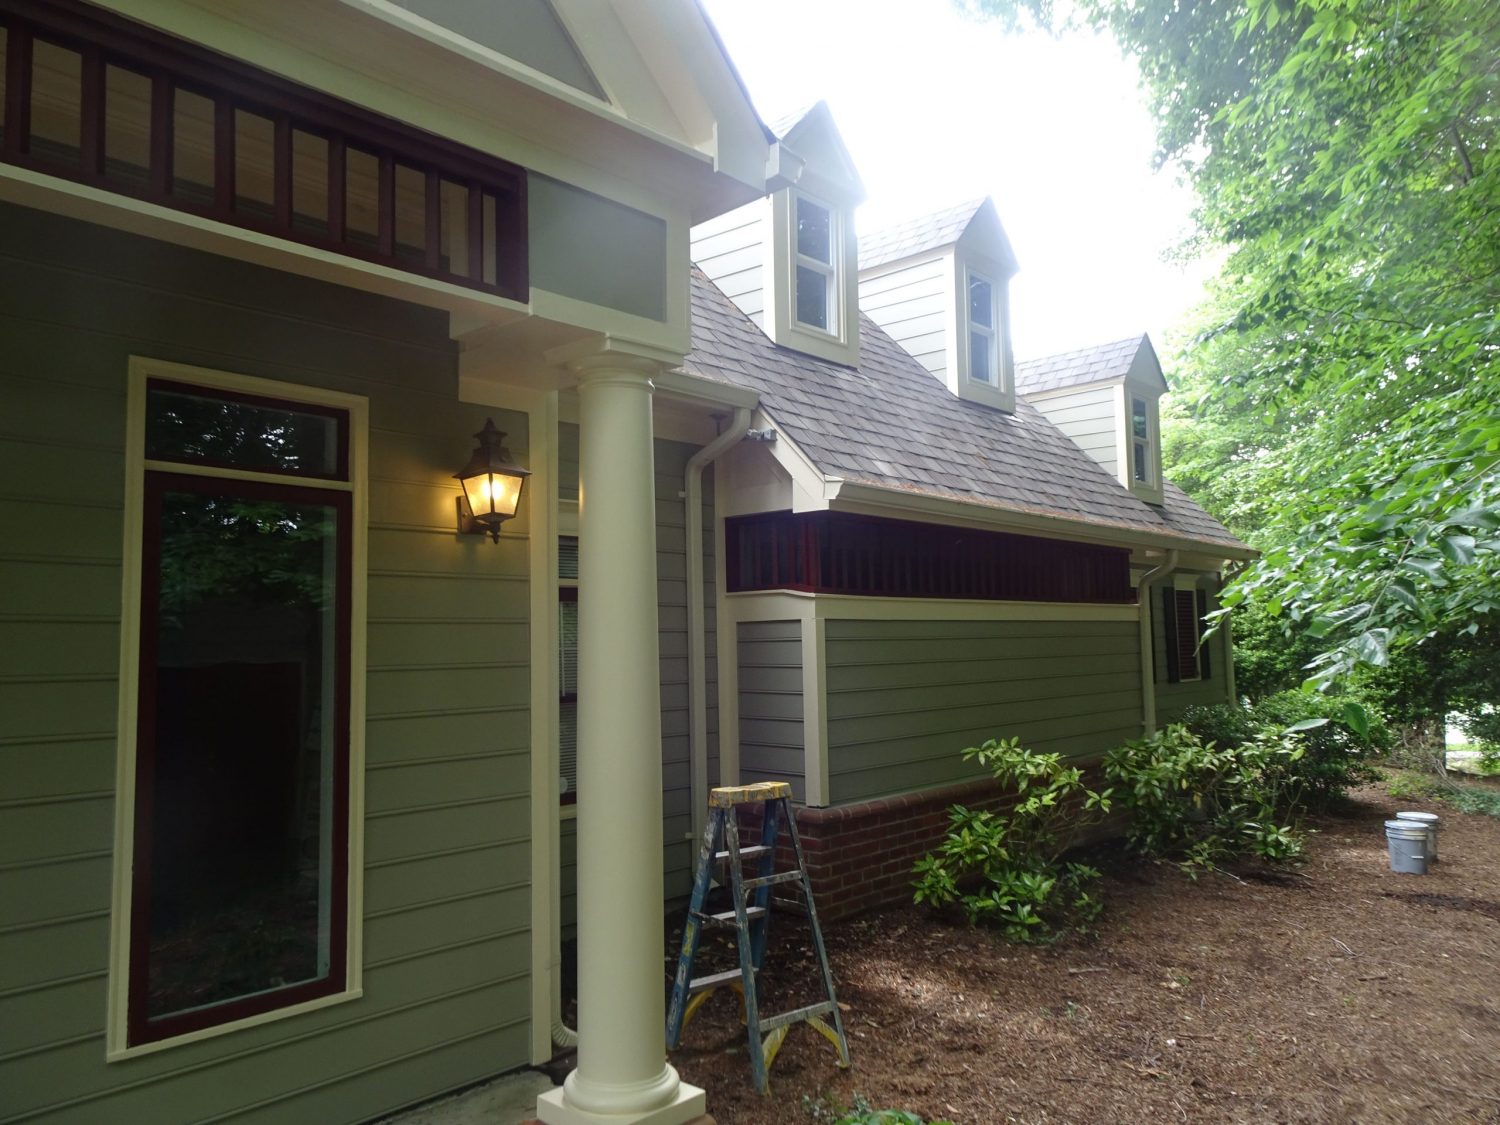
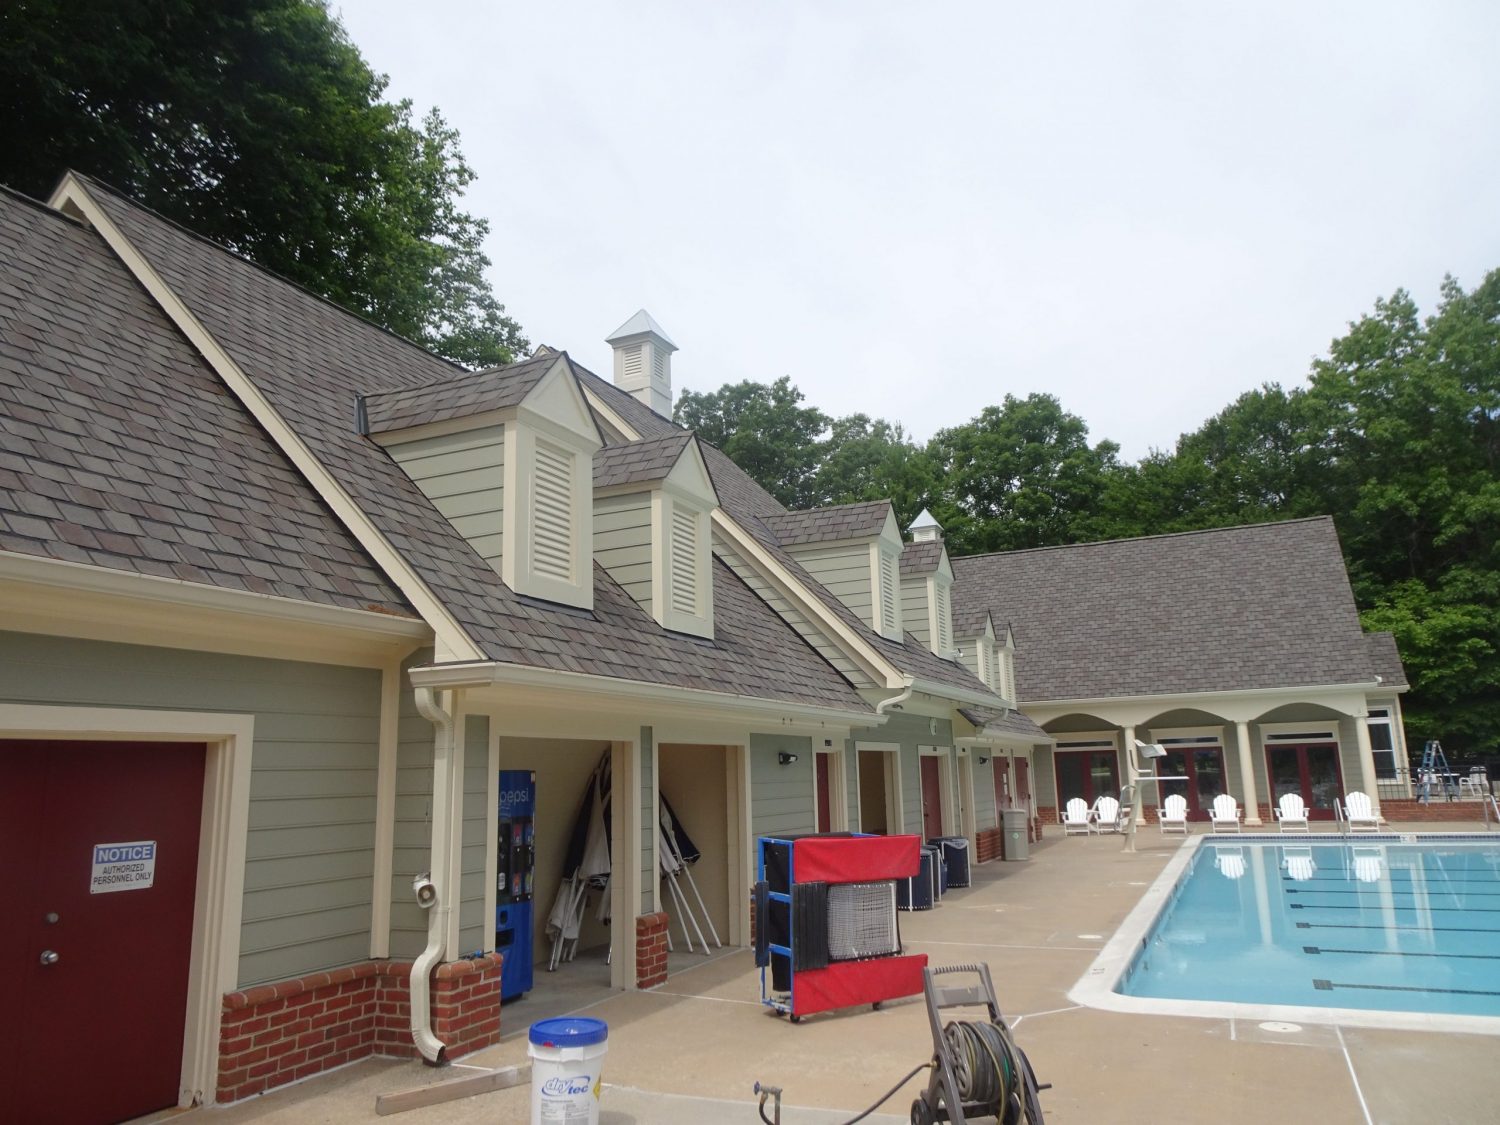
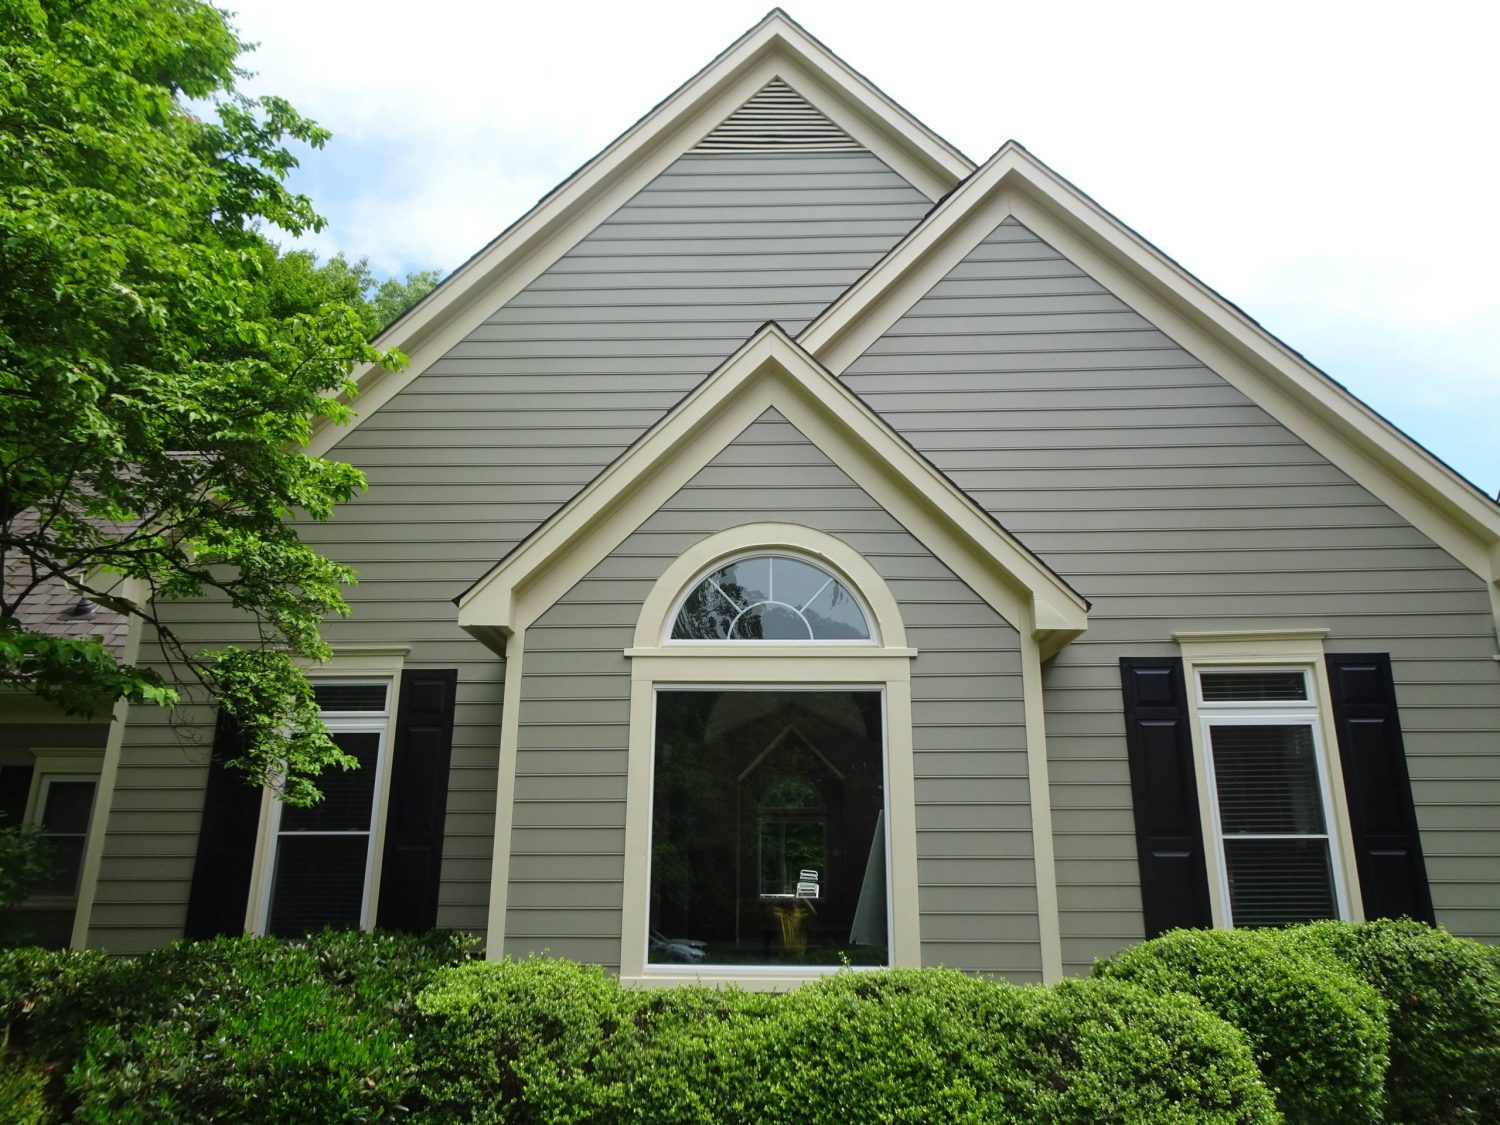
View of Clubhouse with Updates
The trim was updated, and the shutters were changed from the teal color they once were to a black color.

