
Unlock the Art of Post-Paint Maintenance: A Guide to Keeping Your Interior Walls Immaculate
Posted on October 3, 2023


Discover the Essential Steps for Long-lasting Paint Quality and Durability
As life unfolds, it’s perfectly normal for your walls to accumulate smudges and accidental hand prints. The good news is that maintaining the beauty of your newly painted walls is an easy, straightforward process.
So, assuming you have just had your walls painted, and you followed our advice to use a high-end, “washable flat” such as Sherwin Williams’ Emerald paint, here’s a step-by-step guide to help you keep your freshly painted interior walls looking their best:
Step 1 – Gather Supplies:
Soft, cotton towel(s)
Mild dish soap (we recommend using Dawn dish soap)
Warm water
Bucket
Duster/Vacuum
Step 2 – Prep The Area:
Once you have your supplies, you’ll want to mix the warm water with the Dawn dish soap in your bucket.
Before applying any sudsy water, start by dusting or vacuuming the surfaces to remove loose dirt and debris. If you’re using a vacuum, use a soft brush attachment on the vacuum to avoid scratching the paint.
Step 3 – Spot Test:
Before cleaning the entire surface, we recommend spot-testing the area with your warm, soapy water and your cotton rag. Be very gentle when rubbing.
Step 4 – Clean Surface Area:
Using your Dawn and water combination, gently rub the surface with your cotton rag. You’ll notice the marks slowly disappear. Dry with a cotton rag. Important! Avoid harsh cleaners such as Magic Erasers or 409-like sprays, as they can degrade the latex in the paint, making it soft and more susceptible to future accumulation of dirt. (We see this a LOT on busy door frames. Degreasers are not your friend!)
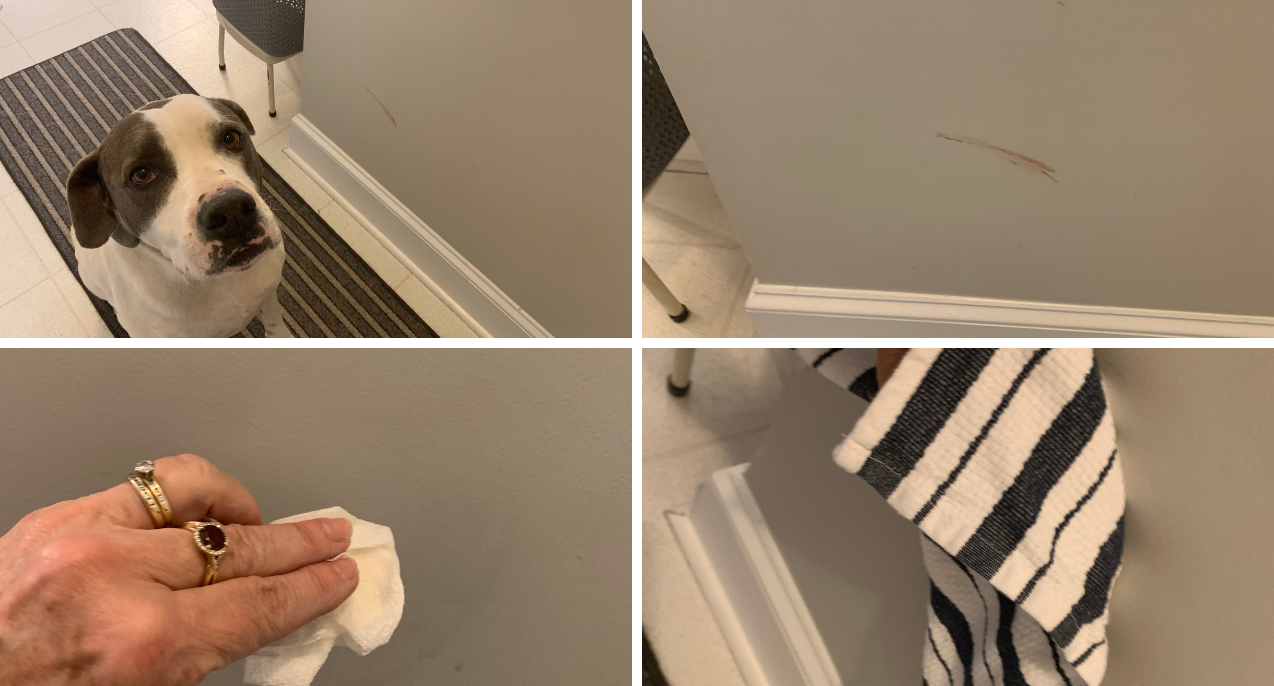
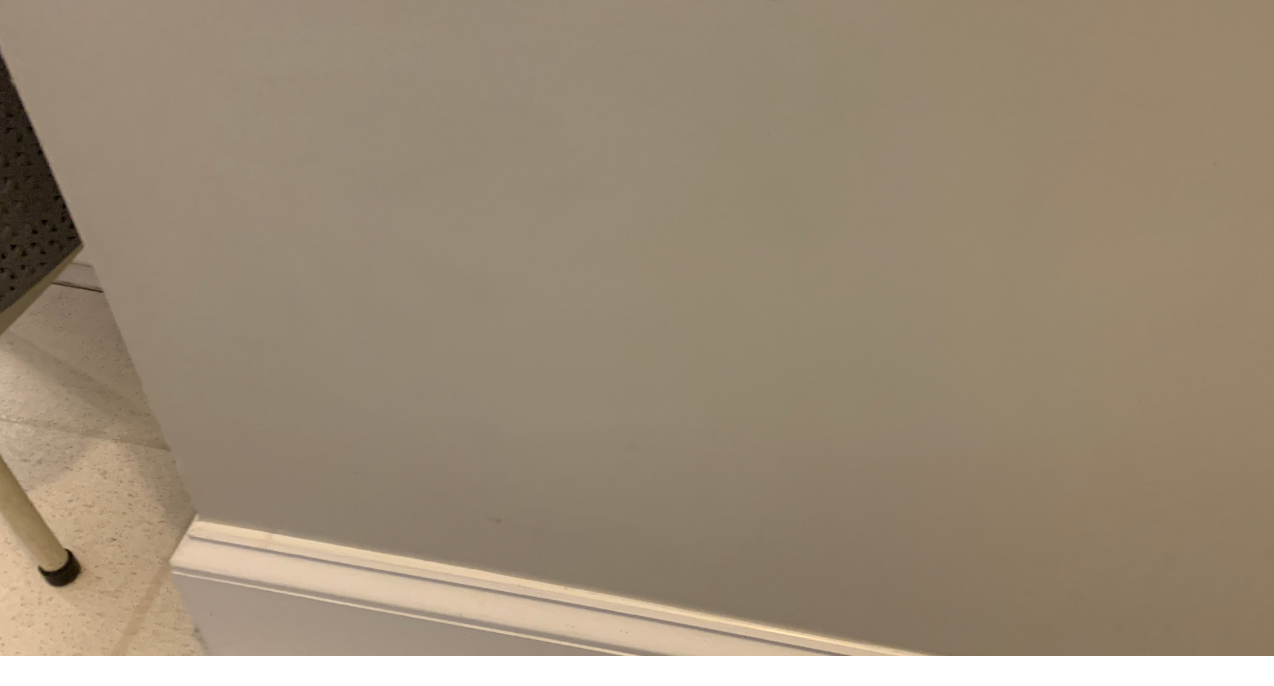
Here is an incident involving our dog, who left a mark on our kitchen wall. With a quick remedy, I took a soapy, damp towel, applied gentle strokes to the surface, dried it with a soft cotton towel, and presto! The mark vanished, leaving the paint looking as pristine as the day it was applied.
Step 5 – Touch Up As Needed
Hopefully, the gentle washing will have taken care of your issues. But for areas that are scuffs, as opposed to dirt or grime, this will require a paint touchup.
Flat paint, typically recommended by interior designers these days, is the easiest to retouch because it dries without drawing attention to the touchup. In contrast, satin or eggshell paint is much harder to touch up than the sheens; therefore, you can readily see that the area is newly touched. Your only remedy for satin walls is to repaint them 100% corner to corner.
The key to preserving the longevity of your leftover paint lies in storing it within a container that minimizes air exposure. To achieve this, consider transferring your leftover paint into a more compact container to reduce air space. Be sure you give the paint container a good, thorough shake before putting it to use for your touch-ups.
For touching up flat paint surfaces, you can use a paintbrush, or you could even use a paper towel to dab the area that needs repainting, and it will blend beautifully.
Areas with chips or dents demand more attention, including filling and sanding the affected surface and then applying fresh paint.
Step 6 – Clean Up & Enjoy
After completing the cleaning or touch-up process, take a moment to tidy up and appreciate your work!
We hope this guide helps you keep your interior paint looking new for years to come.
If your smudges and scrapes are too out of hand, we’re here to take care of you. Call us today or click the button below for a free, no obligation estimate and freshen up your home in time for the holidays!