Textured Ceiling Removal
Textured Ceiling Removal Services
The expert house painters at CertaPro Painters® of MetroWest, MA are professionally trained to remove textured ceilings. Learn more about the steps involved in removing textured ceilings.
While popcorn ceilings had their time on top trends lists, they are rarely seen in modern homes. Removing a popcorn ceiling yourself can be extremely difficult. Popcorn ceiling removal is a specialty service offered by CertaPro Painters. If you are looking to repaint a room with popcorn ceilings, or are just looking to remove these ceilings from your home, we can help!
The process of popcorn ceiling removal and painting usually involves:
1 Remove Fixtures
Removing your furniture, light switches and fixtures from the room

2 Cover Walls & Floor
Covering the walls and flooring with heavy duty plastic sheets
3 Prep Ceiling
Spraying the surface with small amounts of water so that the popcorn ceiling easily scrapes away
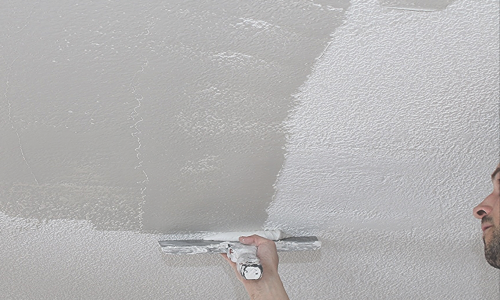
4 Skim Coat
Skim coating any damaged areas prior to sanding to ensure a smooth, properly prepared surface for painting
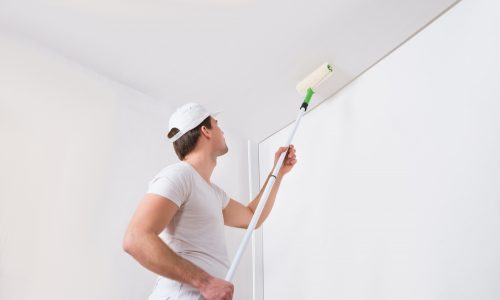
5 Paint Ceiling
Application of a fresh coat of paint primer followed by the paint color of your choice
Textured Ceiling Removal and Skim Coating
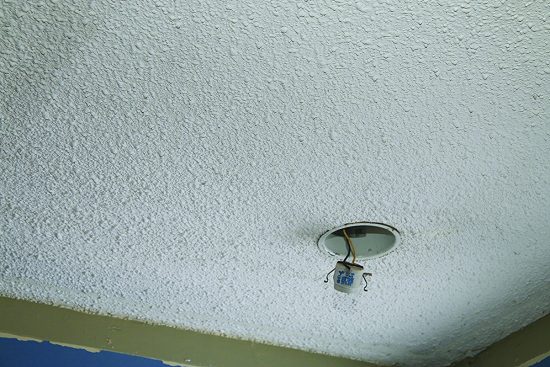
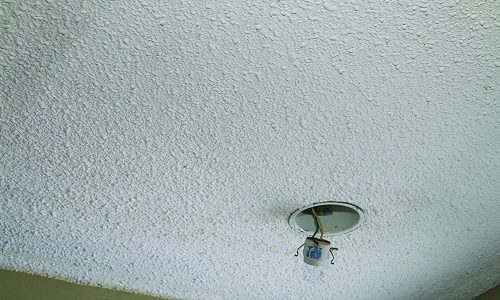
If your house is more than a few decades old, you might have a room that fell victim to the textured ceiling trend of the 60s and 70s. The look was popular for quite a while, and can be a way of hiding blemishes, covering up minor damage, or sealing cracks in the drywall…
But these textured ceilings – either applied by hand or with a sprayer – also seem to collect cobwebs, are hard to clean, and can be extremely difficult to repair with a matching pattern, not to mention the outdated style.
With all of these things in mind, many people choose to remove their textured ceilings and refinish them with something smoother (and easier to paint and repair). Getting rid of a textured ceiling, however, is no small undertaking. Depending on the type of texture – from handmade patterns to sprayed on “popcorn ceilings” – removal can be a whole process, and it’s hard to know how difficult that process will be until you get started.
For some kinds of lightly textured ceilings, simply skim coating overtop of the existing texture is a relatively easy fix. Skim coating is the application of one or more layers of drywall mud, smoothed and prepared for painting. For many people, this is a job that can be done DIY – but skim coating won’t work on thick textures or most sprayed on popcorn ceilings.
So, when it comes to removal, some of the braver DIY enthusiasts might be willing to take on the job, but in many cases, it’s best to defer to professional painting companies.
Our first step is typically a “scrape test.” This is just a simple test to see how easily the textured coating comes off the ceiling. For some types of texture, especially those without very strong bonding properties, a gentle scrape will cause the coating to come off pretty easily! For others, however, areas of the ceiling need to be soaked in water and scraped with a bit more diligence. The scrape test lets us know what kind of work will be involved.
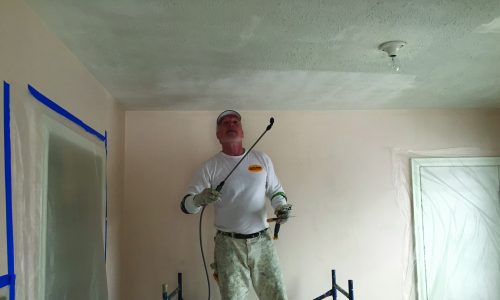
Once we have a handle on how difficult the texture will be to remove, it’s time to prepare the room. Scraping a ceiling is messy work, so thorough prep is essential. Furniture should be removed, plastic is hung to cover the walls, drop cloths or plastic is used to cover and protect the floor (especially if there’s carpet), light fixtures and fans need to be removed, and any recessed lights or electrical boxes need to be covered. If the texture requires soaking to be removed, it’s a good idea to use plastic on the floor – the water can soak right through a regular drop cloth!
Once the room is protected from debris, the removal can begin. A pump sprayer is a convenient way to soak sections of the ceiling, and it’s always a good idea to work in small portions. If you soak the whole ceiling, it will likely dry out before you have a chance to scrape, and that means repeating steps and spending even more time!
We employ a few key techniques based on experience, like using rounded scrapers to avoid gouging the ceiling, using trays and pans to catch wet, falling bits of scraped off ceiling texture, and so on. We do everything we can to avoid big messes and reduce the potential for damage to your ceiling!
Once the texture has all been removed, the next step is to repair any cracks or damage, then prepare for painting! Every job is a little bit different, so this prep might just be sanding and priming, or a good skim coating might be the best option! The idea is to transform your previously textured ceiling into a smooth, ready to paint surface. As with every other job we do, we rely on our experience and expertise to work with clients, provide recommendations, and provide painting services that leave everyone satisfied!
If you have questions about removing the texture from a ceiling in your home, how to fix damaged to your ceilings, or anything else related to painting or home remodeling, don’t hesitate to contact CertaPro today!