
From Wallpaper to Paint
Posted on August 18, 2020


Wallpaper can be a nice look in some cases, but it’s often a relic of past styles – or just old and unsightly. Removing wallpaper and repainting a room is a common preference for many homeowners, but it can be a pretty labor intensive process, and skipping steps can lead to disappointing results.
So, let’s take a closer look at the proper method of removing old wallpaper and preparing the walls for fresh coats of paint!
First, preparing the room is essential (and will save some cleanup headaches later). Take down decorations, shelves, and anything else hanging on the walls. Remove as much furniture as you can and cover anything you can’t take out of the room. It’s a good idea to put old towels along your baseboards, then put down plastic drop cloths and tape them to the baseboards. You should cover any electrical outlets as well. All of this prep is to make the mess easier to deal with.
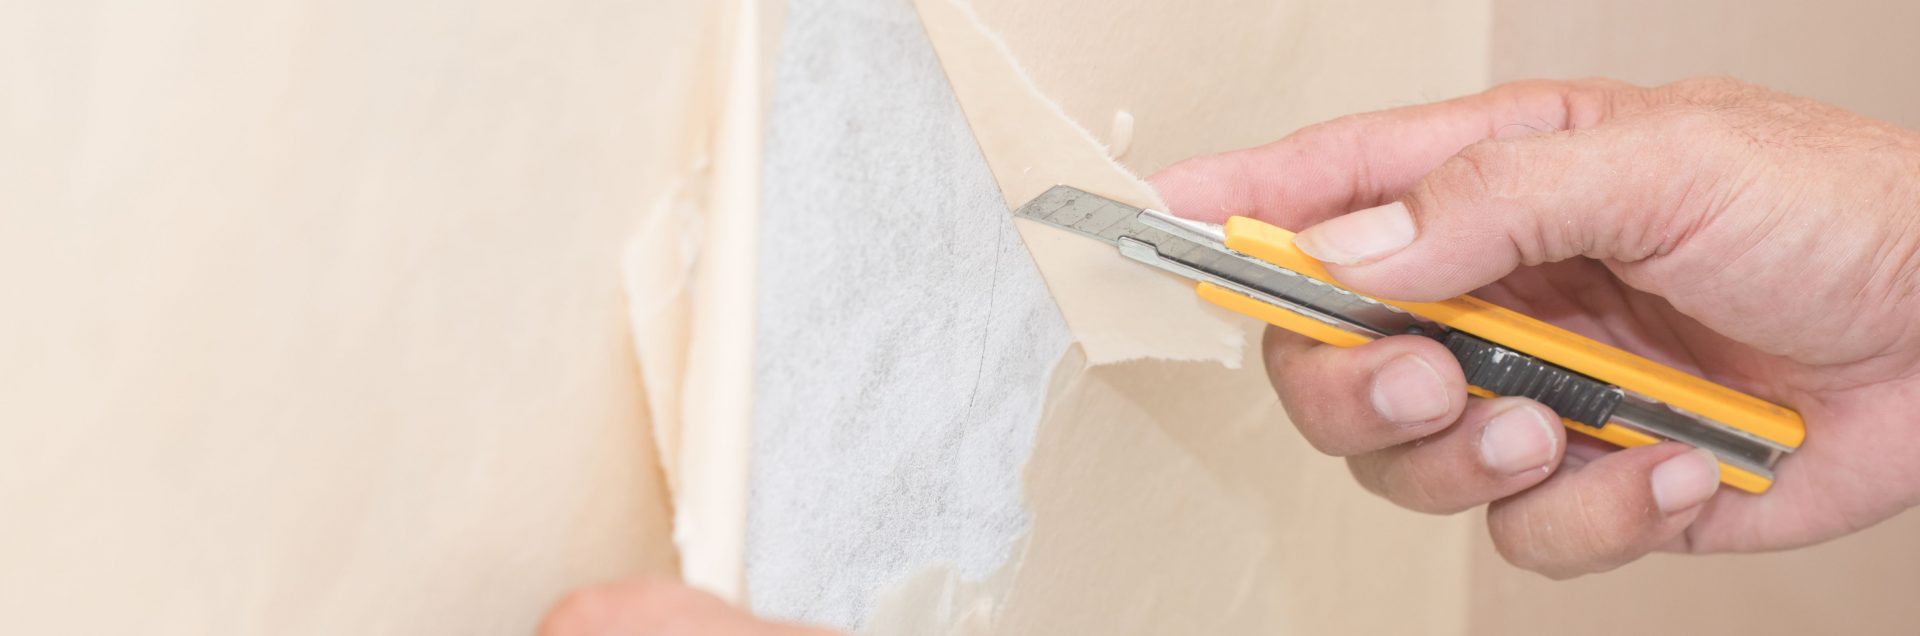
 Once you’ve got the room prepared, it’s time to start pulling the wallpaper from the walls. Depending on the age and type of your wallpaper, this could be relatively easy – or it could require quite a bit of effort. If the wallpaper is relatively recent, it might be designed for easy, peelable removal. You’ll quickly find out if you use a putty knife to peel up a corner and tear the paper away from the wall. If it tears away easily, you’re in luck!
For many, many situations, however, the wallpaper is older. There might be multiple layers, and the older types don’t easily strip away from the walls. This means scraping, and likely using a water solution to soften the glue and help the removal process. If this is the case for your wallpaper, you’ll be glad you put down the towels!
The most important part of your solution is that the water is warm! There are over the counter products you can mix with warm water, some people use a mixture of water and household vinegar, and you can find a variety of other combinations online. It’s tough to know what solution will work best because there are so many different types of wallpaper, and factors like age and how it was installed also play a part.
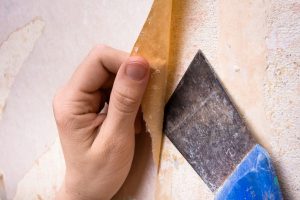
You can apply your warm water solution with a sprayer or a broad brush, wetting sections of wallpaper as you move around the room scraping and peeling. Use the solution as you go, instead of wetting all the wallpaper at once. That way, you won’t run the risk of a section drying before you get to it, and having to do the work twice!
As the wallpaper comes down, you may also have residual adhesive to scrape from the walls. Use your putty knife and water 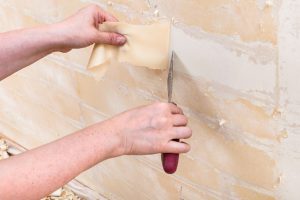 solution to carefully scrape whatever adhesive is left, and be mindful not to damage your walls – especially if you have drywall. Depending on the condition of your walls, you may need a skim coat of joint compound to make sure the walls are smooth and even. If they are in good shape, you can move on to priming!
The next step is to apply a coat of oil-based primer so any remaining adhesive residue doesn’t bleed through your new paint. Once you’ve primed, you’re ready to paint!
It’s important to note that, because there are so many variables involved, removing your own wallpaper can range drastically in difficulty. For some pesky types of adhesive or extremely old wallpaper, a steamer may be required. If you’re tackling this job yourself, it’s a good idea to set aside an entire day for wallpaper removal – simply because you don’t know what you’re getting into until you start!
If you need help with removing wallpaper, choosing primer or paint, or simply want to let a team of professionals handle the whole process, contact CertaPro Painters of Metrowest today at 781-296-6044!
Looking for more Home Exterior tips? Check out our other home improvement articles!
